

AWS Getting Started - Create Your First Free Account
Step by Step Guide for creating & securing an AWS account


Introduction
Obtaining cloud skills and AWS knowledge is a huge career boost and the starting point for a successful career in tech.
In this Getting Started series, we will explore the fundamentals of AWS together, building a strong foundation to help you find a new job in cloud tech and take the next steps in your career.
In this first chapter of the series, we are going to start at the very beginning by creating a brand new AWS account. Having an account is a must for everyone interested in AWS. You definitely can learn certain topics by reading books or watching videos, but the best way to do so is by also having first-hand experience. Luckily, Amazon offers a generous 12-month free trial for most of their services, e.g. compute instances, databases, and many more.
Okay, enough introduction. Let's create our first AWS account, secure it with multi-factor authentication, (MFA) and create a monthly budget to mitigate the risk of spending (too much) money. We will then see why it is important to create an additional user for your account.
Disclaimer: a credit card is necessary to follow along with this tutorial. AWS will temporarily charge (reserve) $1 to verify it. It's not actually deducted and the charge will disappear after a few days! Read more: Understand AWS authorization charges
Creating the account
Alright, let's visit AWS and start creating our account.
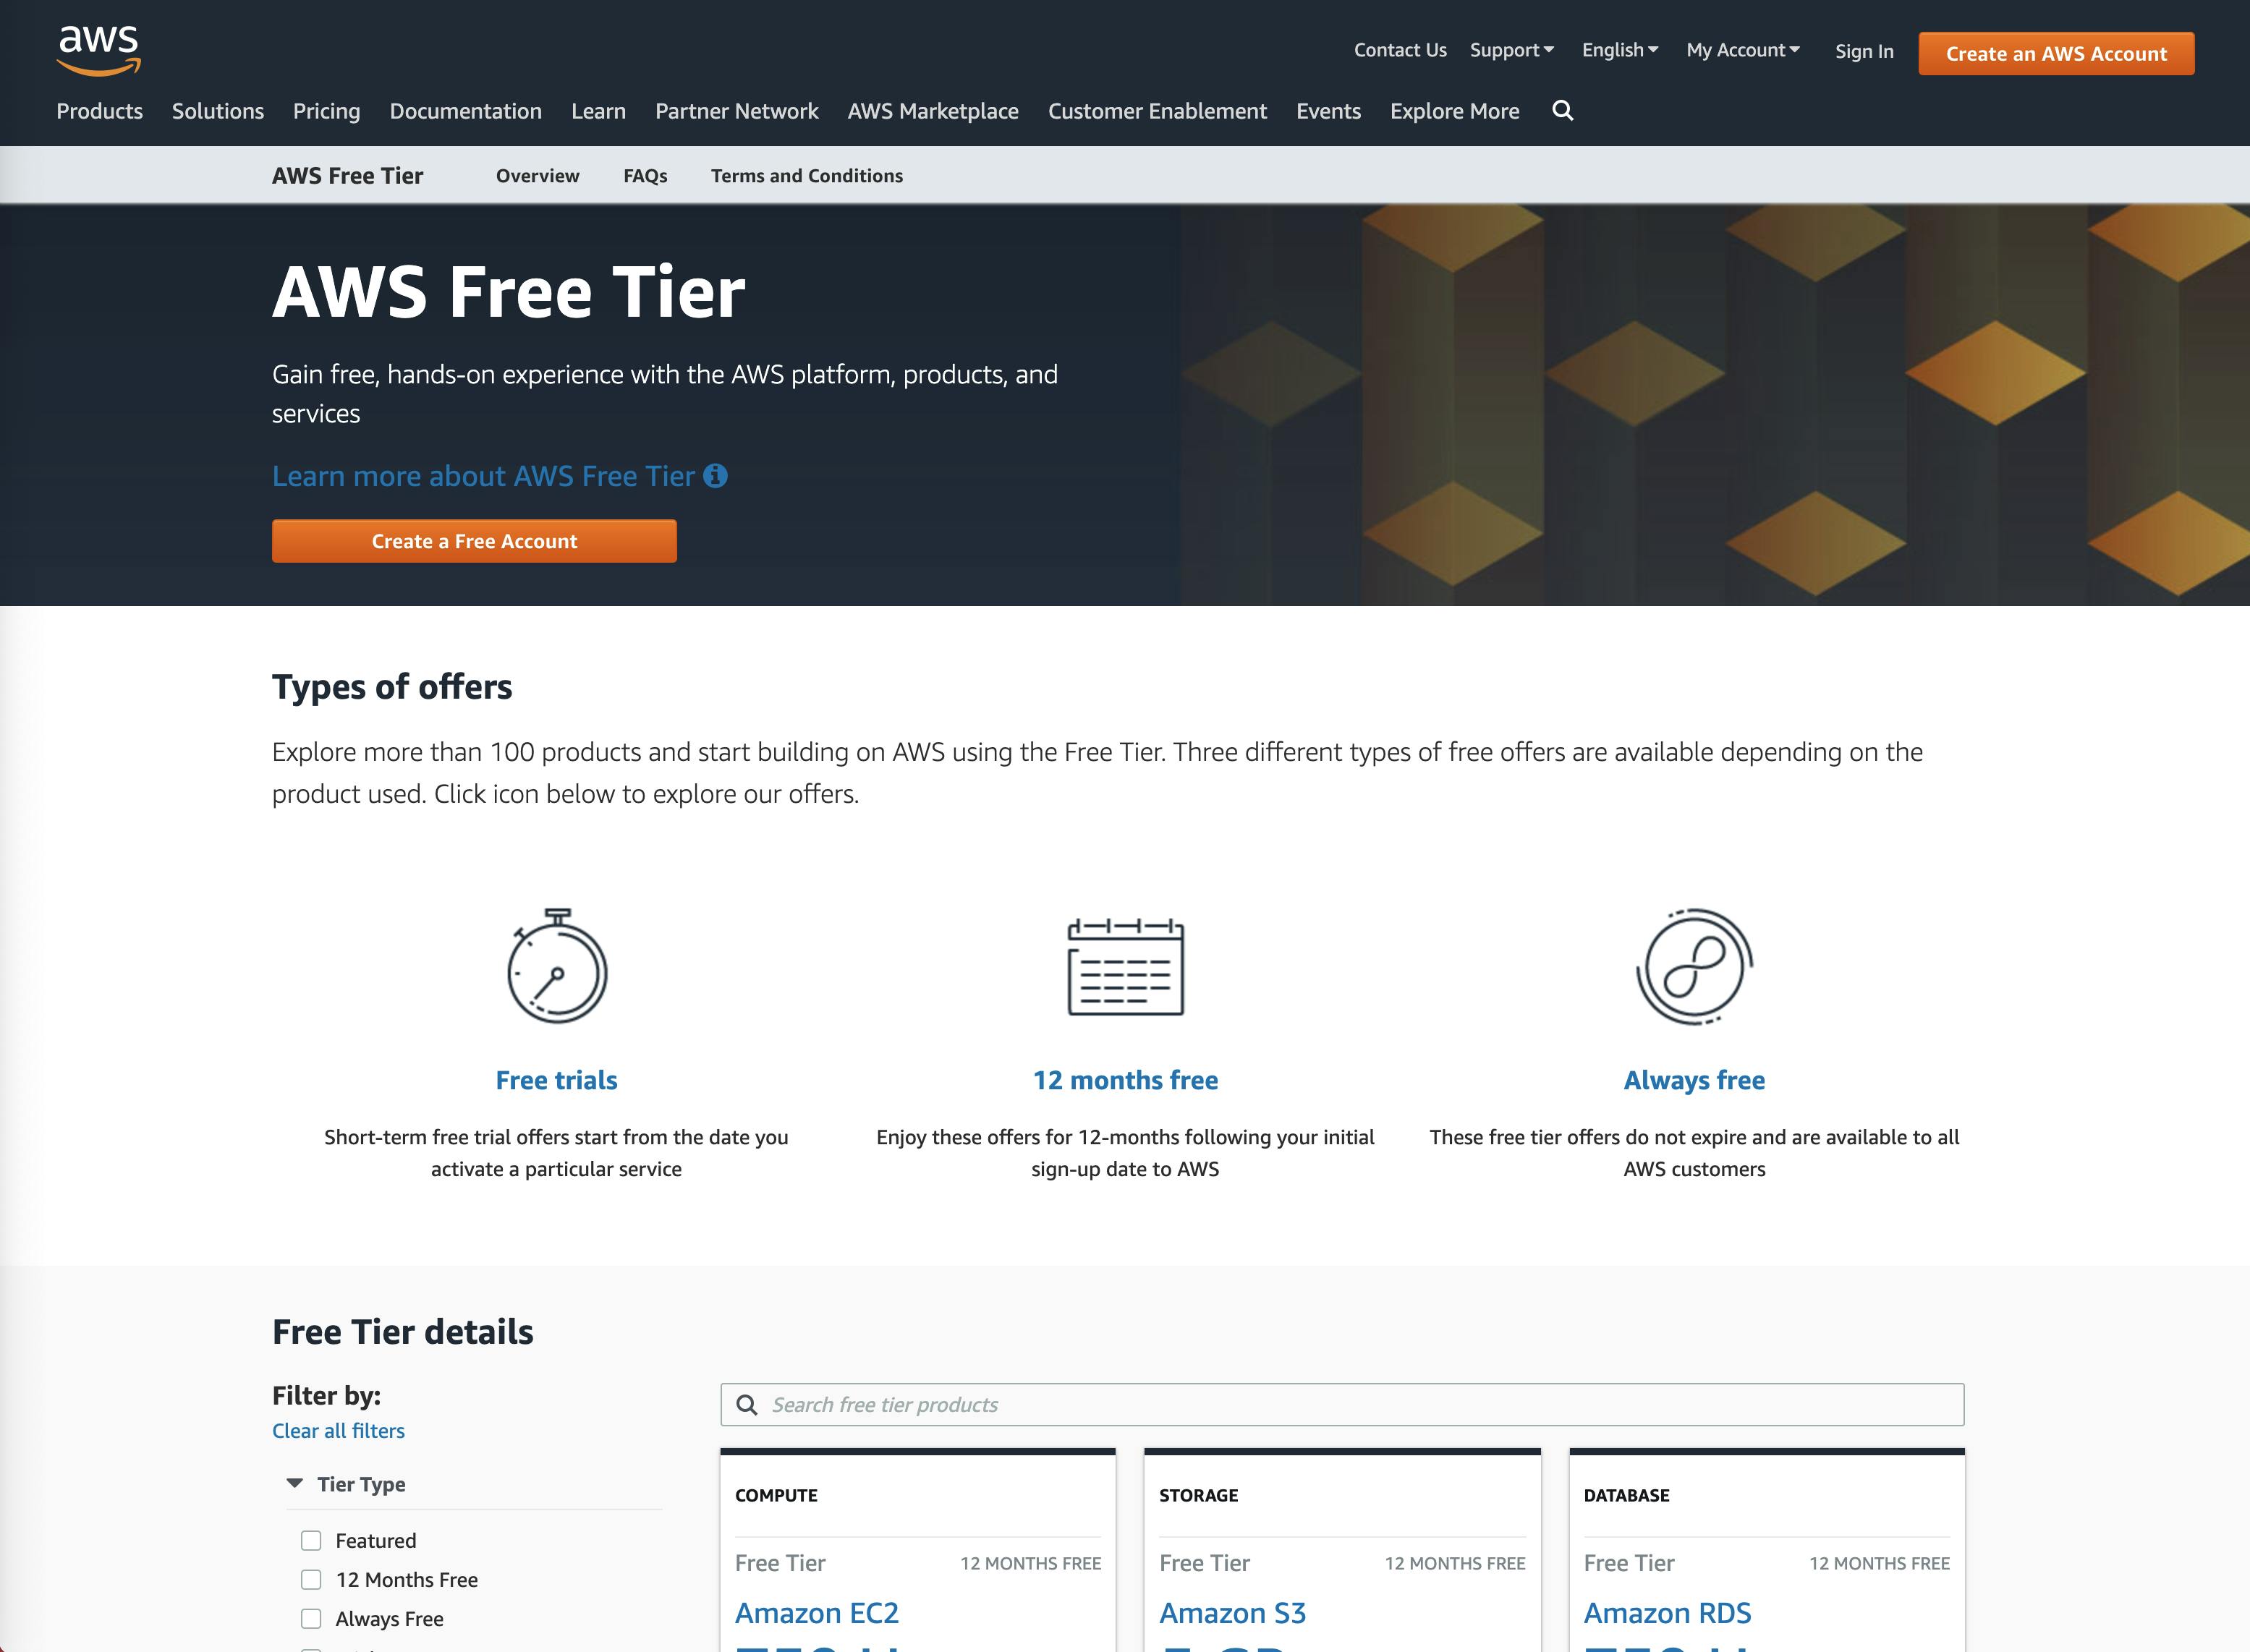
Explore what is included in the free tier! Some services are available freely for a dedicated time after you activated them and others are generally free for 12 months, although some will always remain free.
If you're done with that, click on Create a Free Account!
Account & contact information
To create an AWS account, you'll have to provide some general information. An email address, a password, and optionally, an AWS account name (you can change this later, so don't worry too much about it!
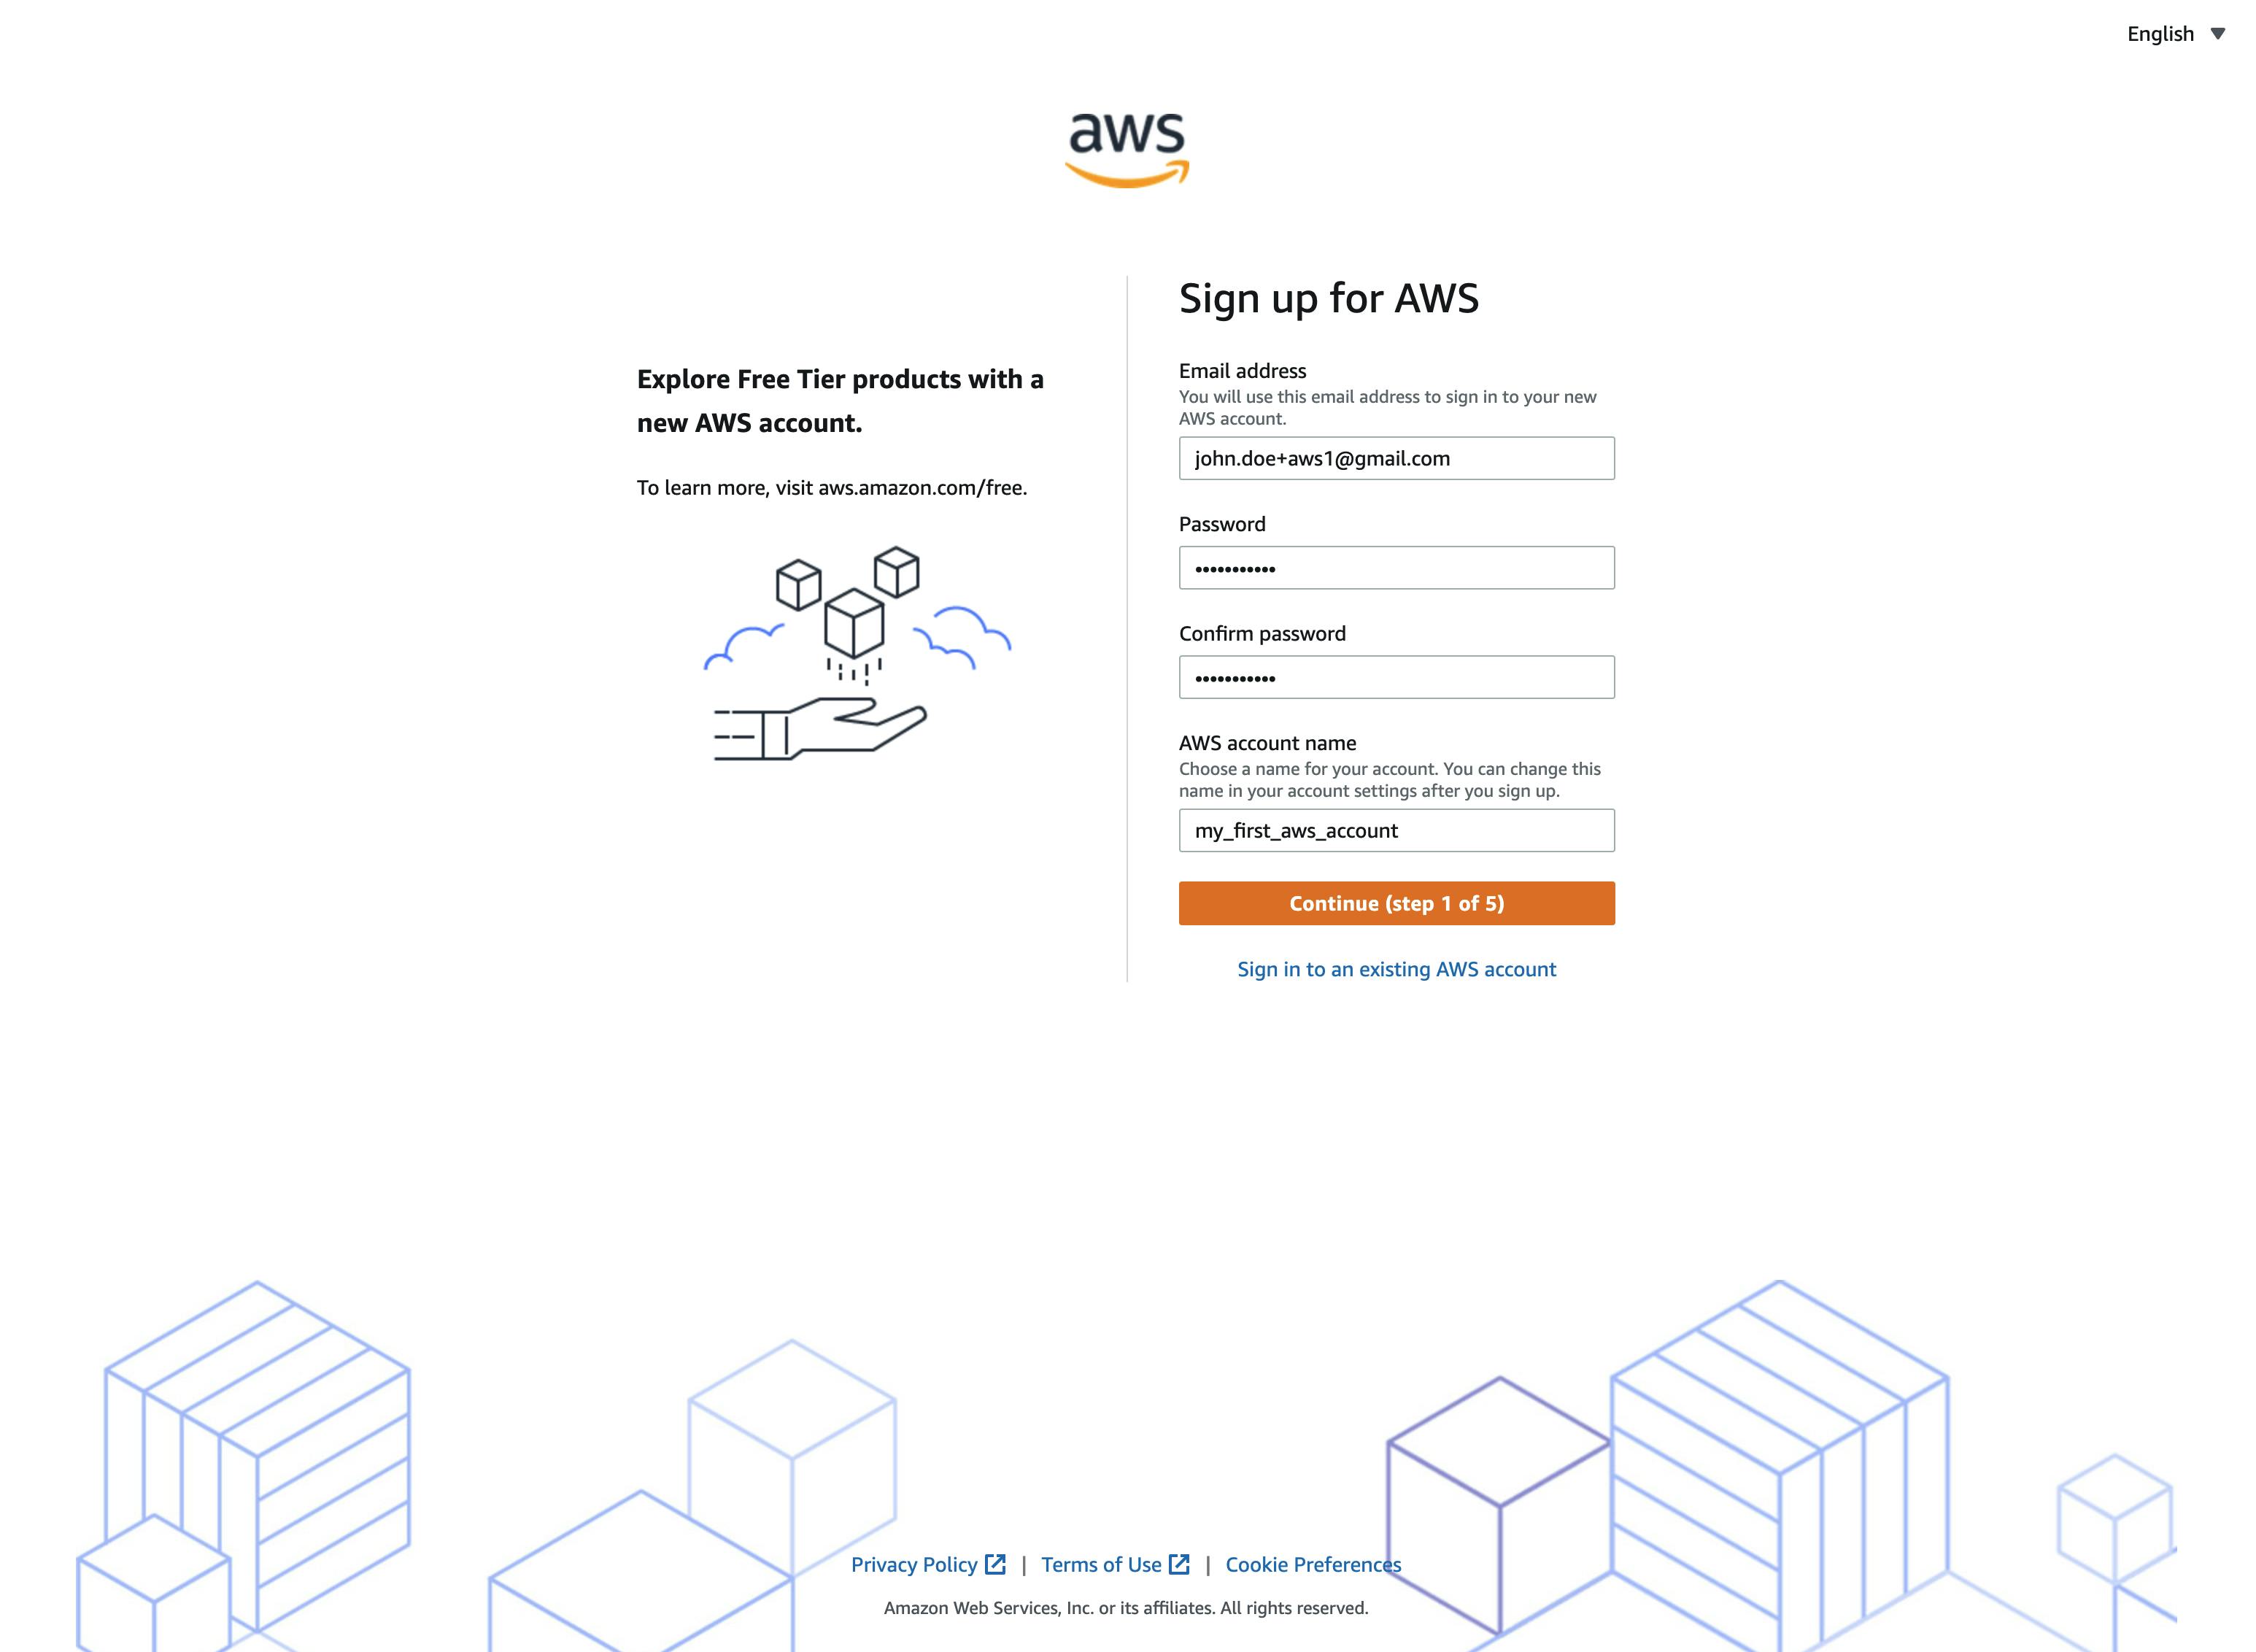
Lifehack: With many email providers, such as Gmail, you can create email aliases that will be treated as new email addresses by AWS, but not by the email providers. For example, you can use john.doe+aws1@gmail.com and john.doe+aws2@gmail.com to create 2 AWS accounts and will receive all the emails sent to these addresses under john.doe@gmail.com. Neat, right?
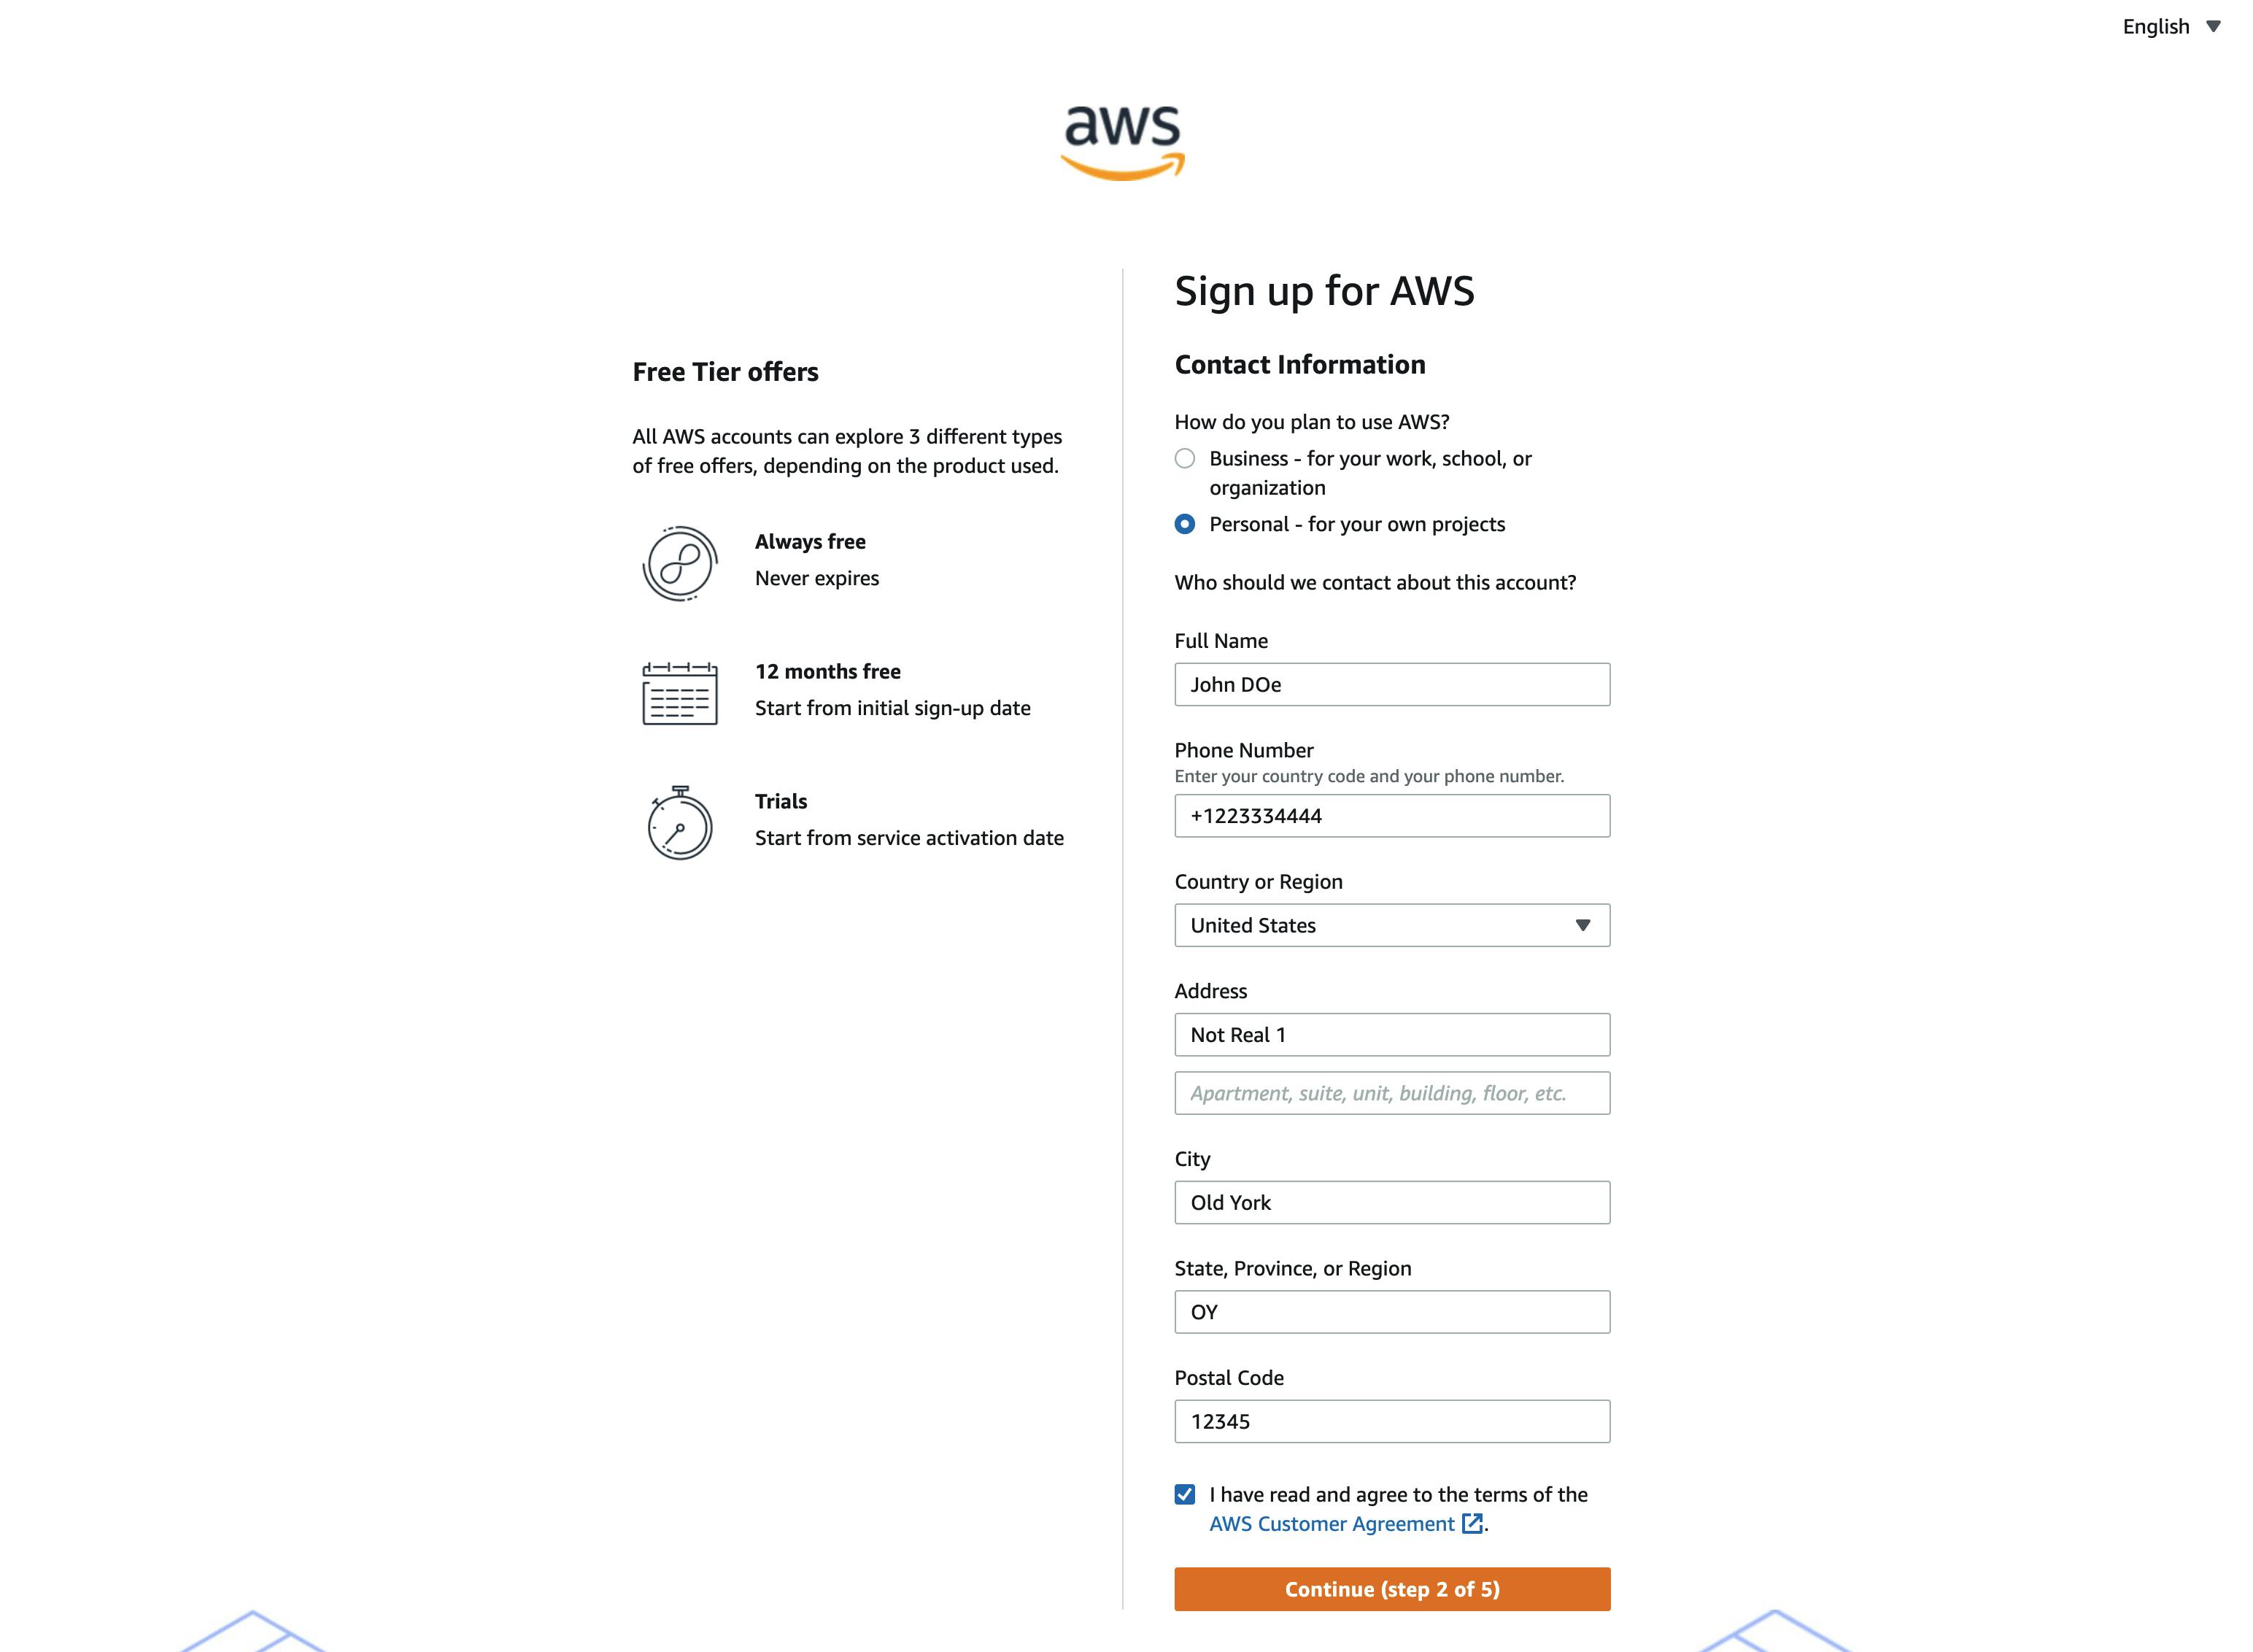
Continue with the next step and provide your contact information. In this tutorial, we are creating a personal account.
Billing information
As already written in the disclaimer, a valid credit card is needed for using AWS services. A pending transaction of $1 will occur for some business days on your credit card account.

If you are ready for that, just type in your billing information and continue with the next step.
Identity confirmation
To verify your identity, you have to provide a valid mobile phone number that will be used to send a one-time password (OTP) via SMS or a voice call.
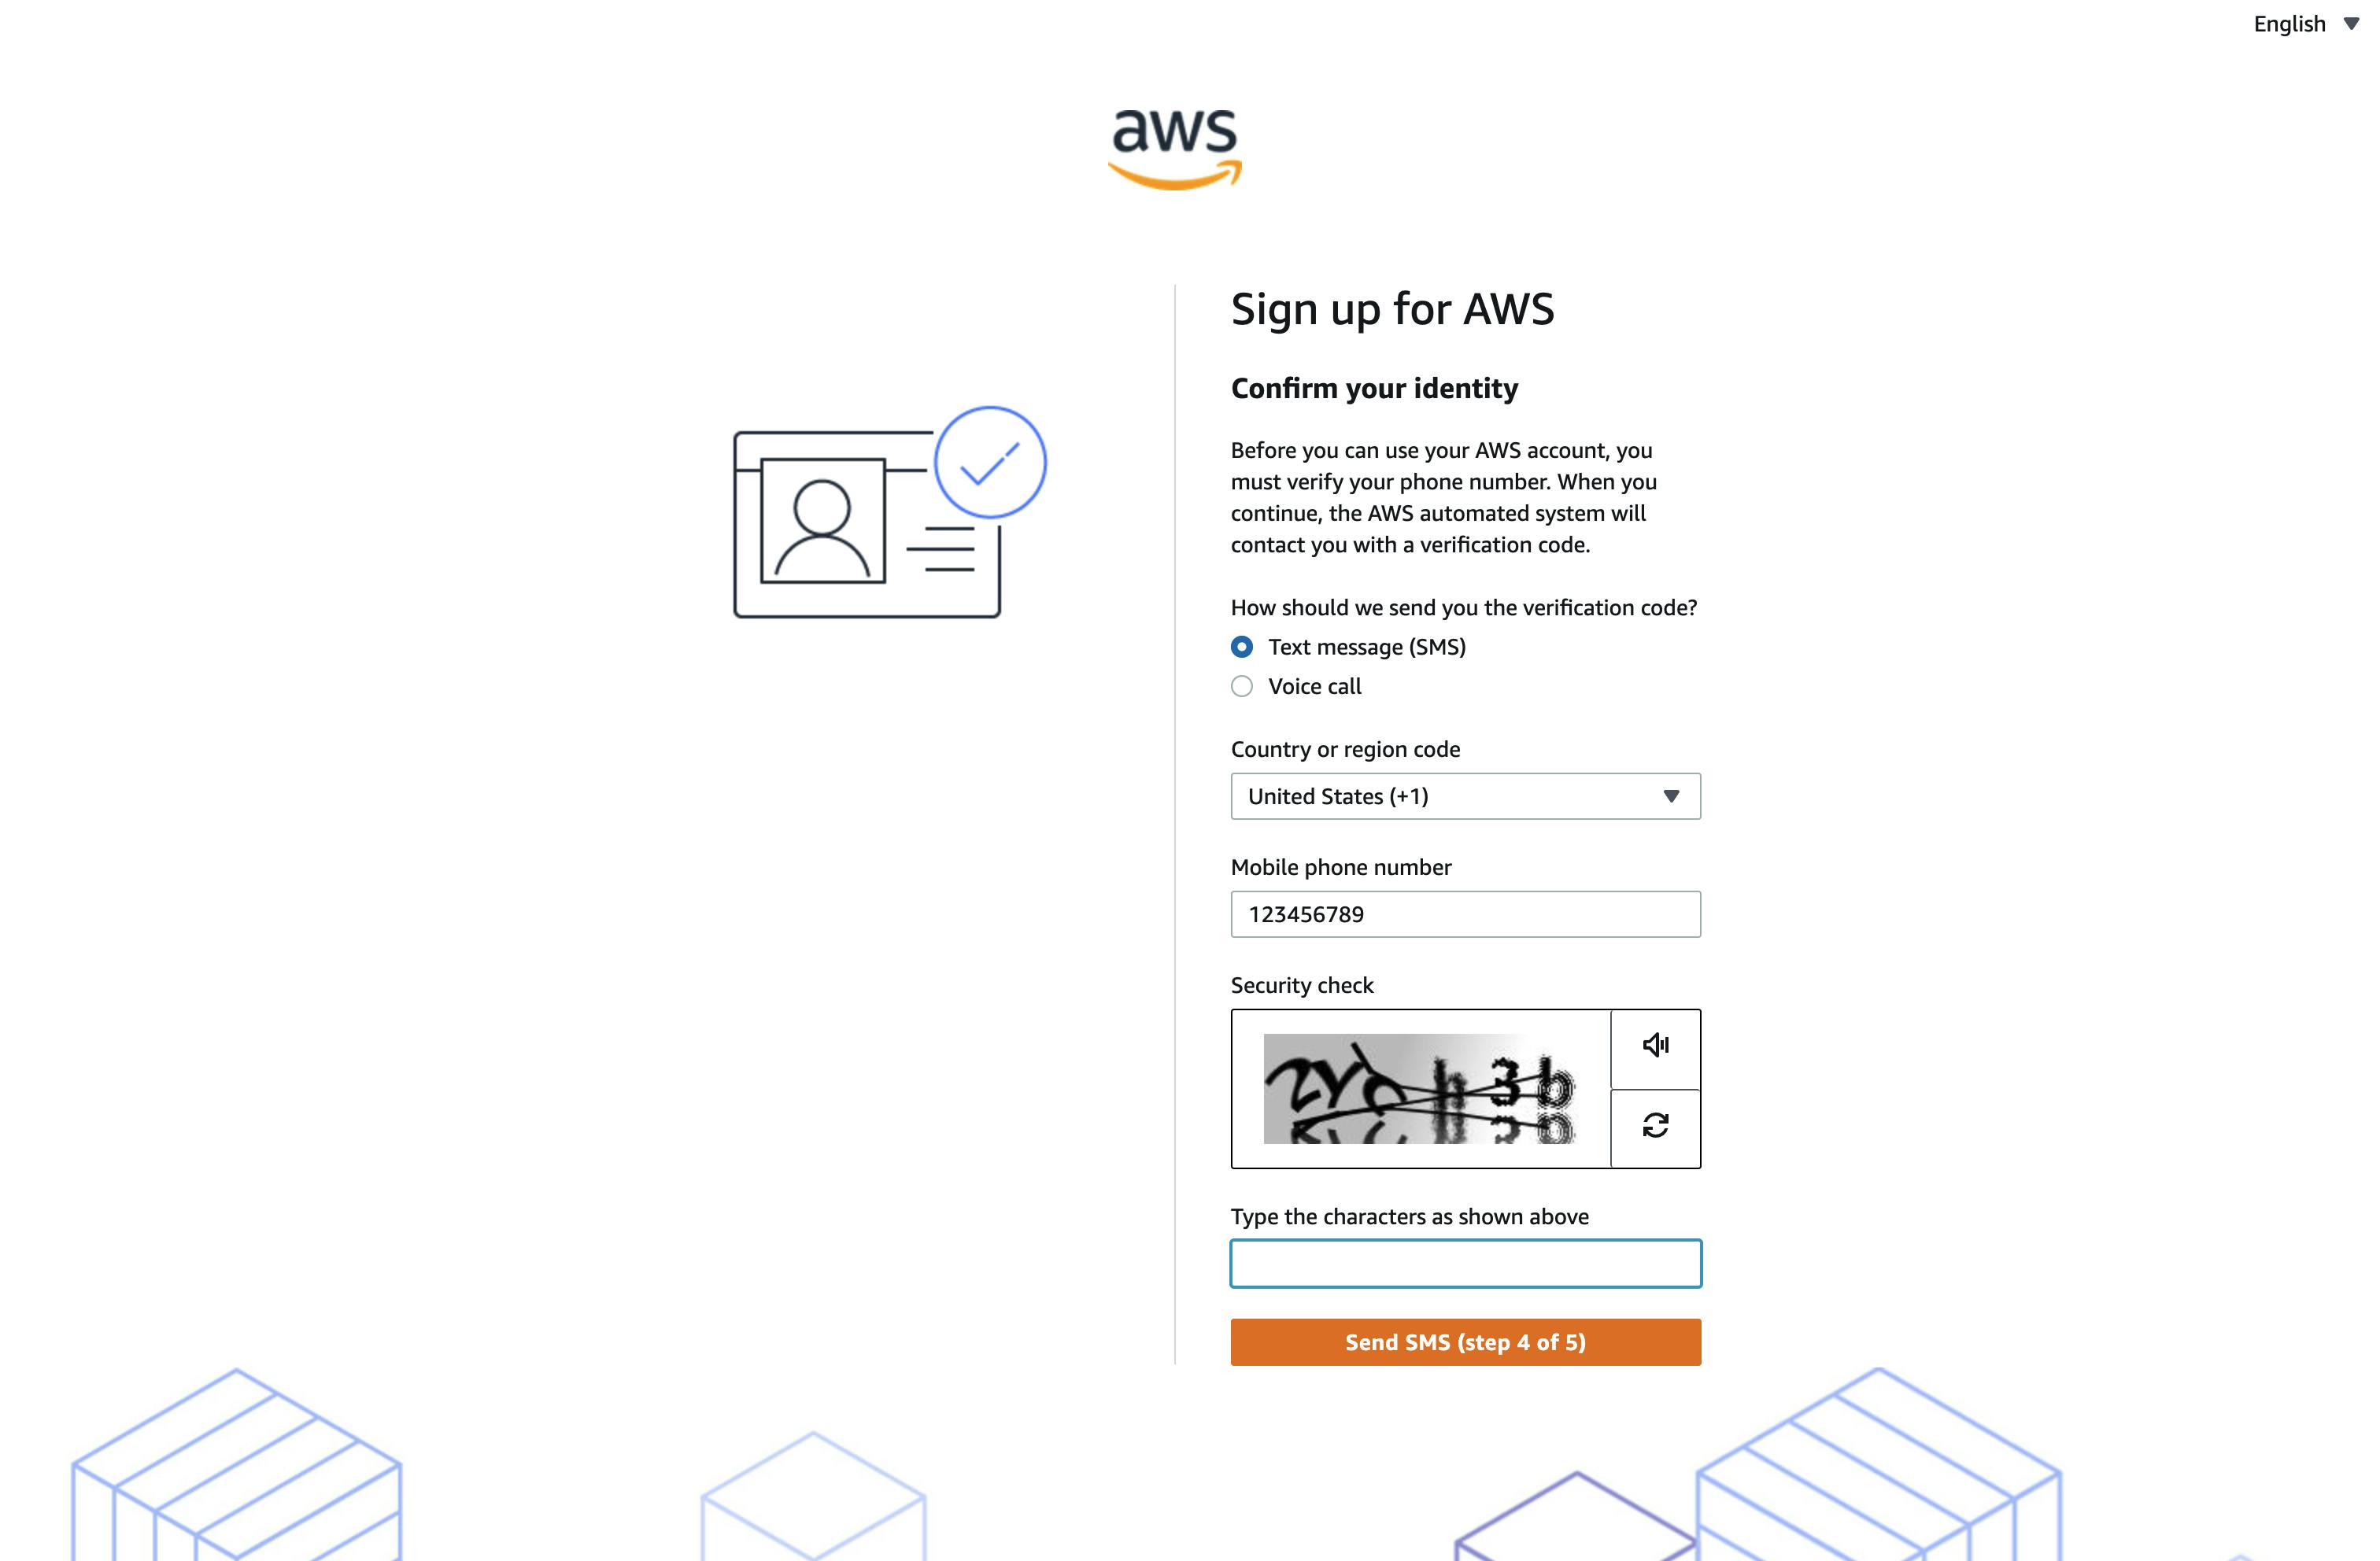
After you have received and inserted the OTP, continue with the last step of the account creation.
Support plan selection
AWS offers different tiers of support: Basic, Developer, Business & Enterprise.
These come with different service-level agreements (SLA) and prices. In this tutorial, we will stick to Basic support because it is free.
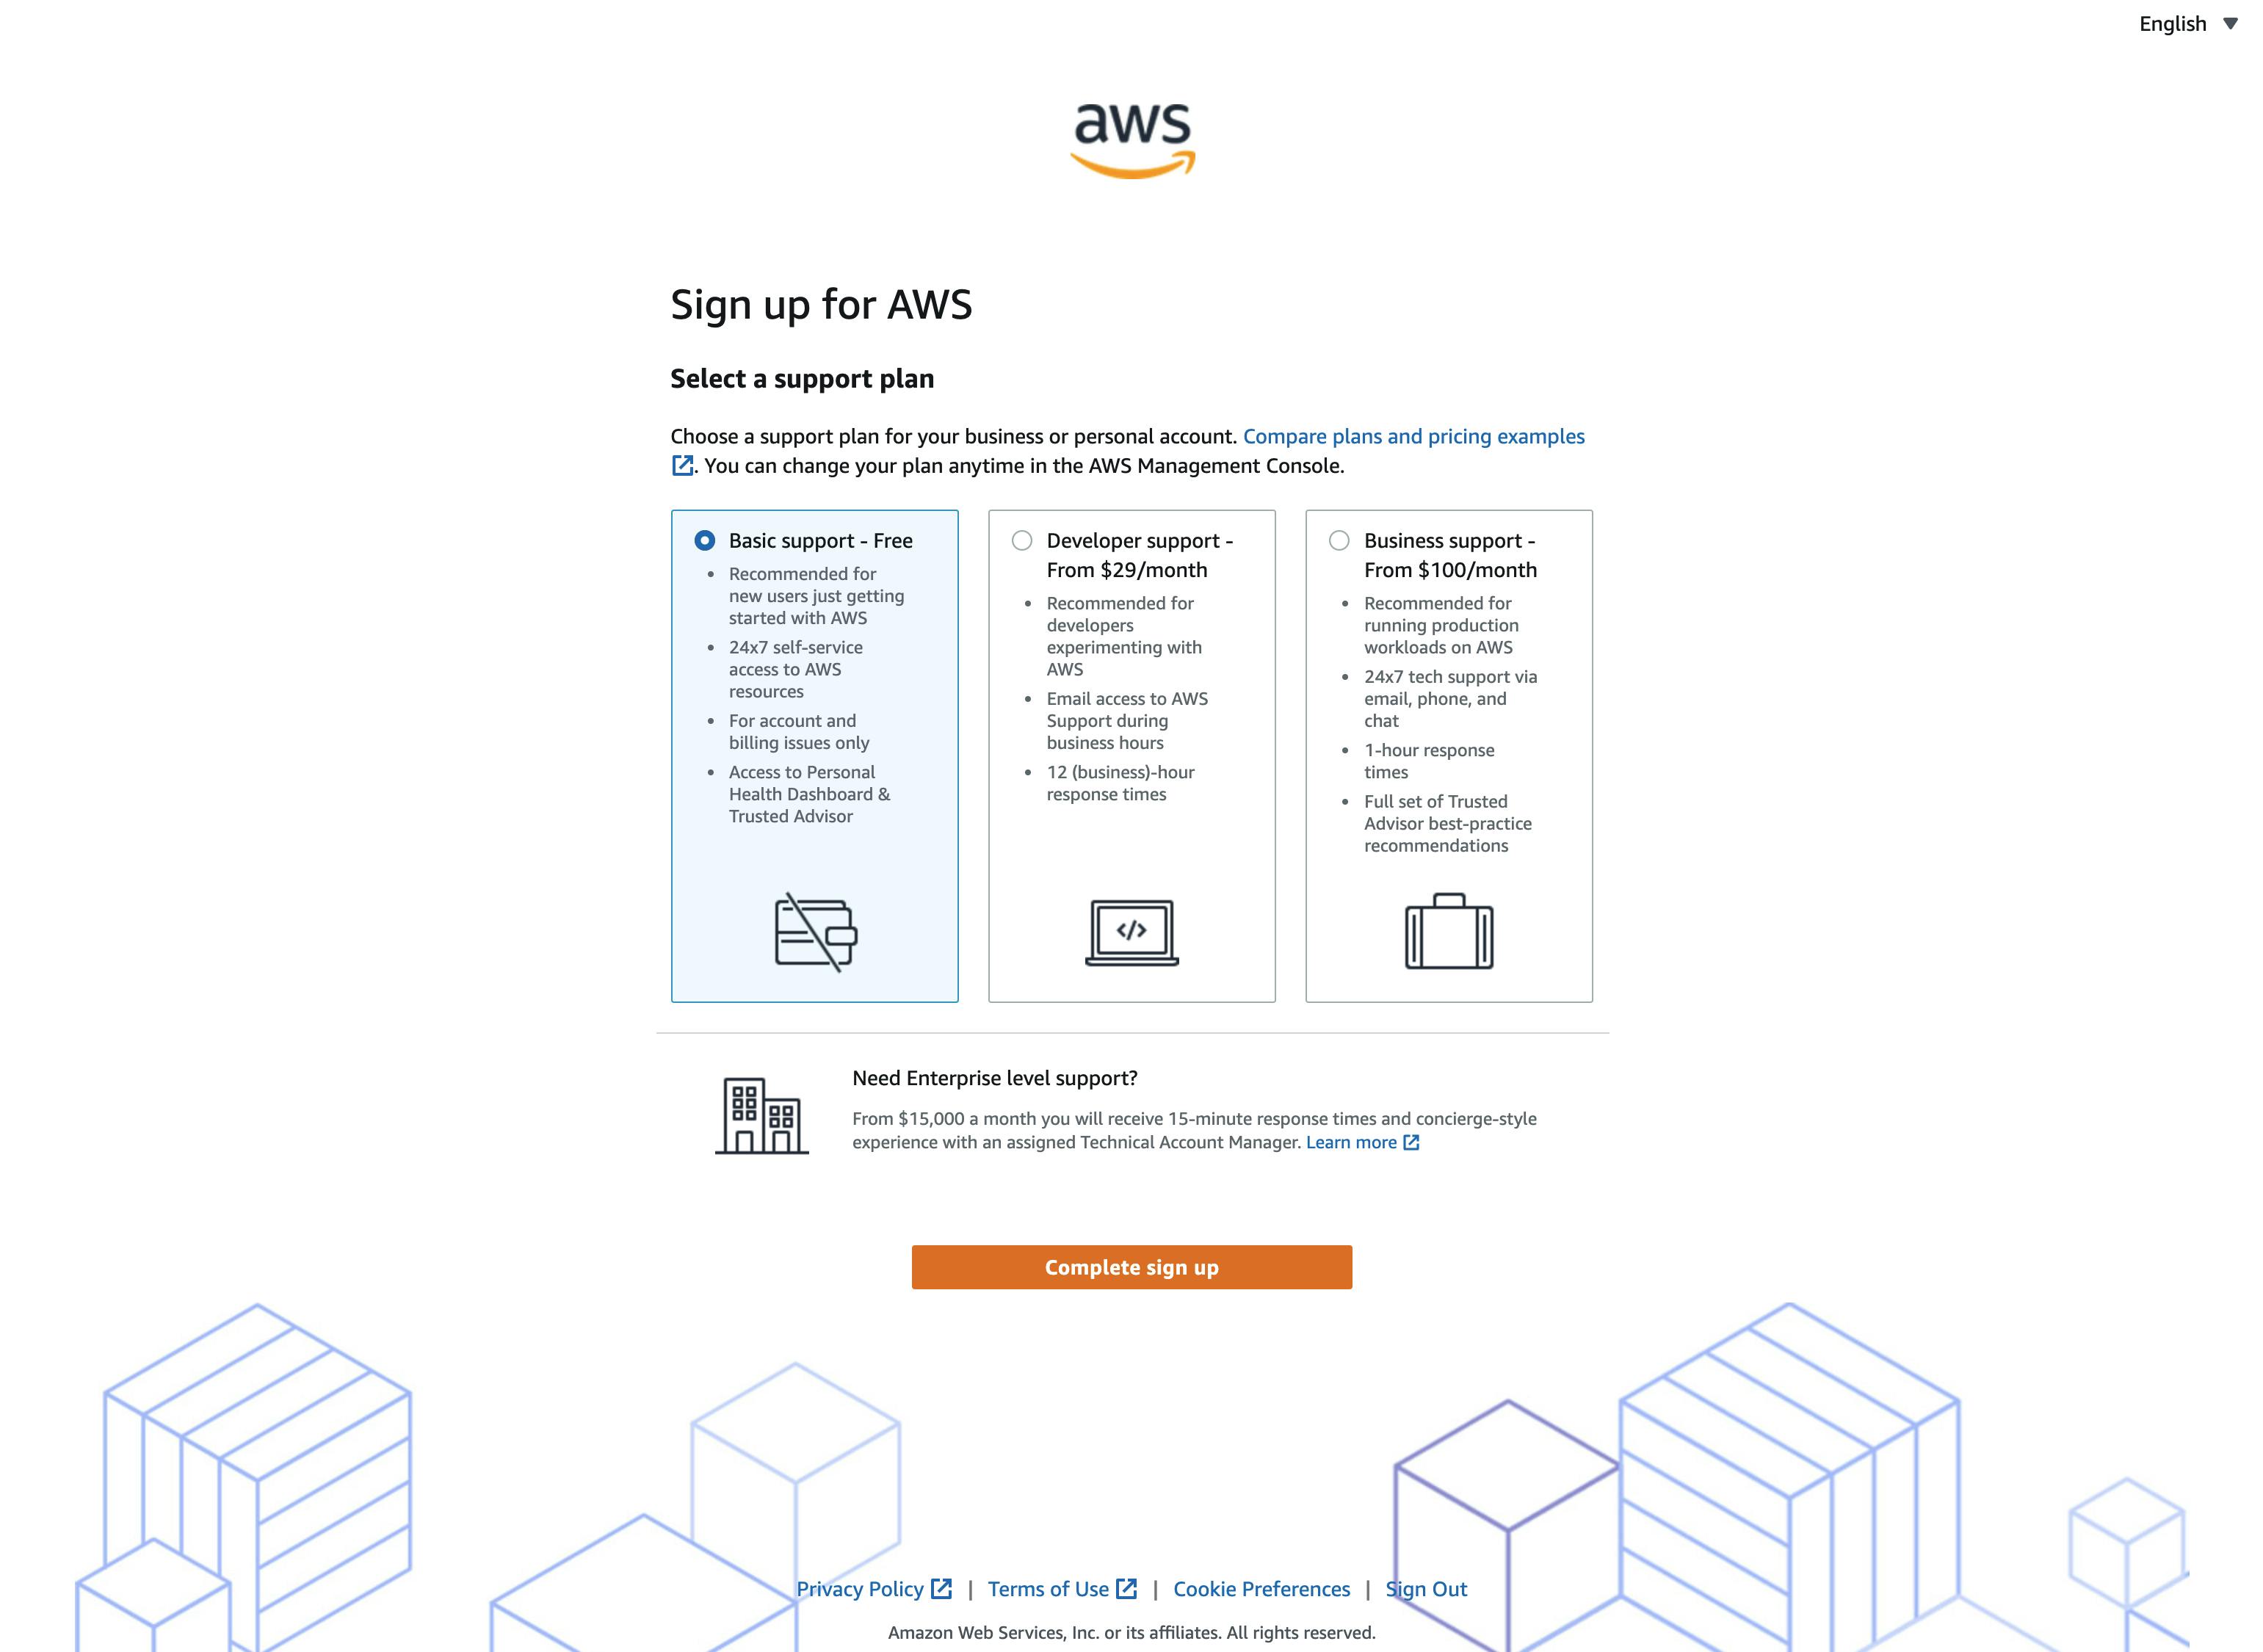
Alright, hit Complete sign up and congratulations, you have created your very first AWS account!
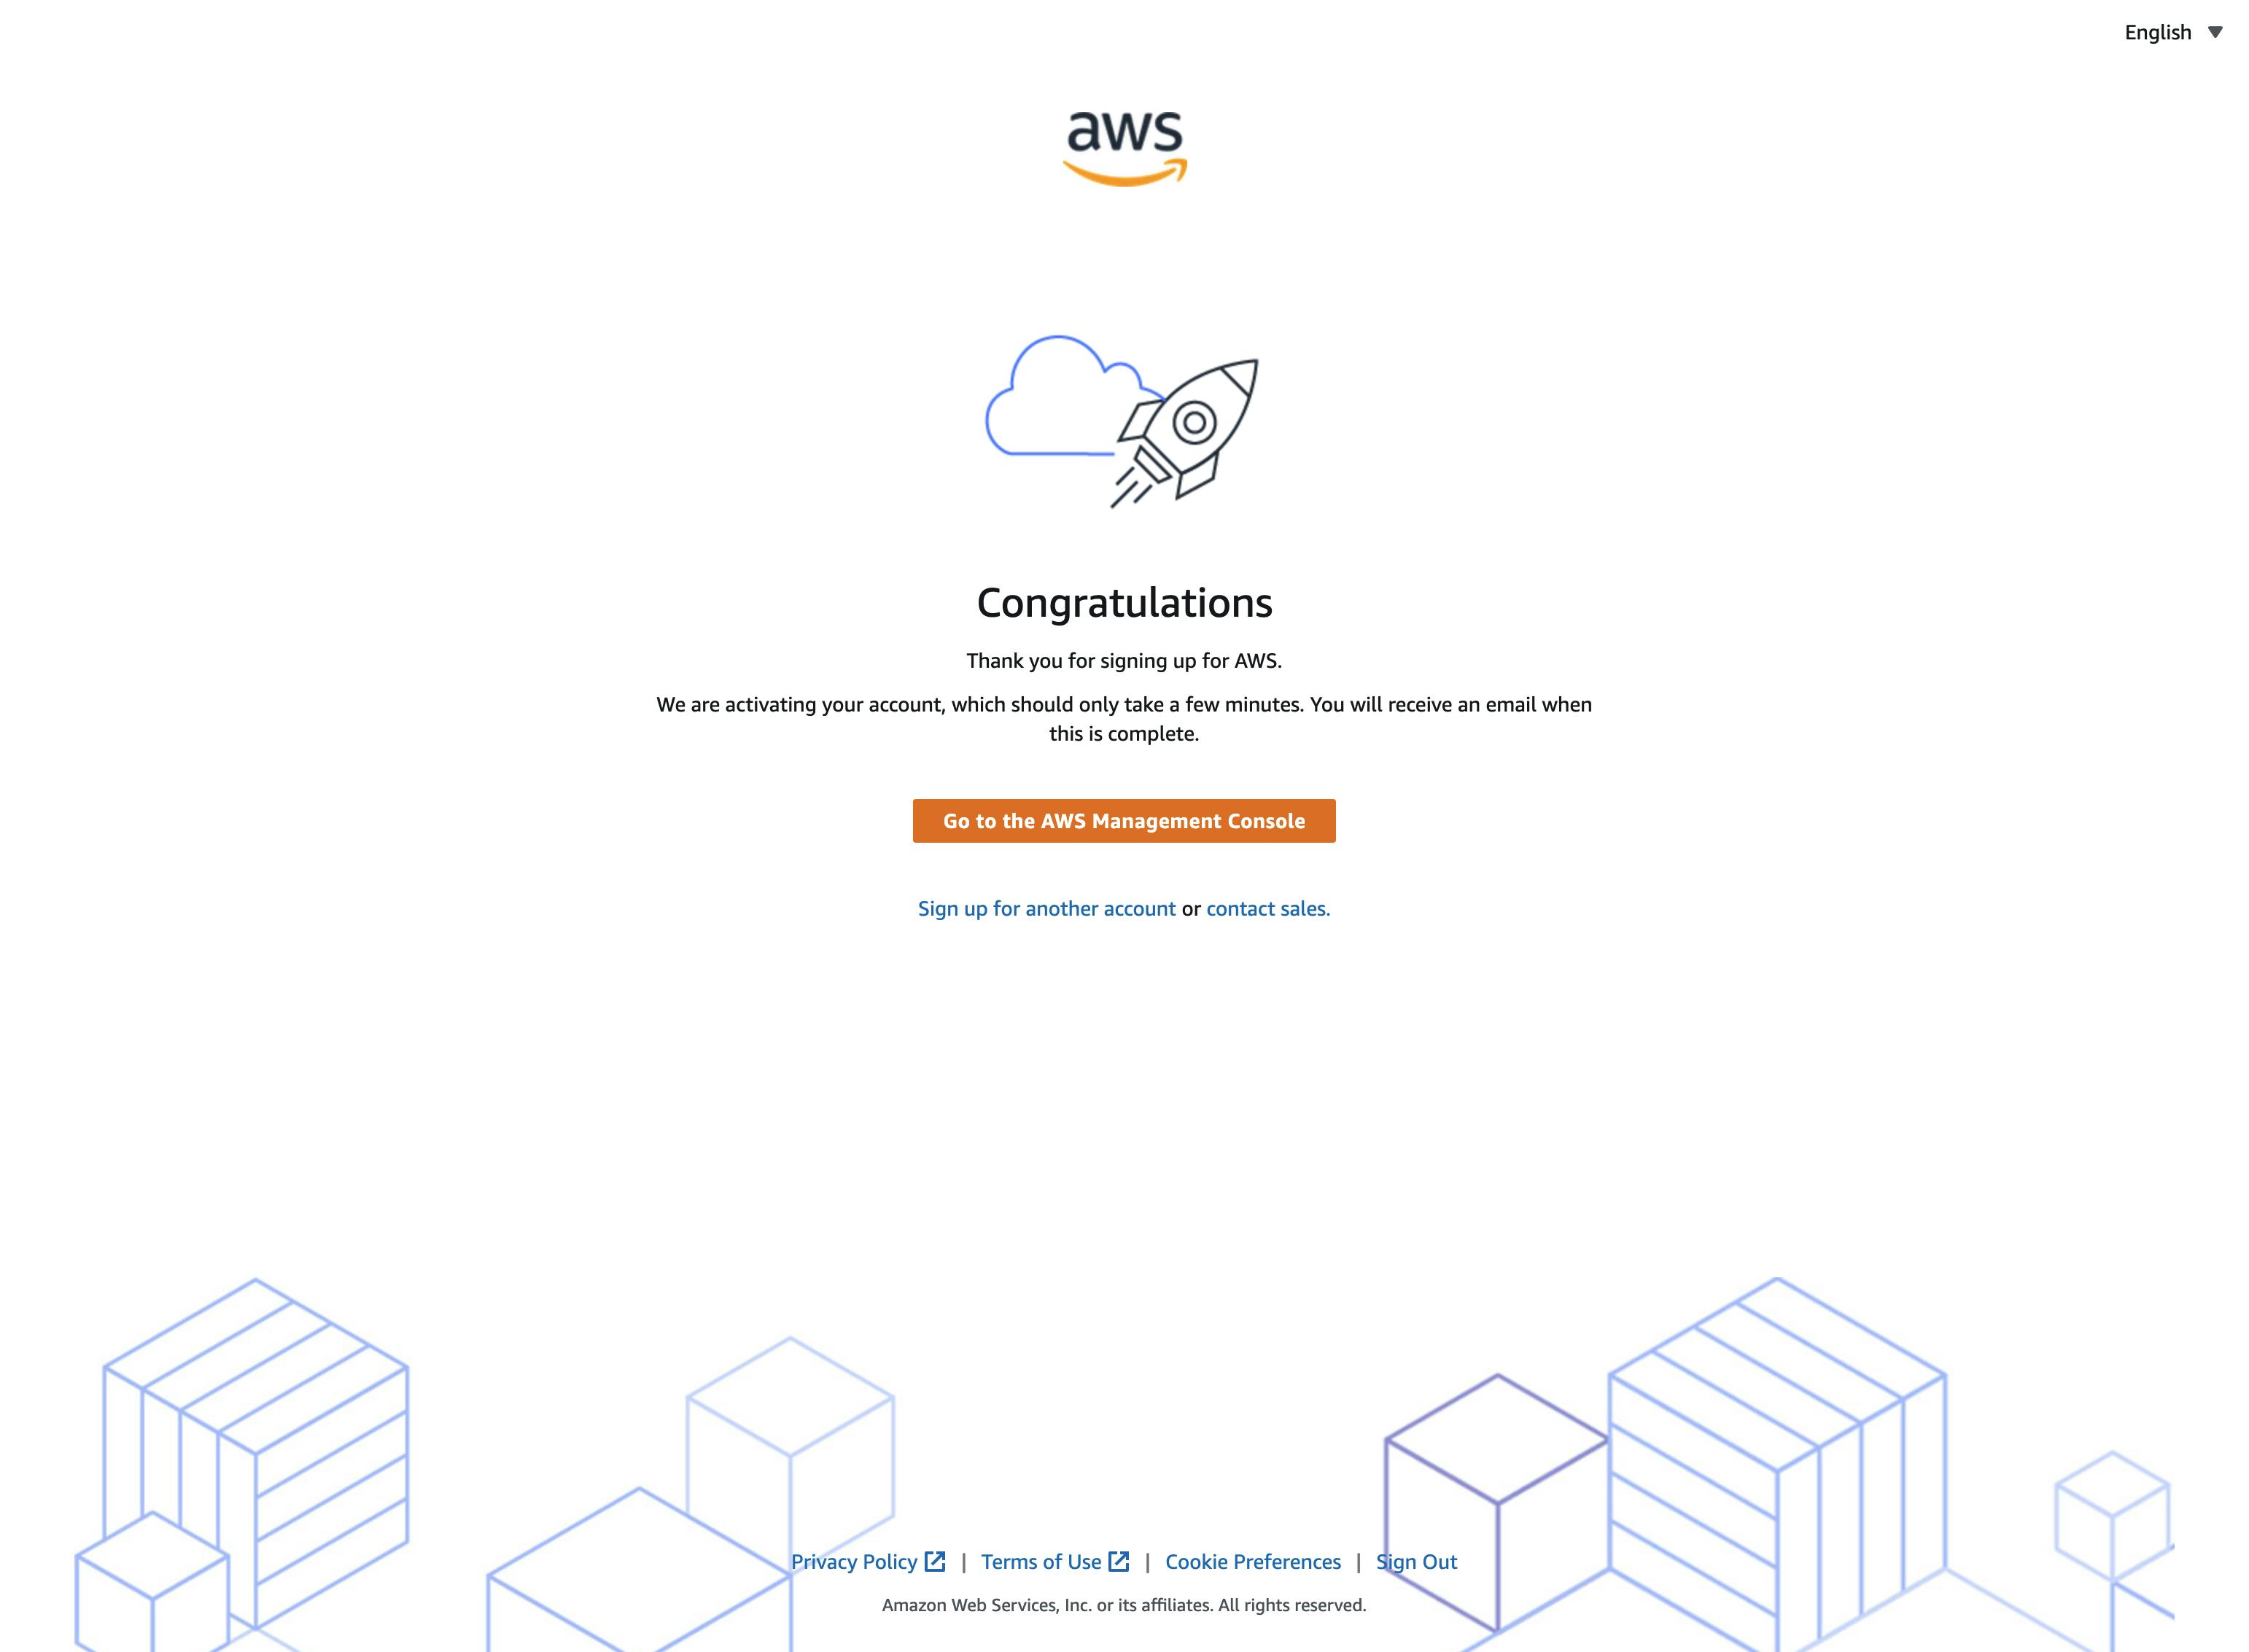
To continue with this tutorial, click on Go to the AWS Management Console.
AWS account management
After we have created the new account, we will now log in, and secure it with MFA.
Accessing your AWS account
Okay, let's log in to the new account for the first time. If you have clicked on the link from the previous step, you will already see the login screen of the AWS console. If not, click on this link.
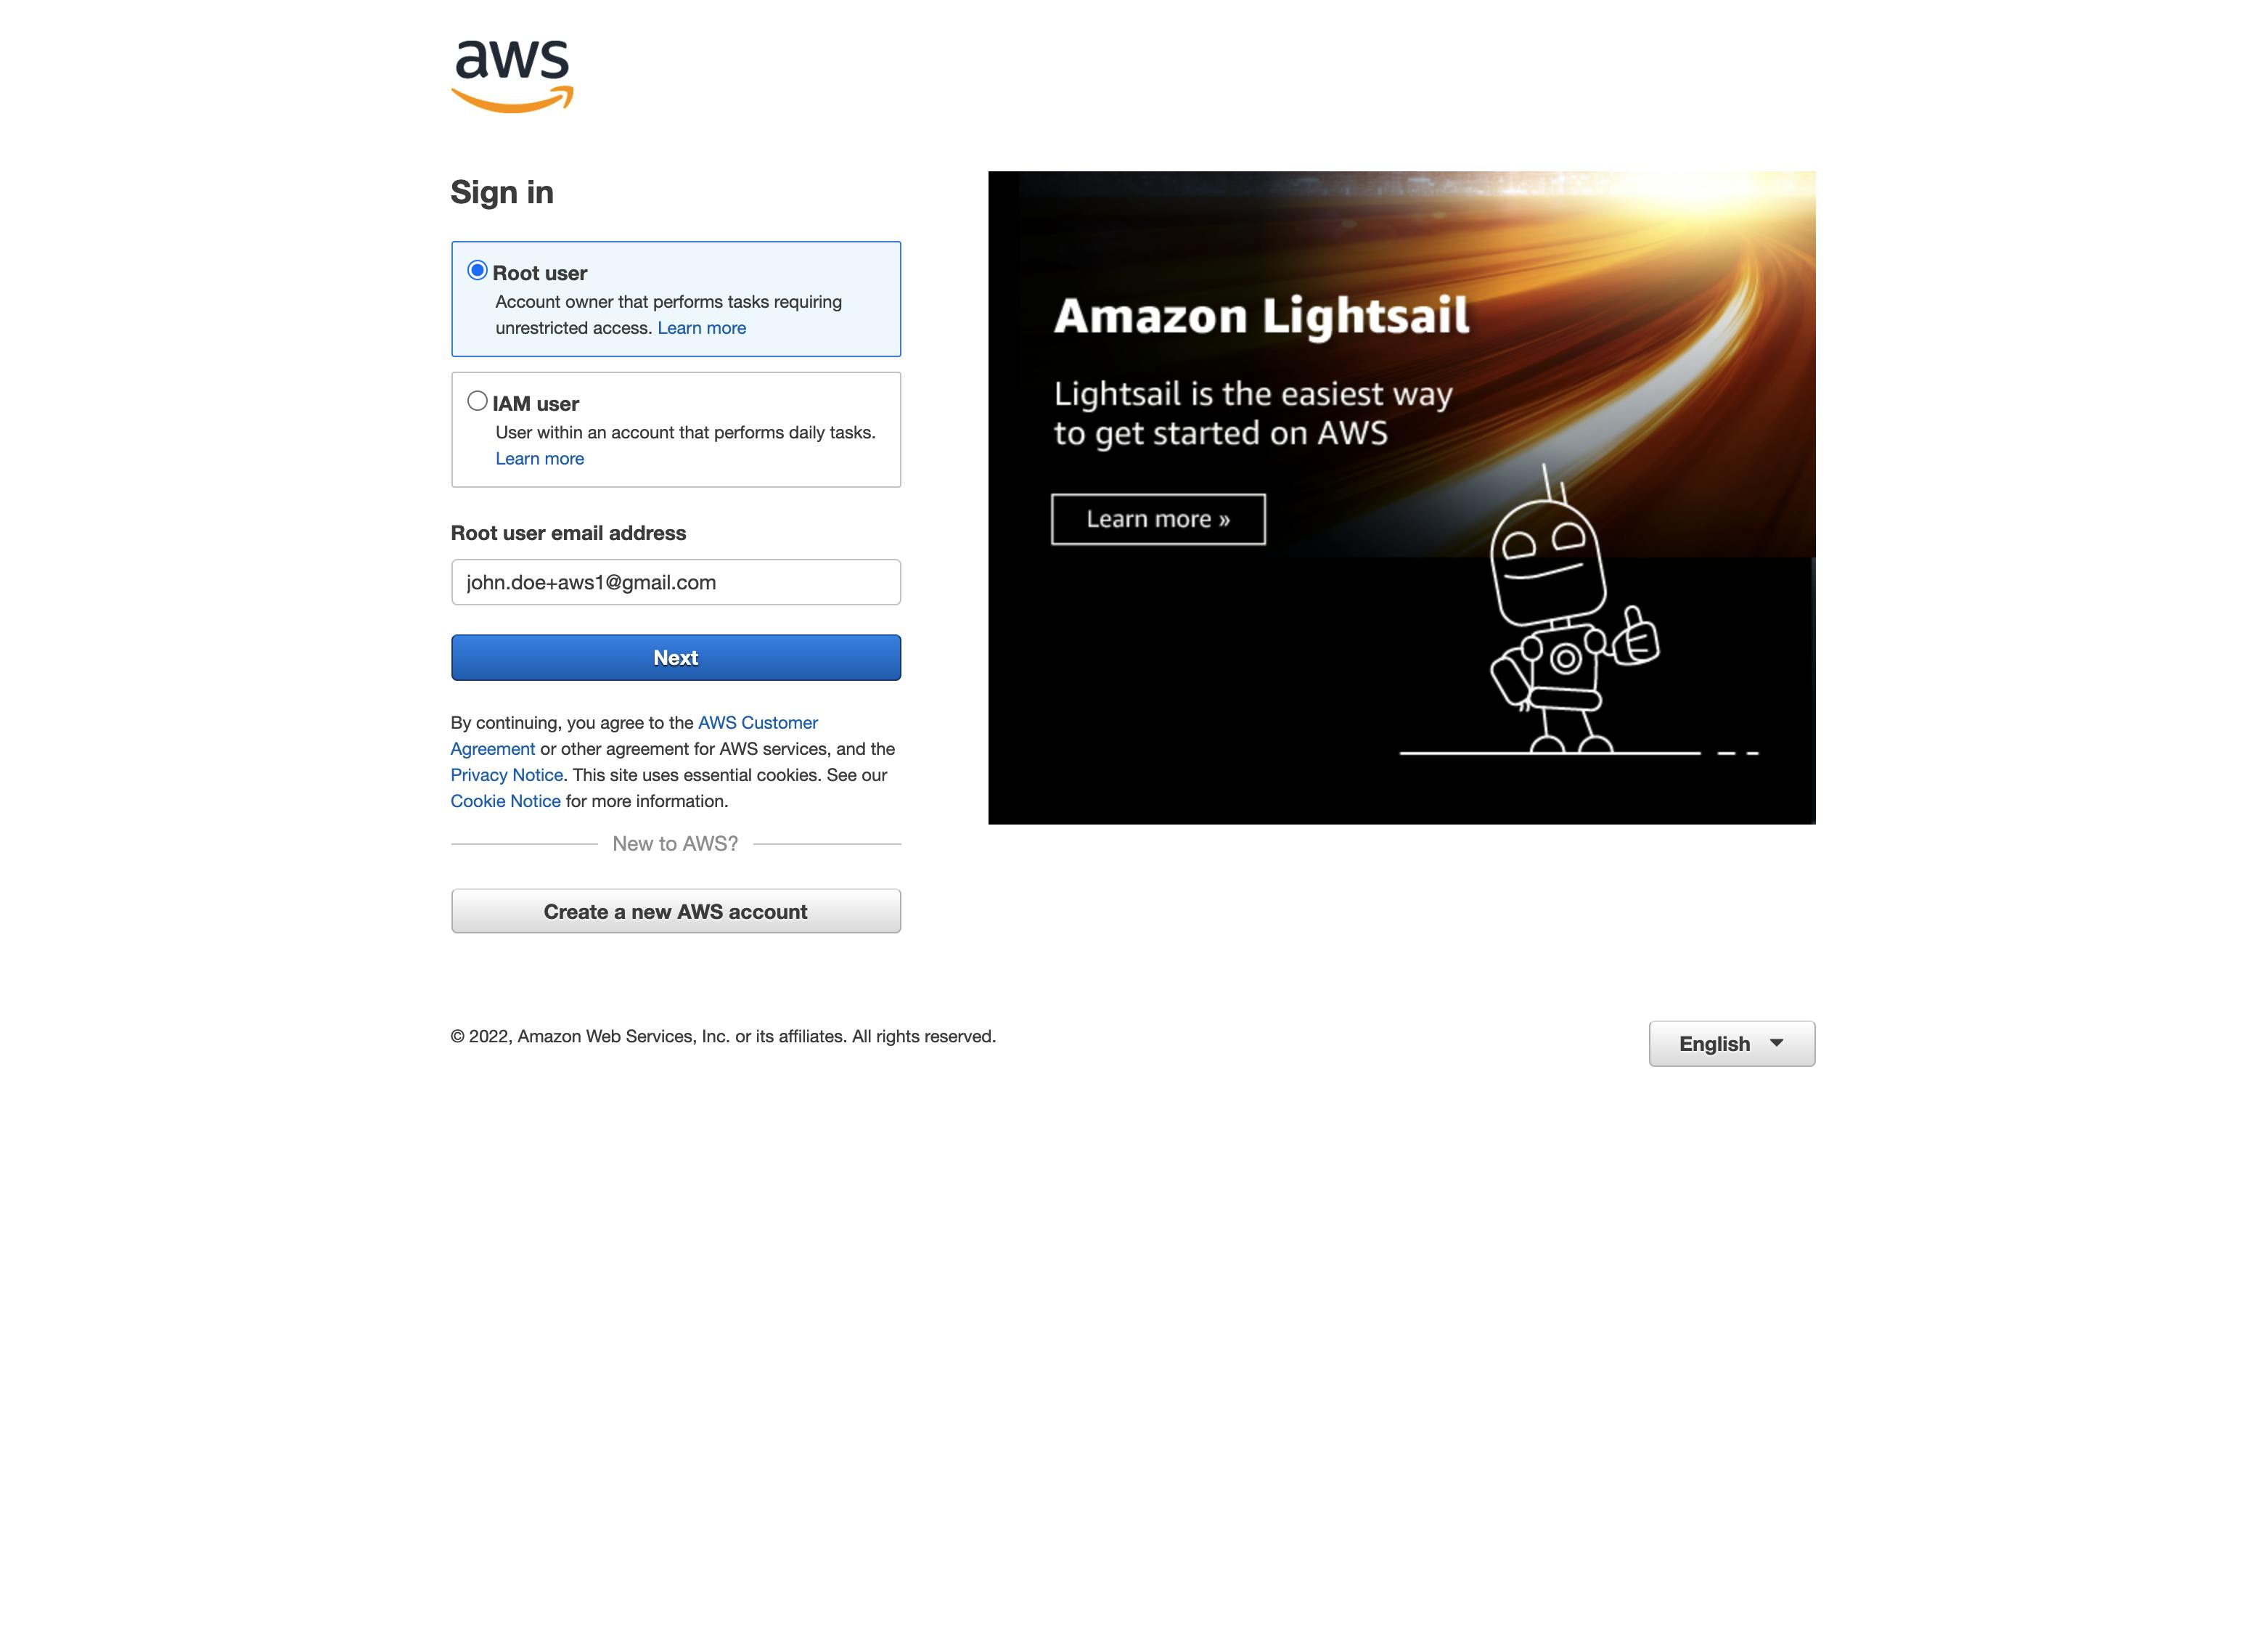
Select Root user, enter the email address you've used for creating your account and your password.
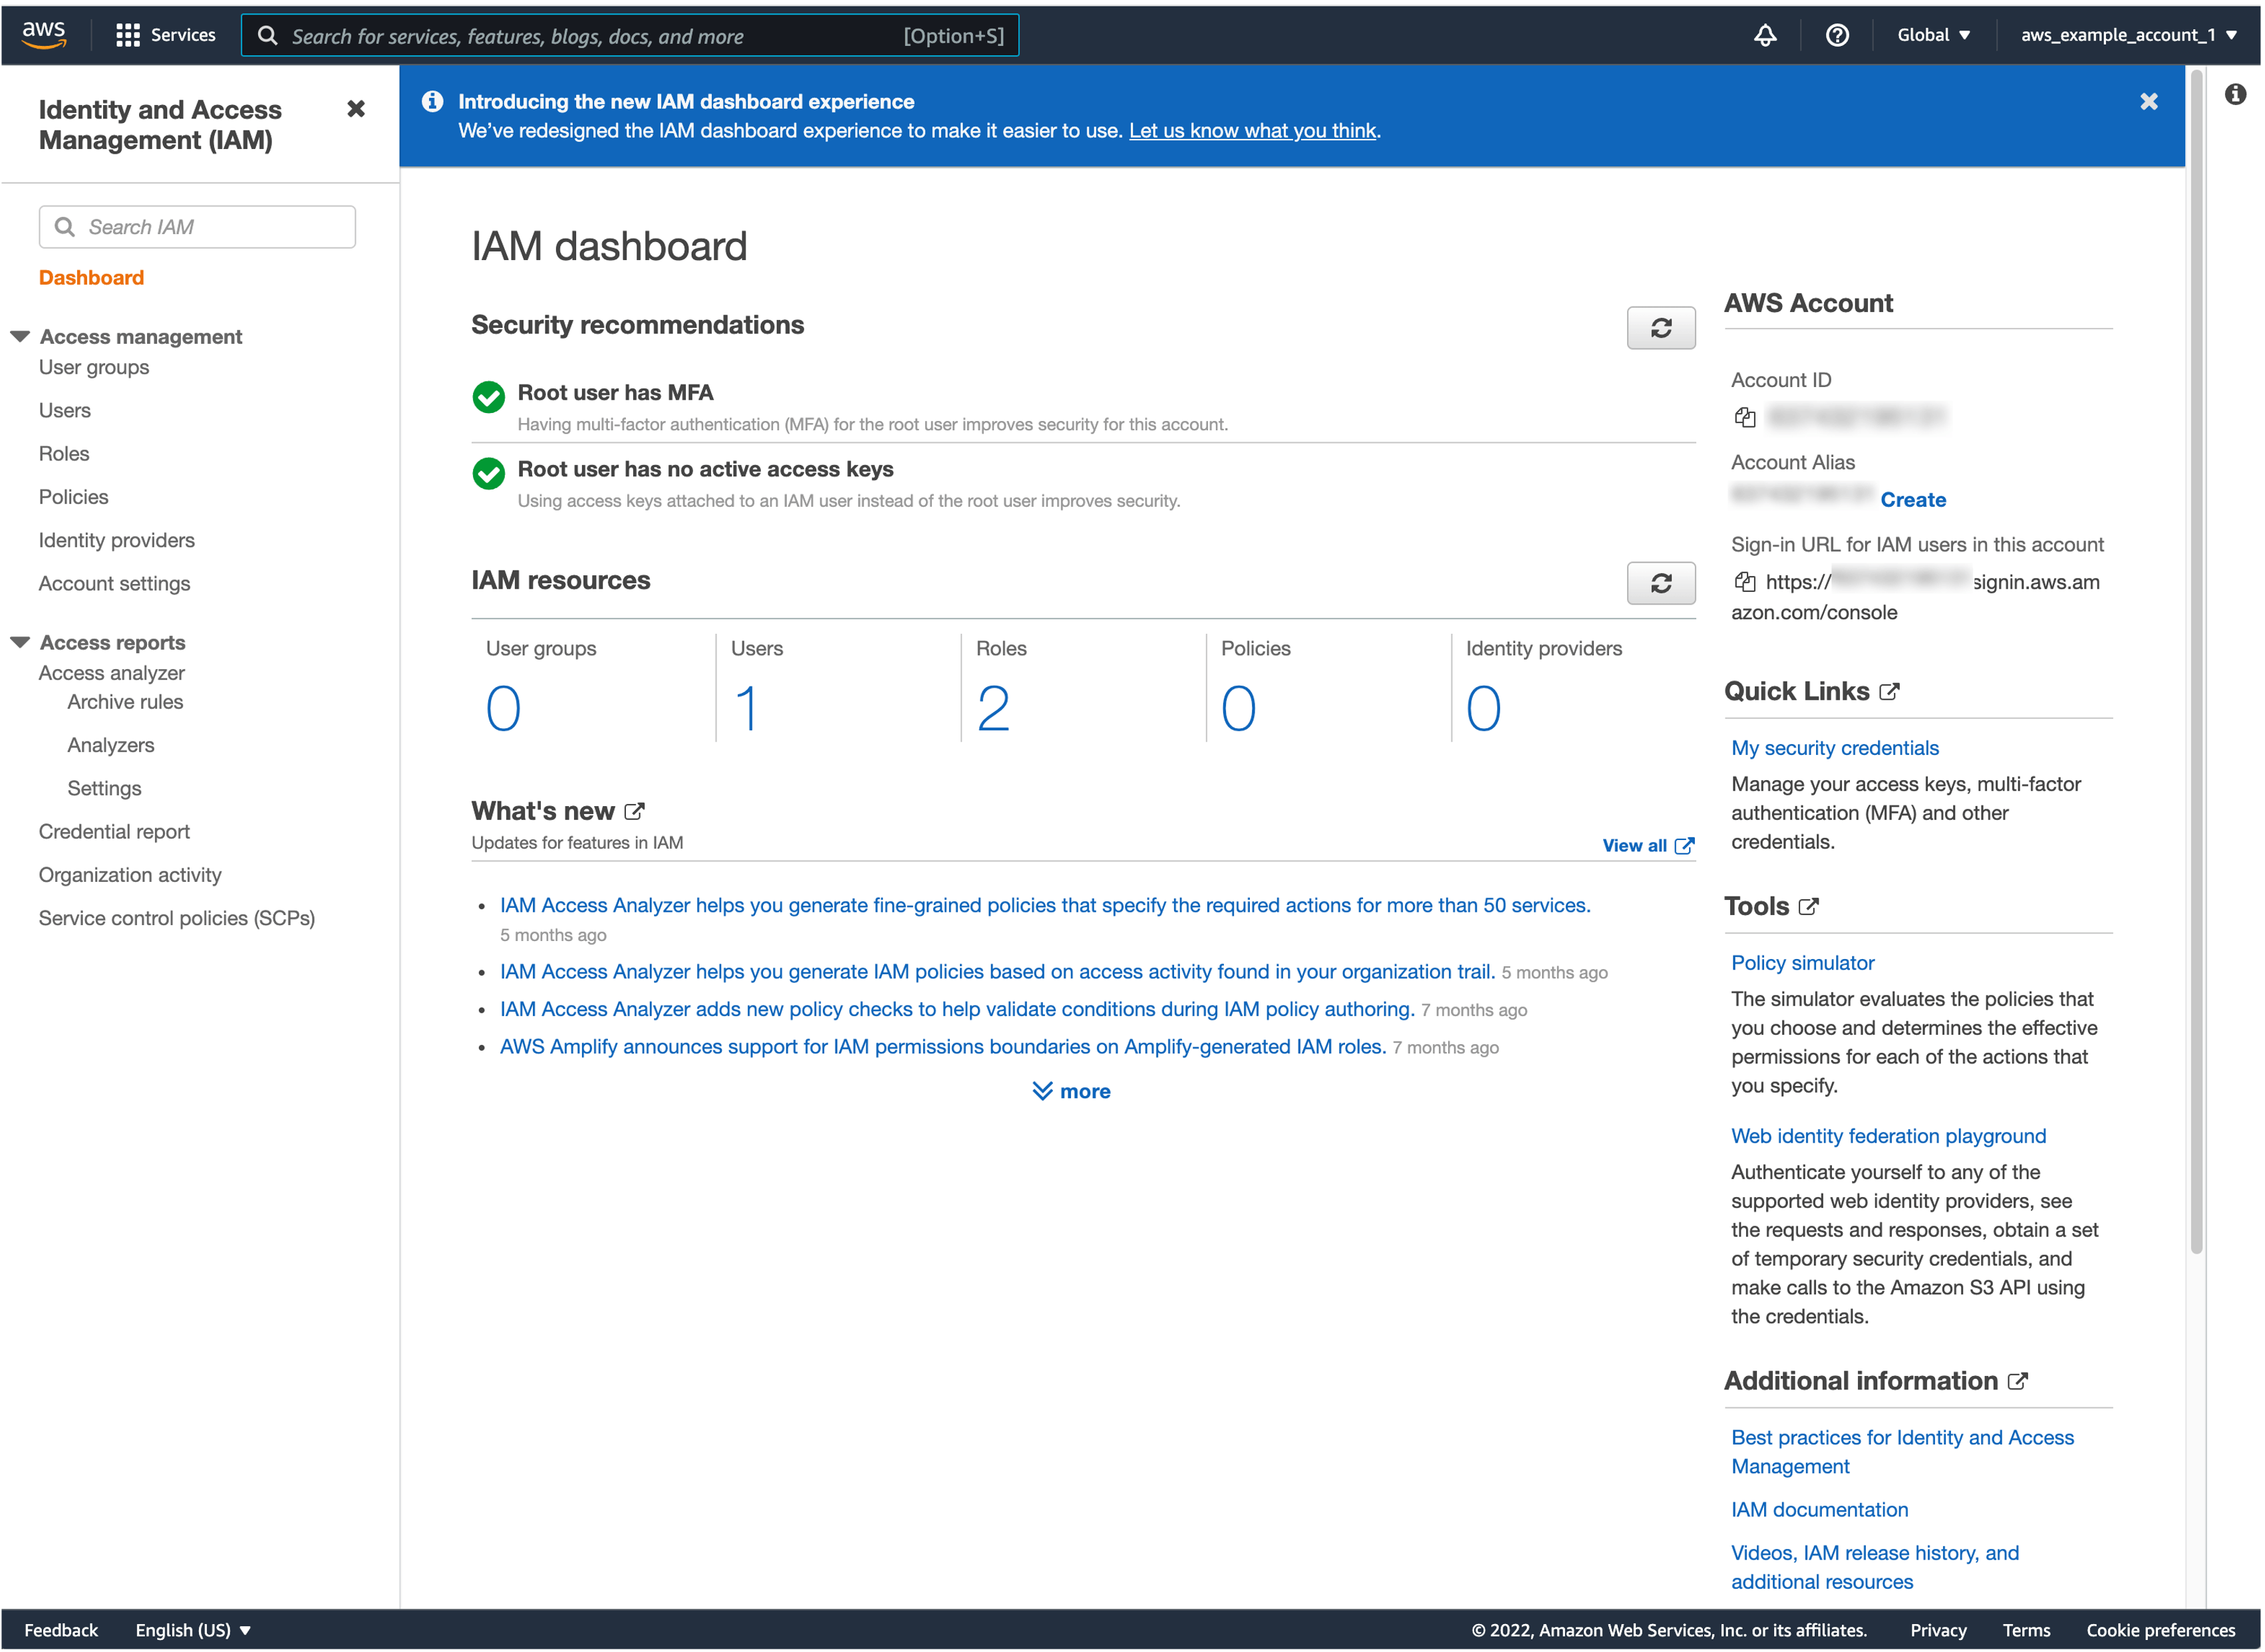
Afterward, you should successfully see the AWS Management Console:

Securing the account with MFA
Multi-factor authentication is recommended by AWS for every account and user. It provides a second factor (the first one is your password) to make it harder for someone to compromise your account. Take security seriously! You won't be the first one to find your account hacked, resulting in a lot of trouble and possibly high charges to your credit card!
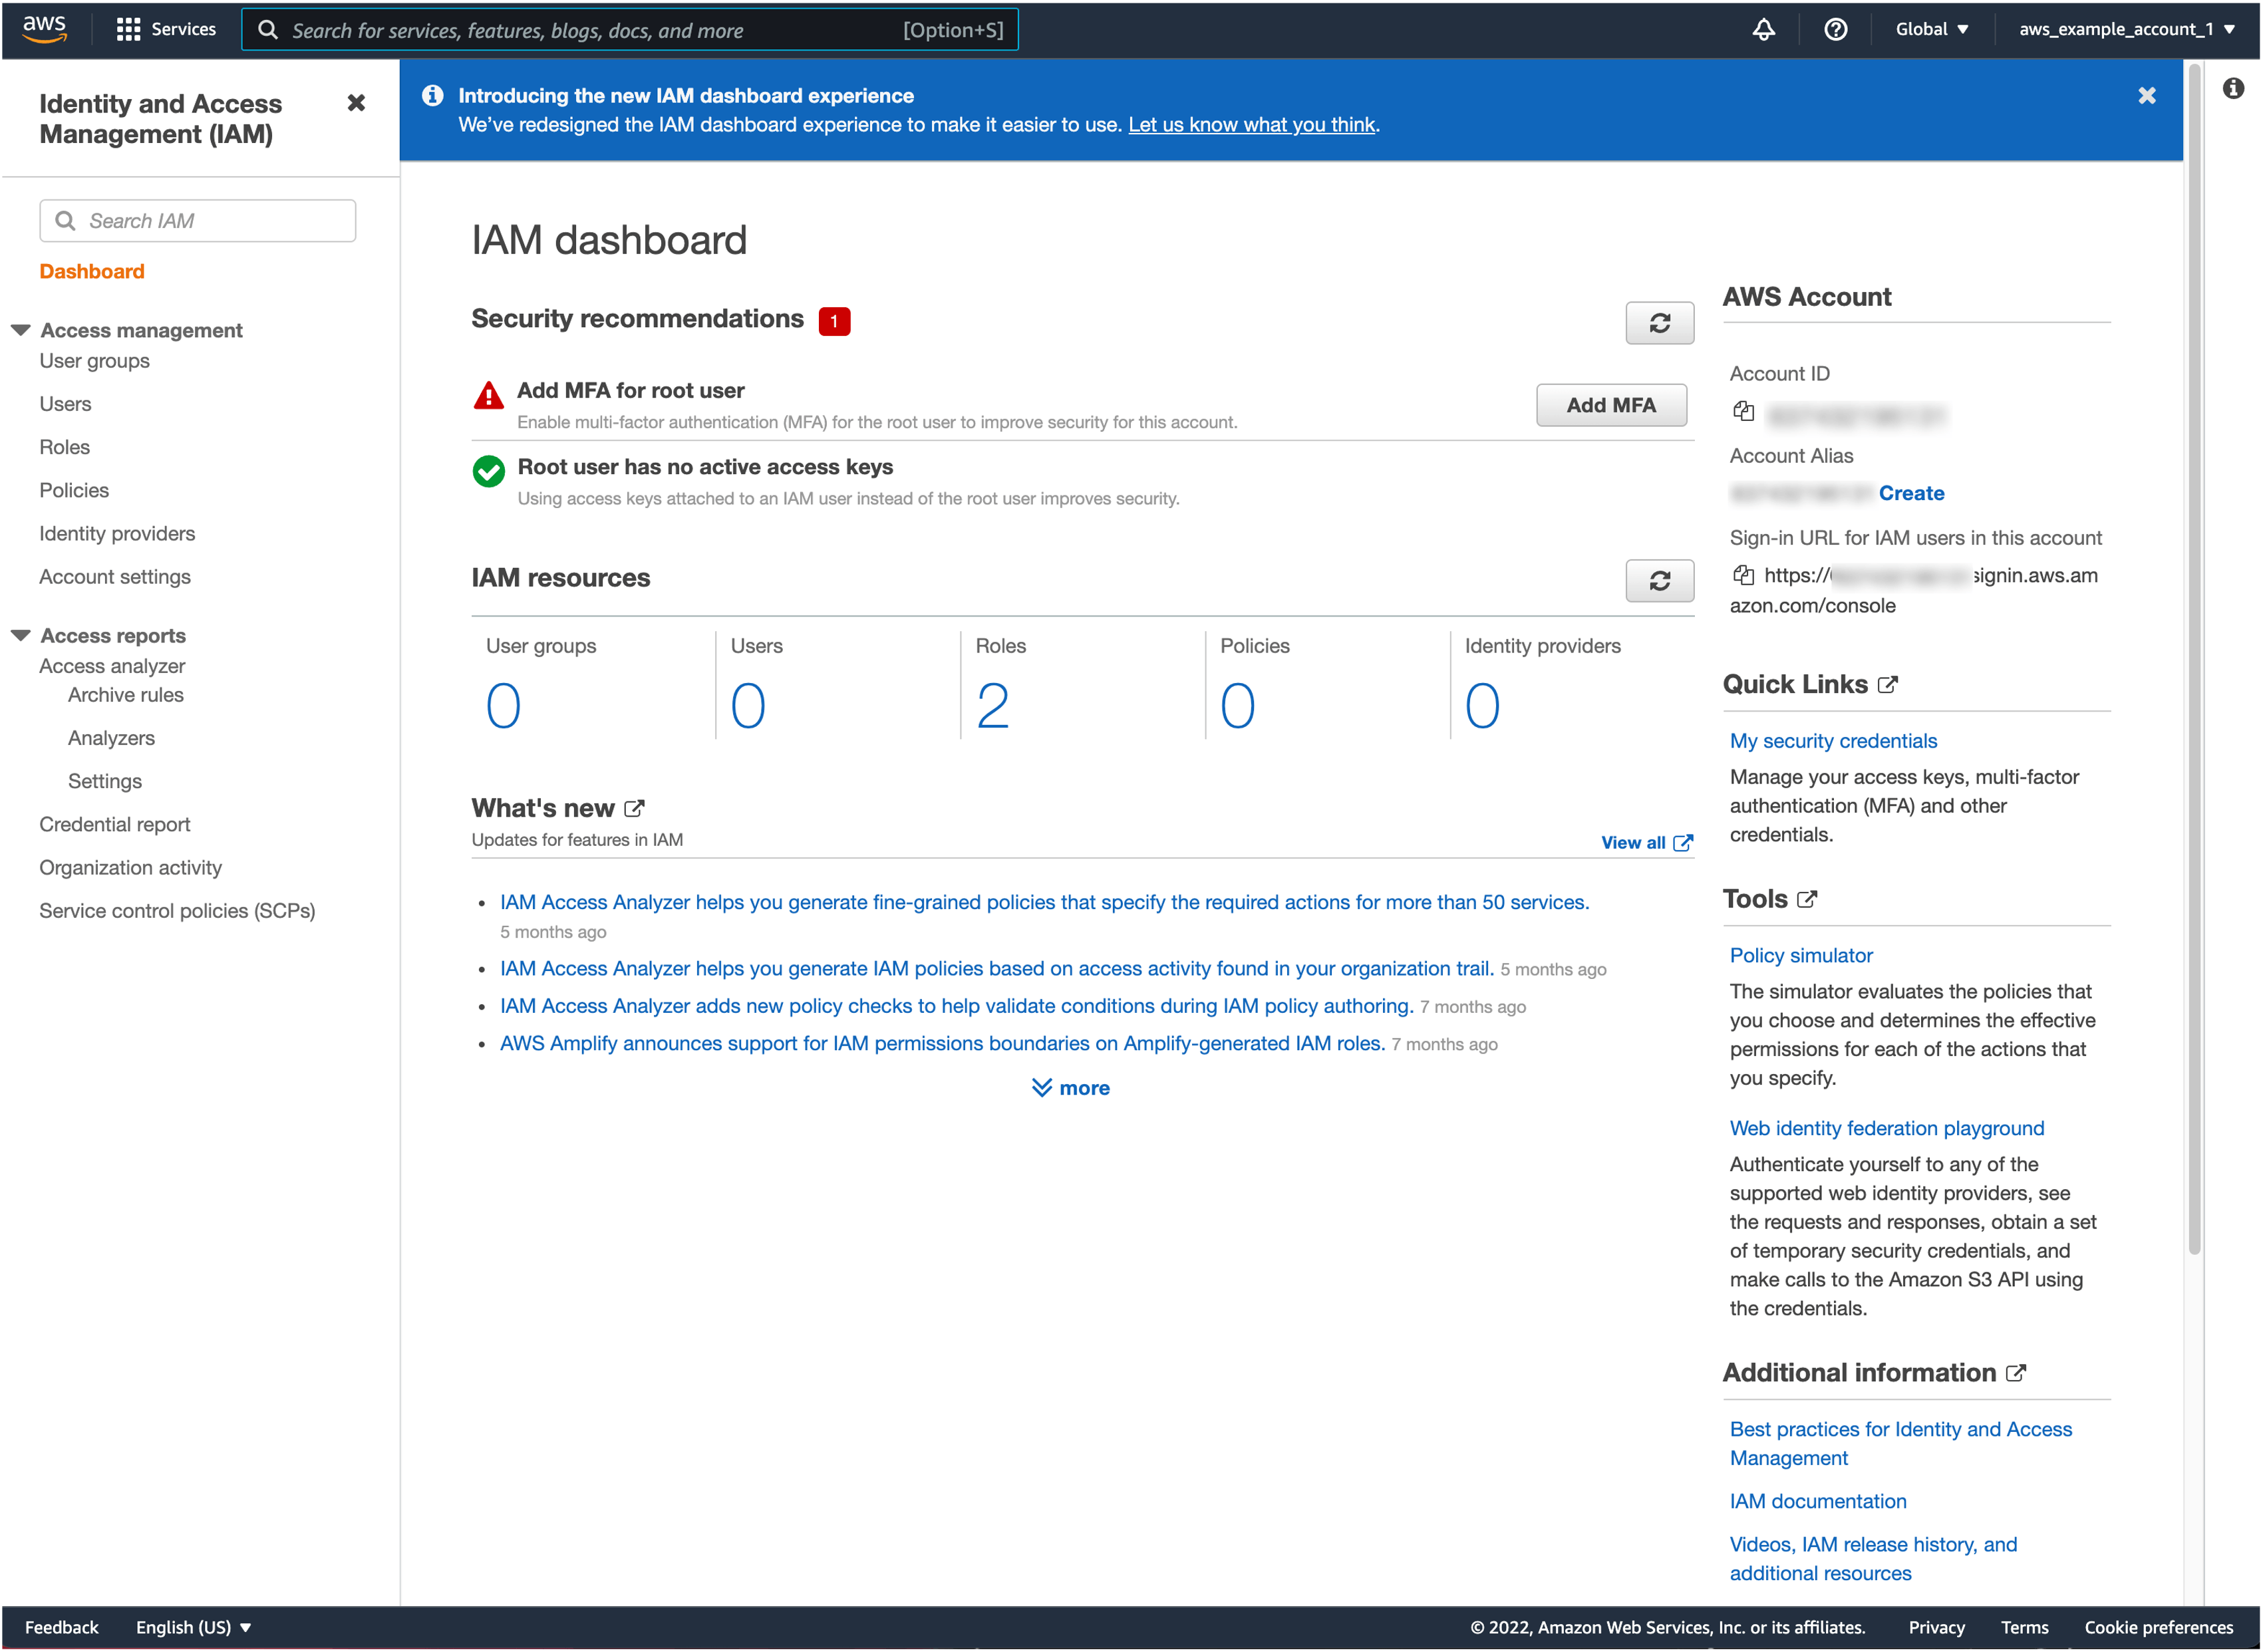
To enable MFA, search for IAM in the search bar at the top and click on the IAM service in the result list:

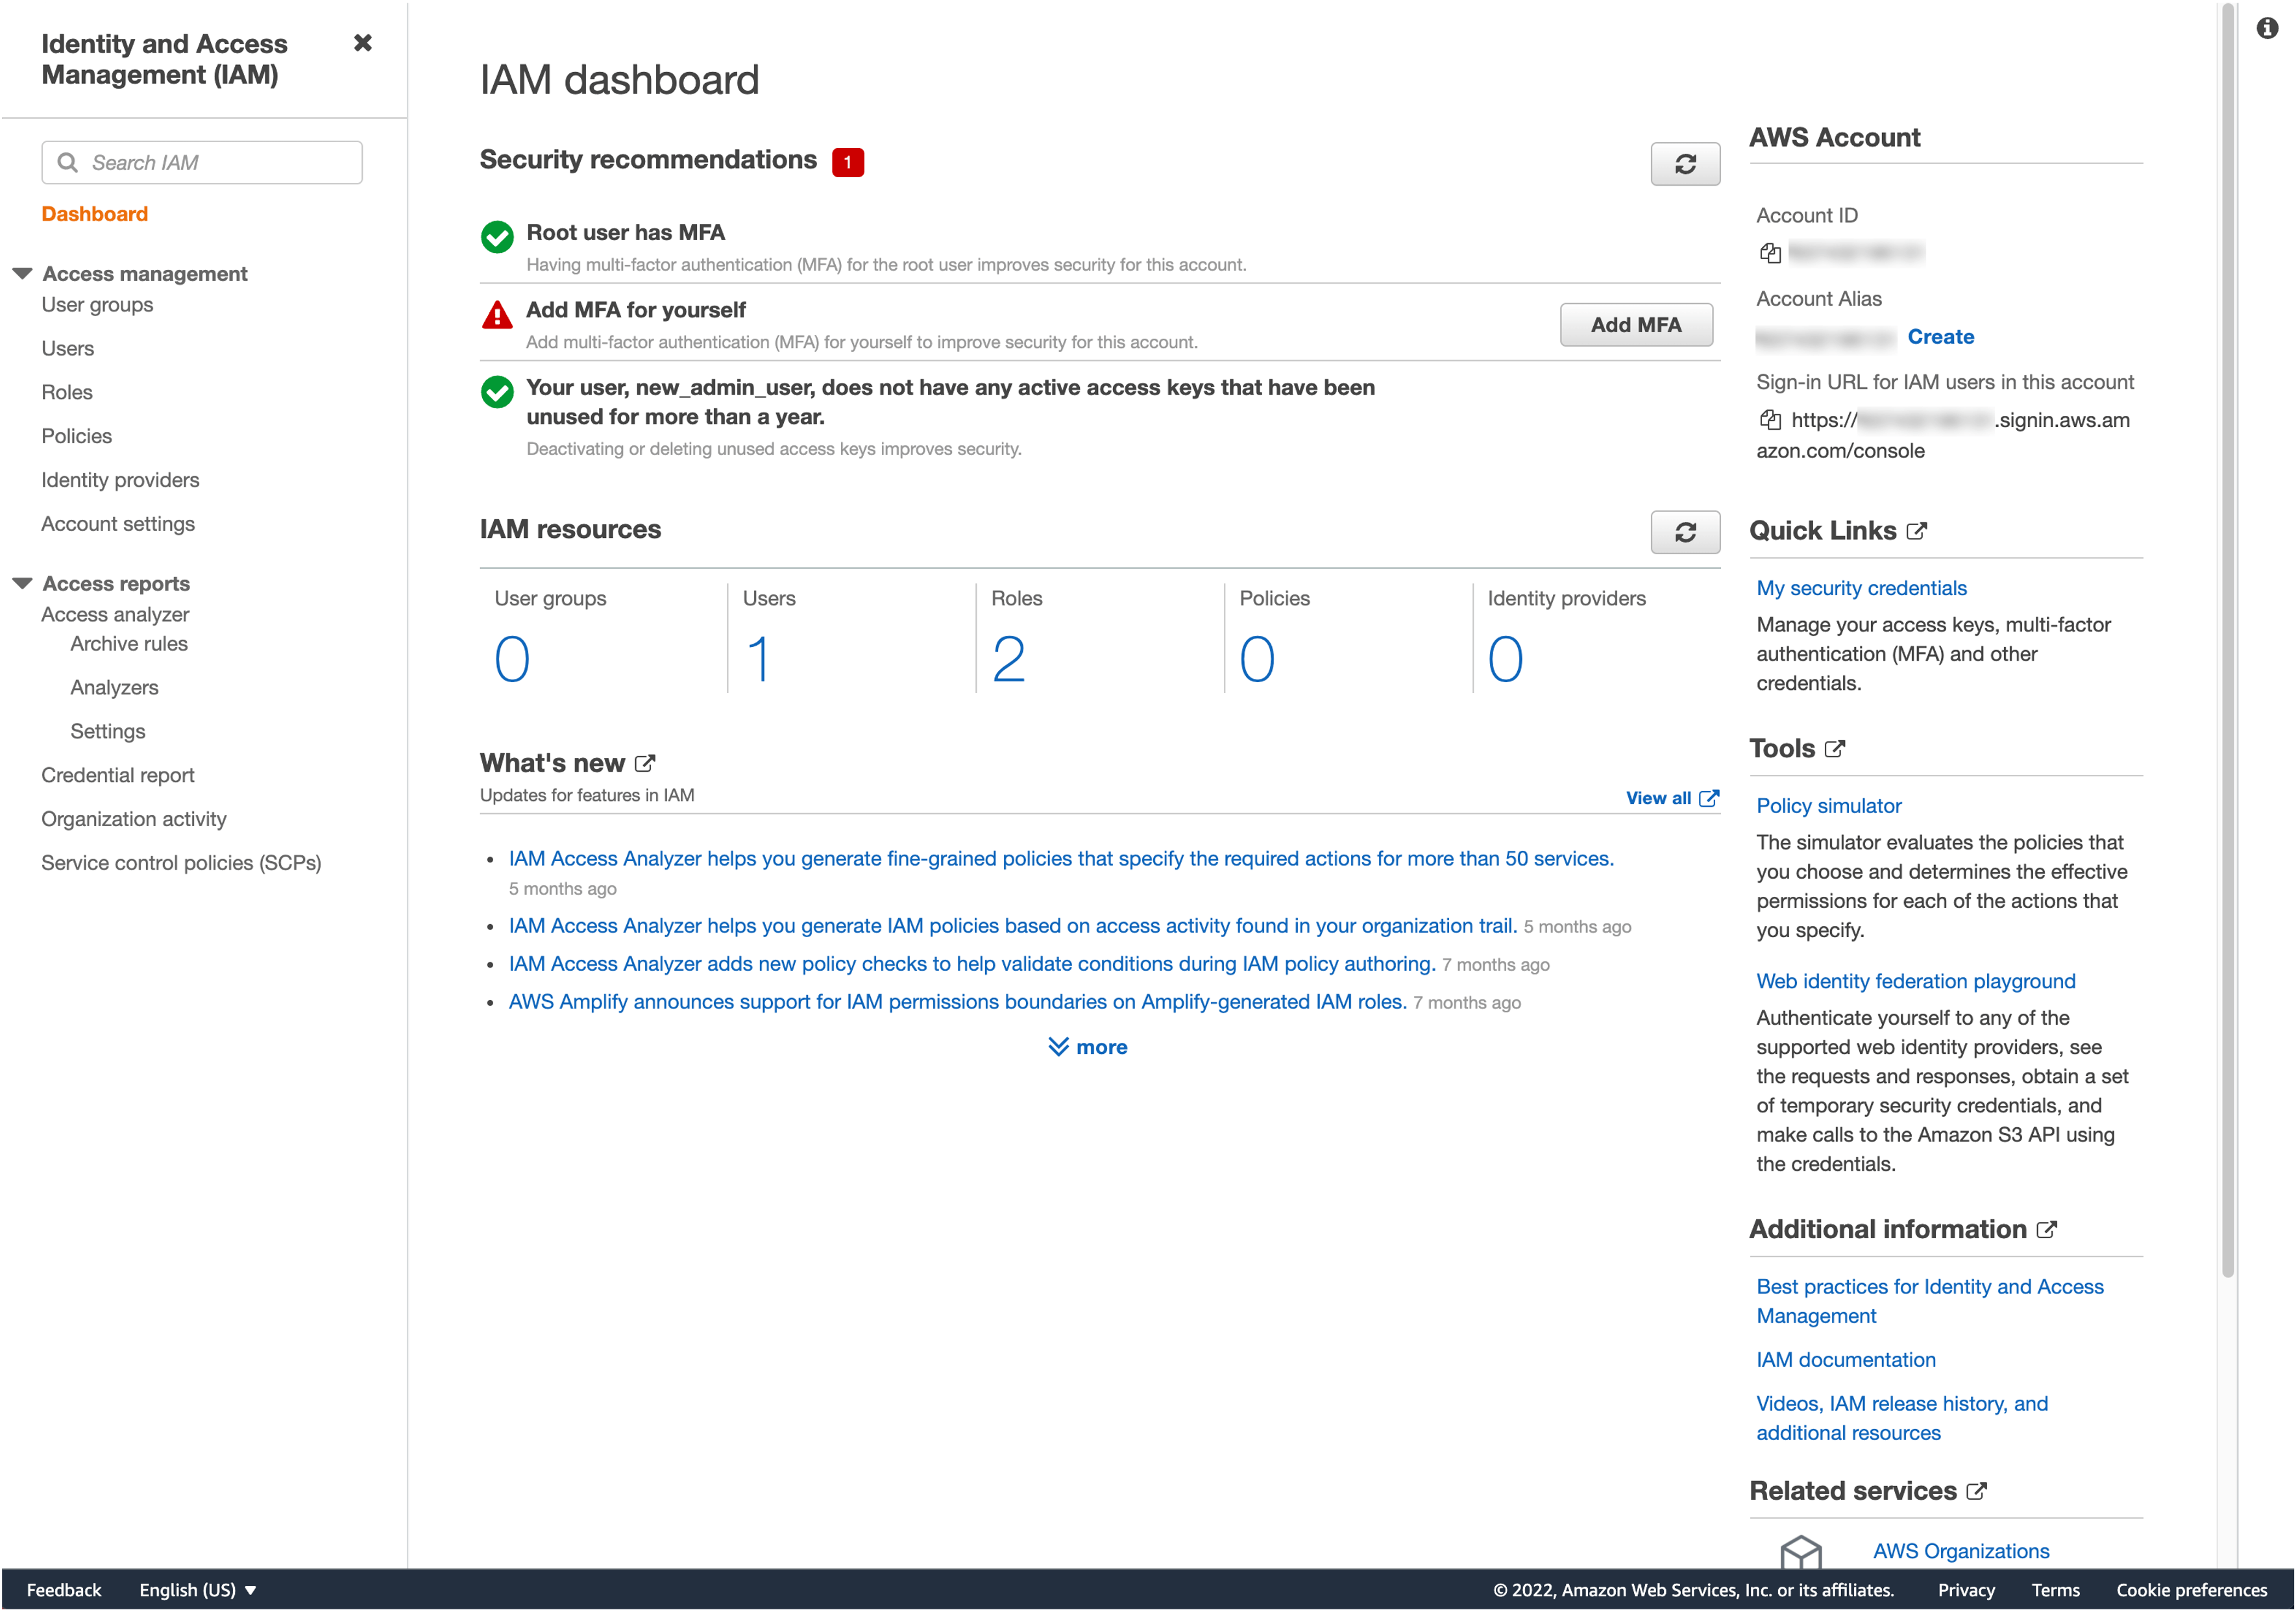
Once the IAM dashboard is ready, watch for a red icon and the text "Add MFA for root user" and click on Add MFA.
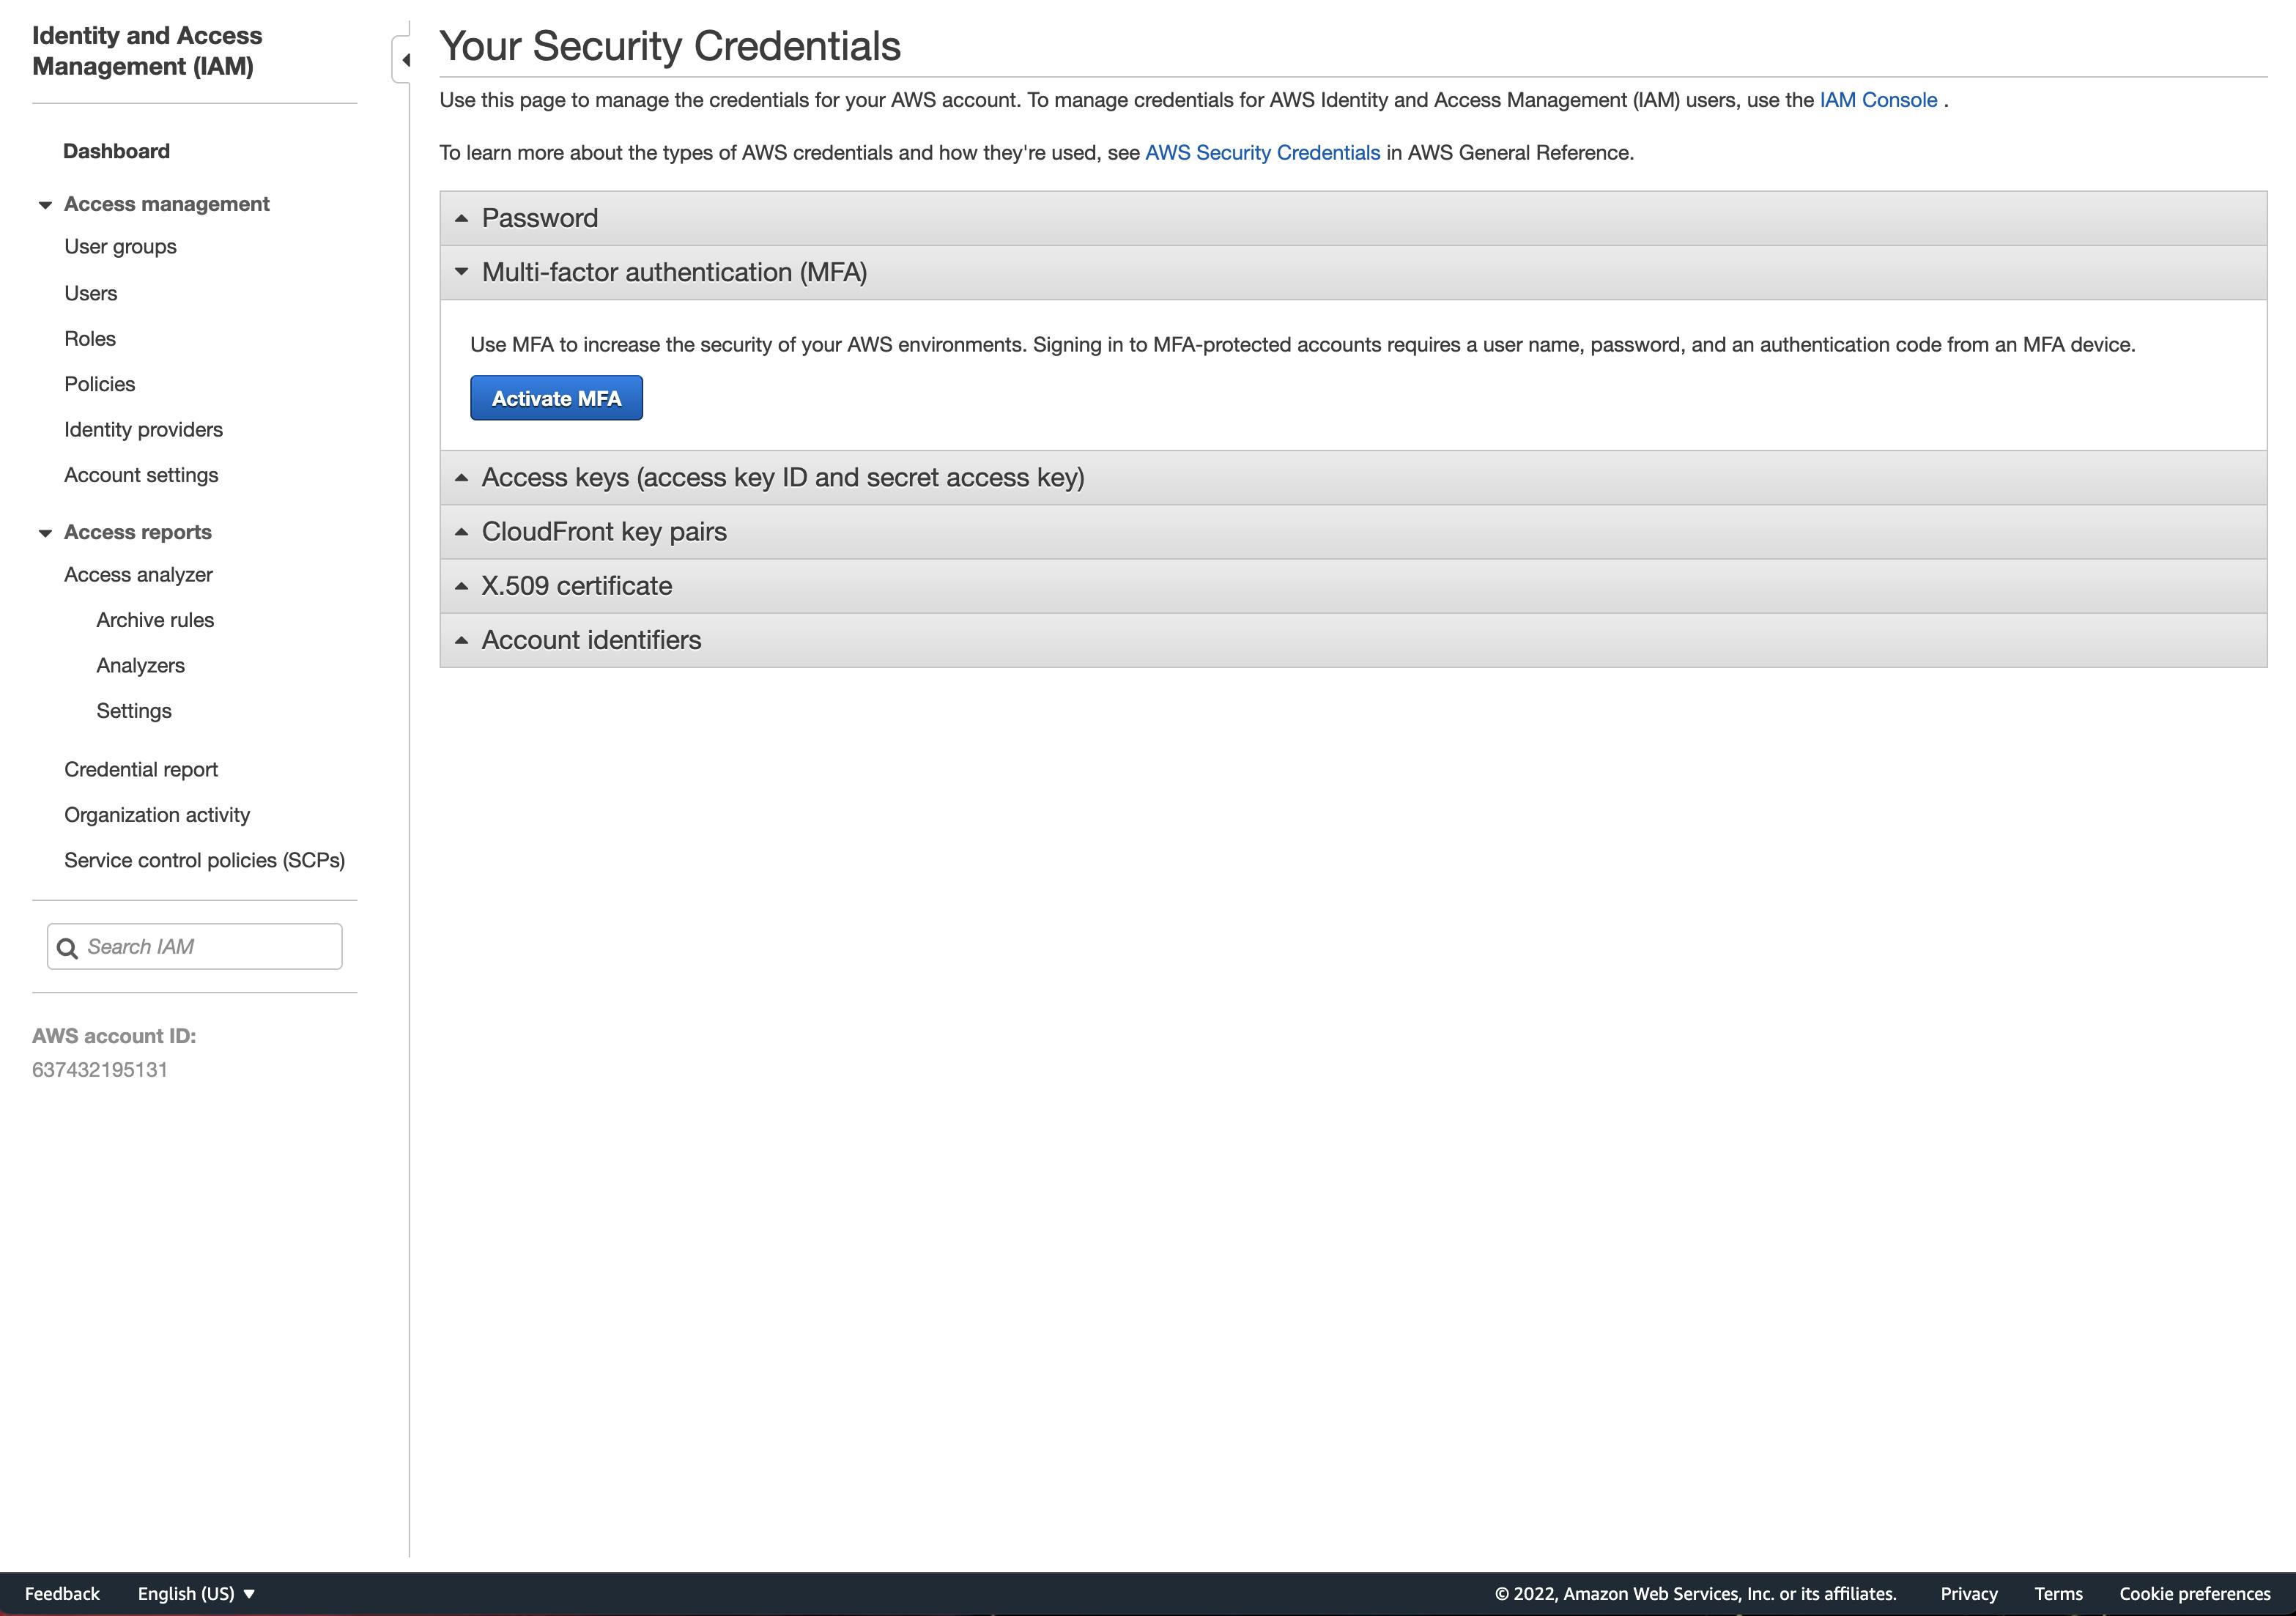
On the following screen "Your Security Credentials", click on Activate MFA.
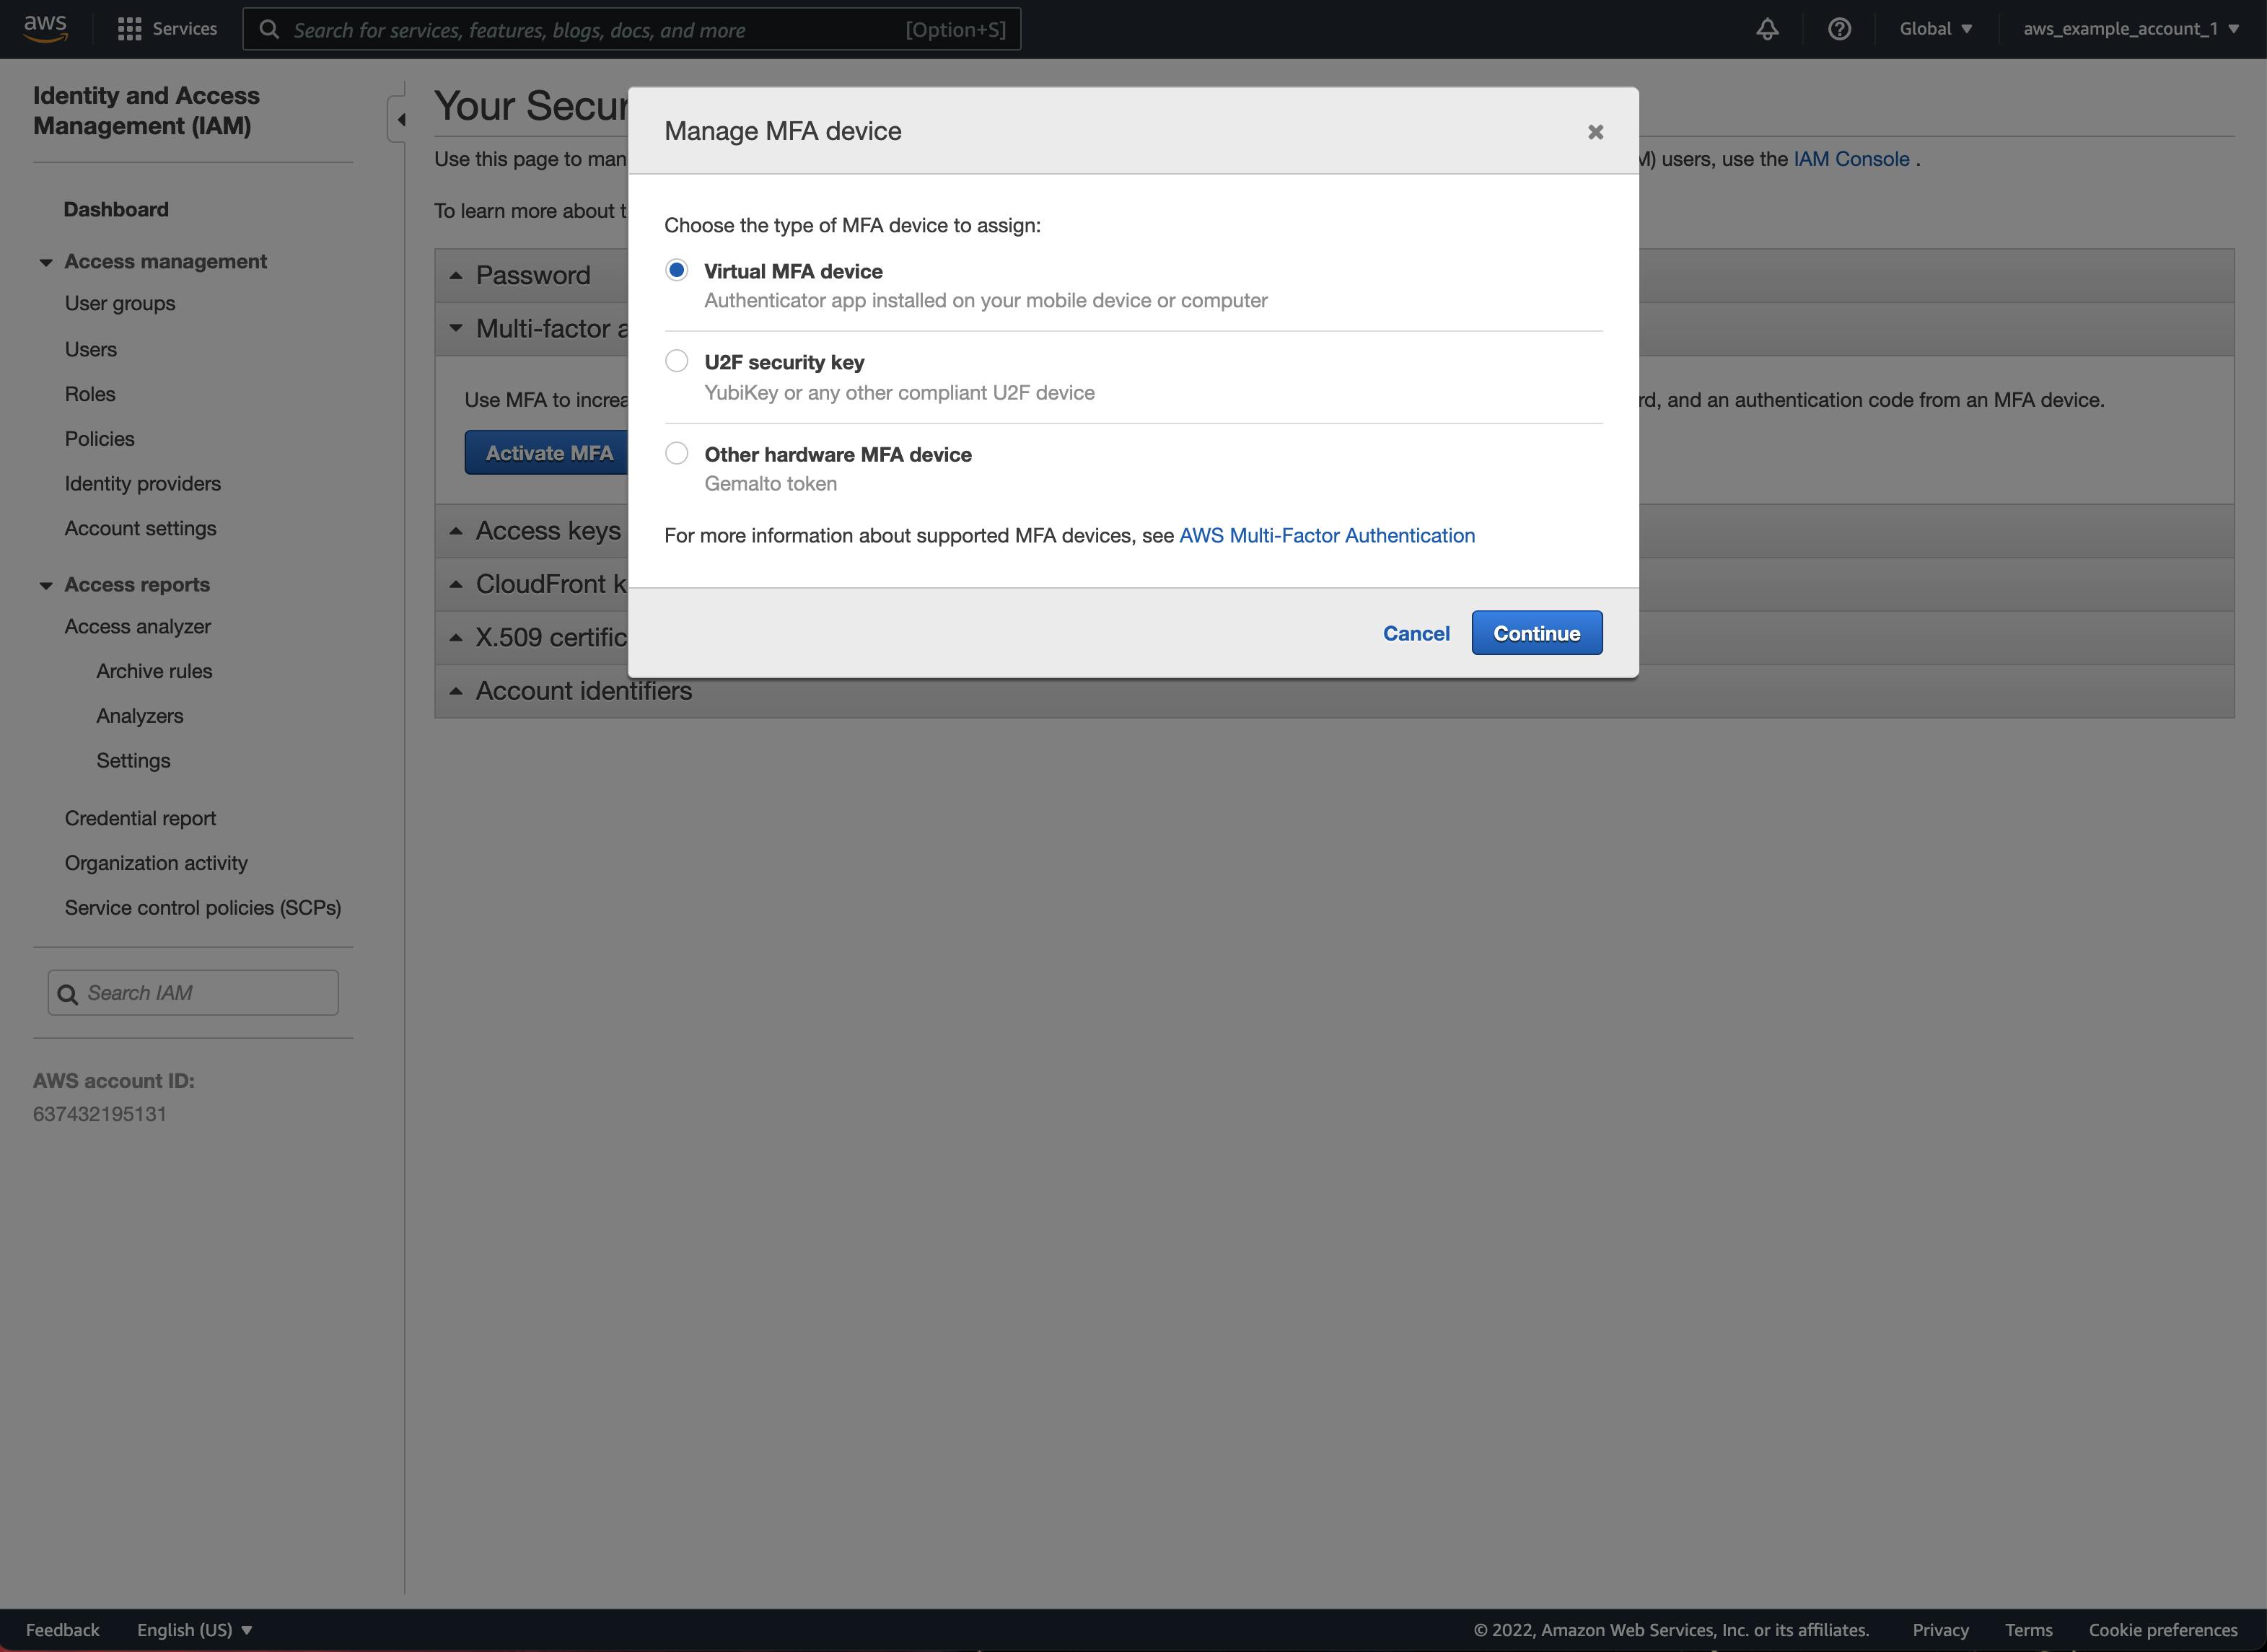
In this tutorial, we are going to use a Virtual MFA Device such as Microsoft Authenticator, Authy, etc. So, select Virtual MFA device and click on Continue.
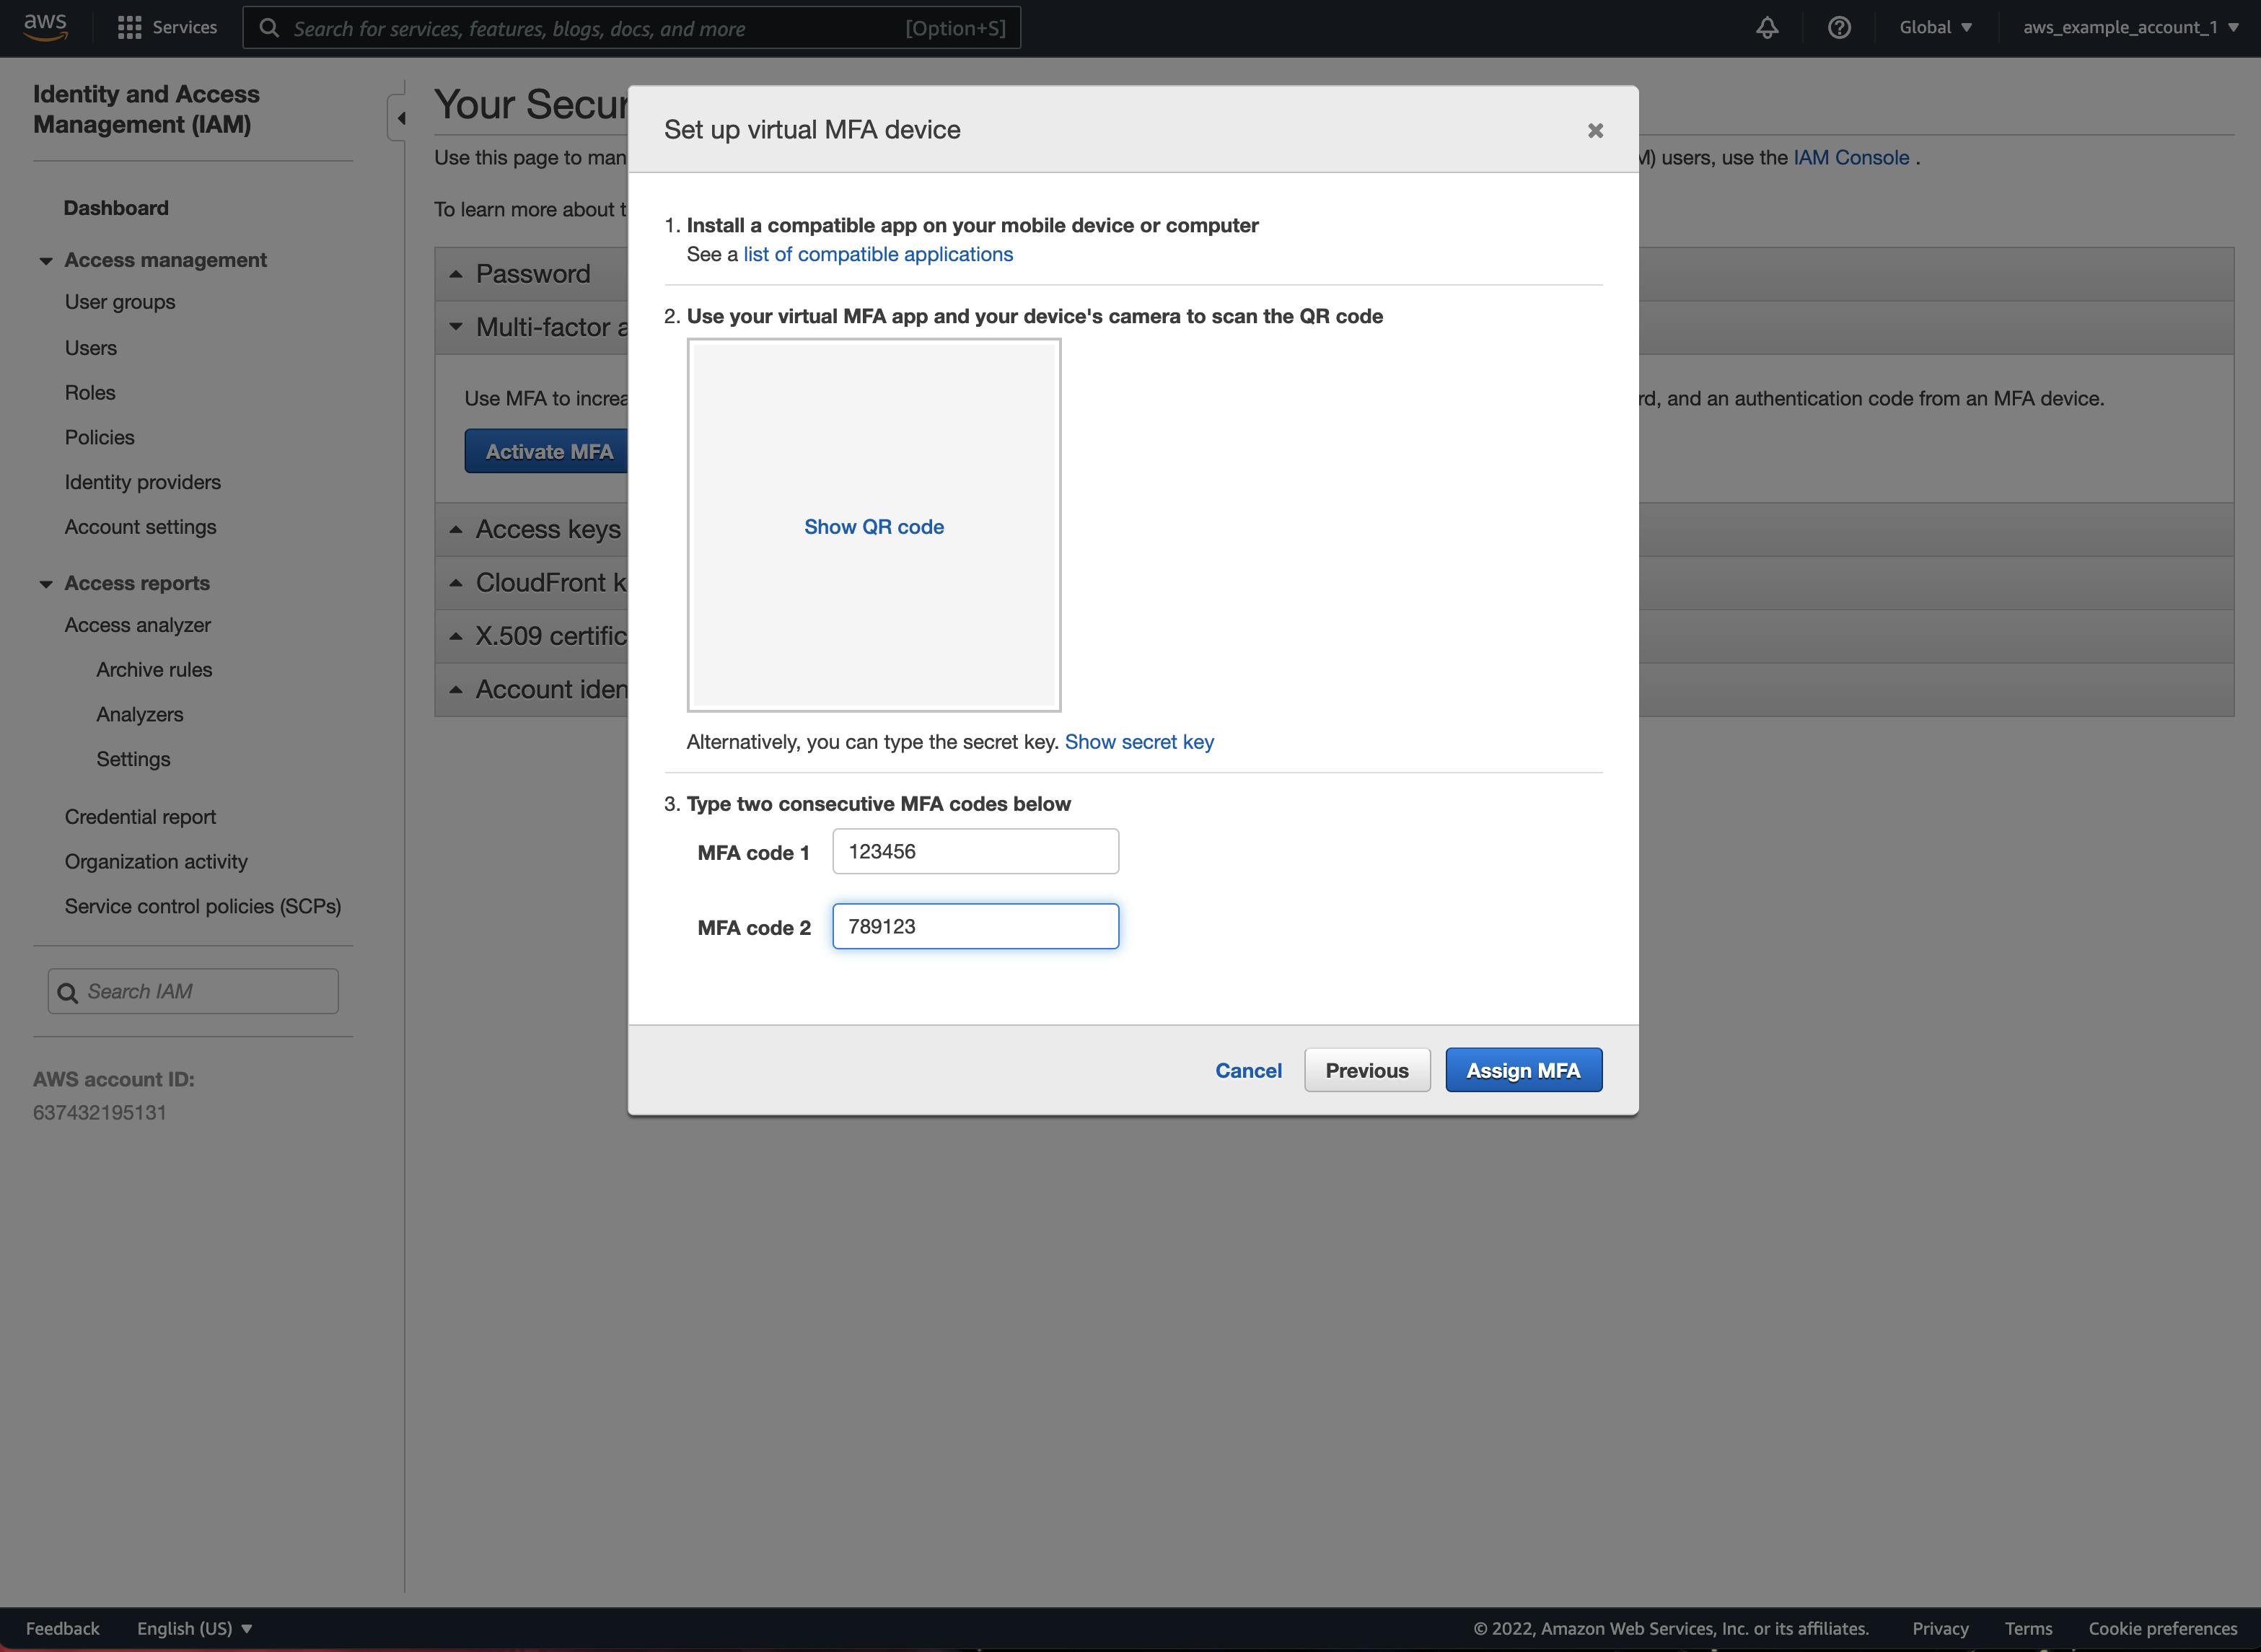
Open up the authenticator app of your choice, and add a new device to it by scanning the QR code from the next screen (Hit Show QR code). Then, enter two consecutive MFA codes generated by your app.
If everything went smoothly, you should see the following screen afterward:
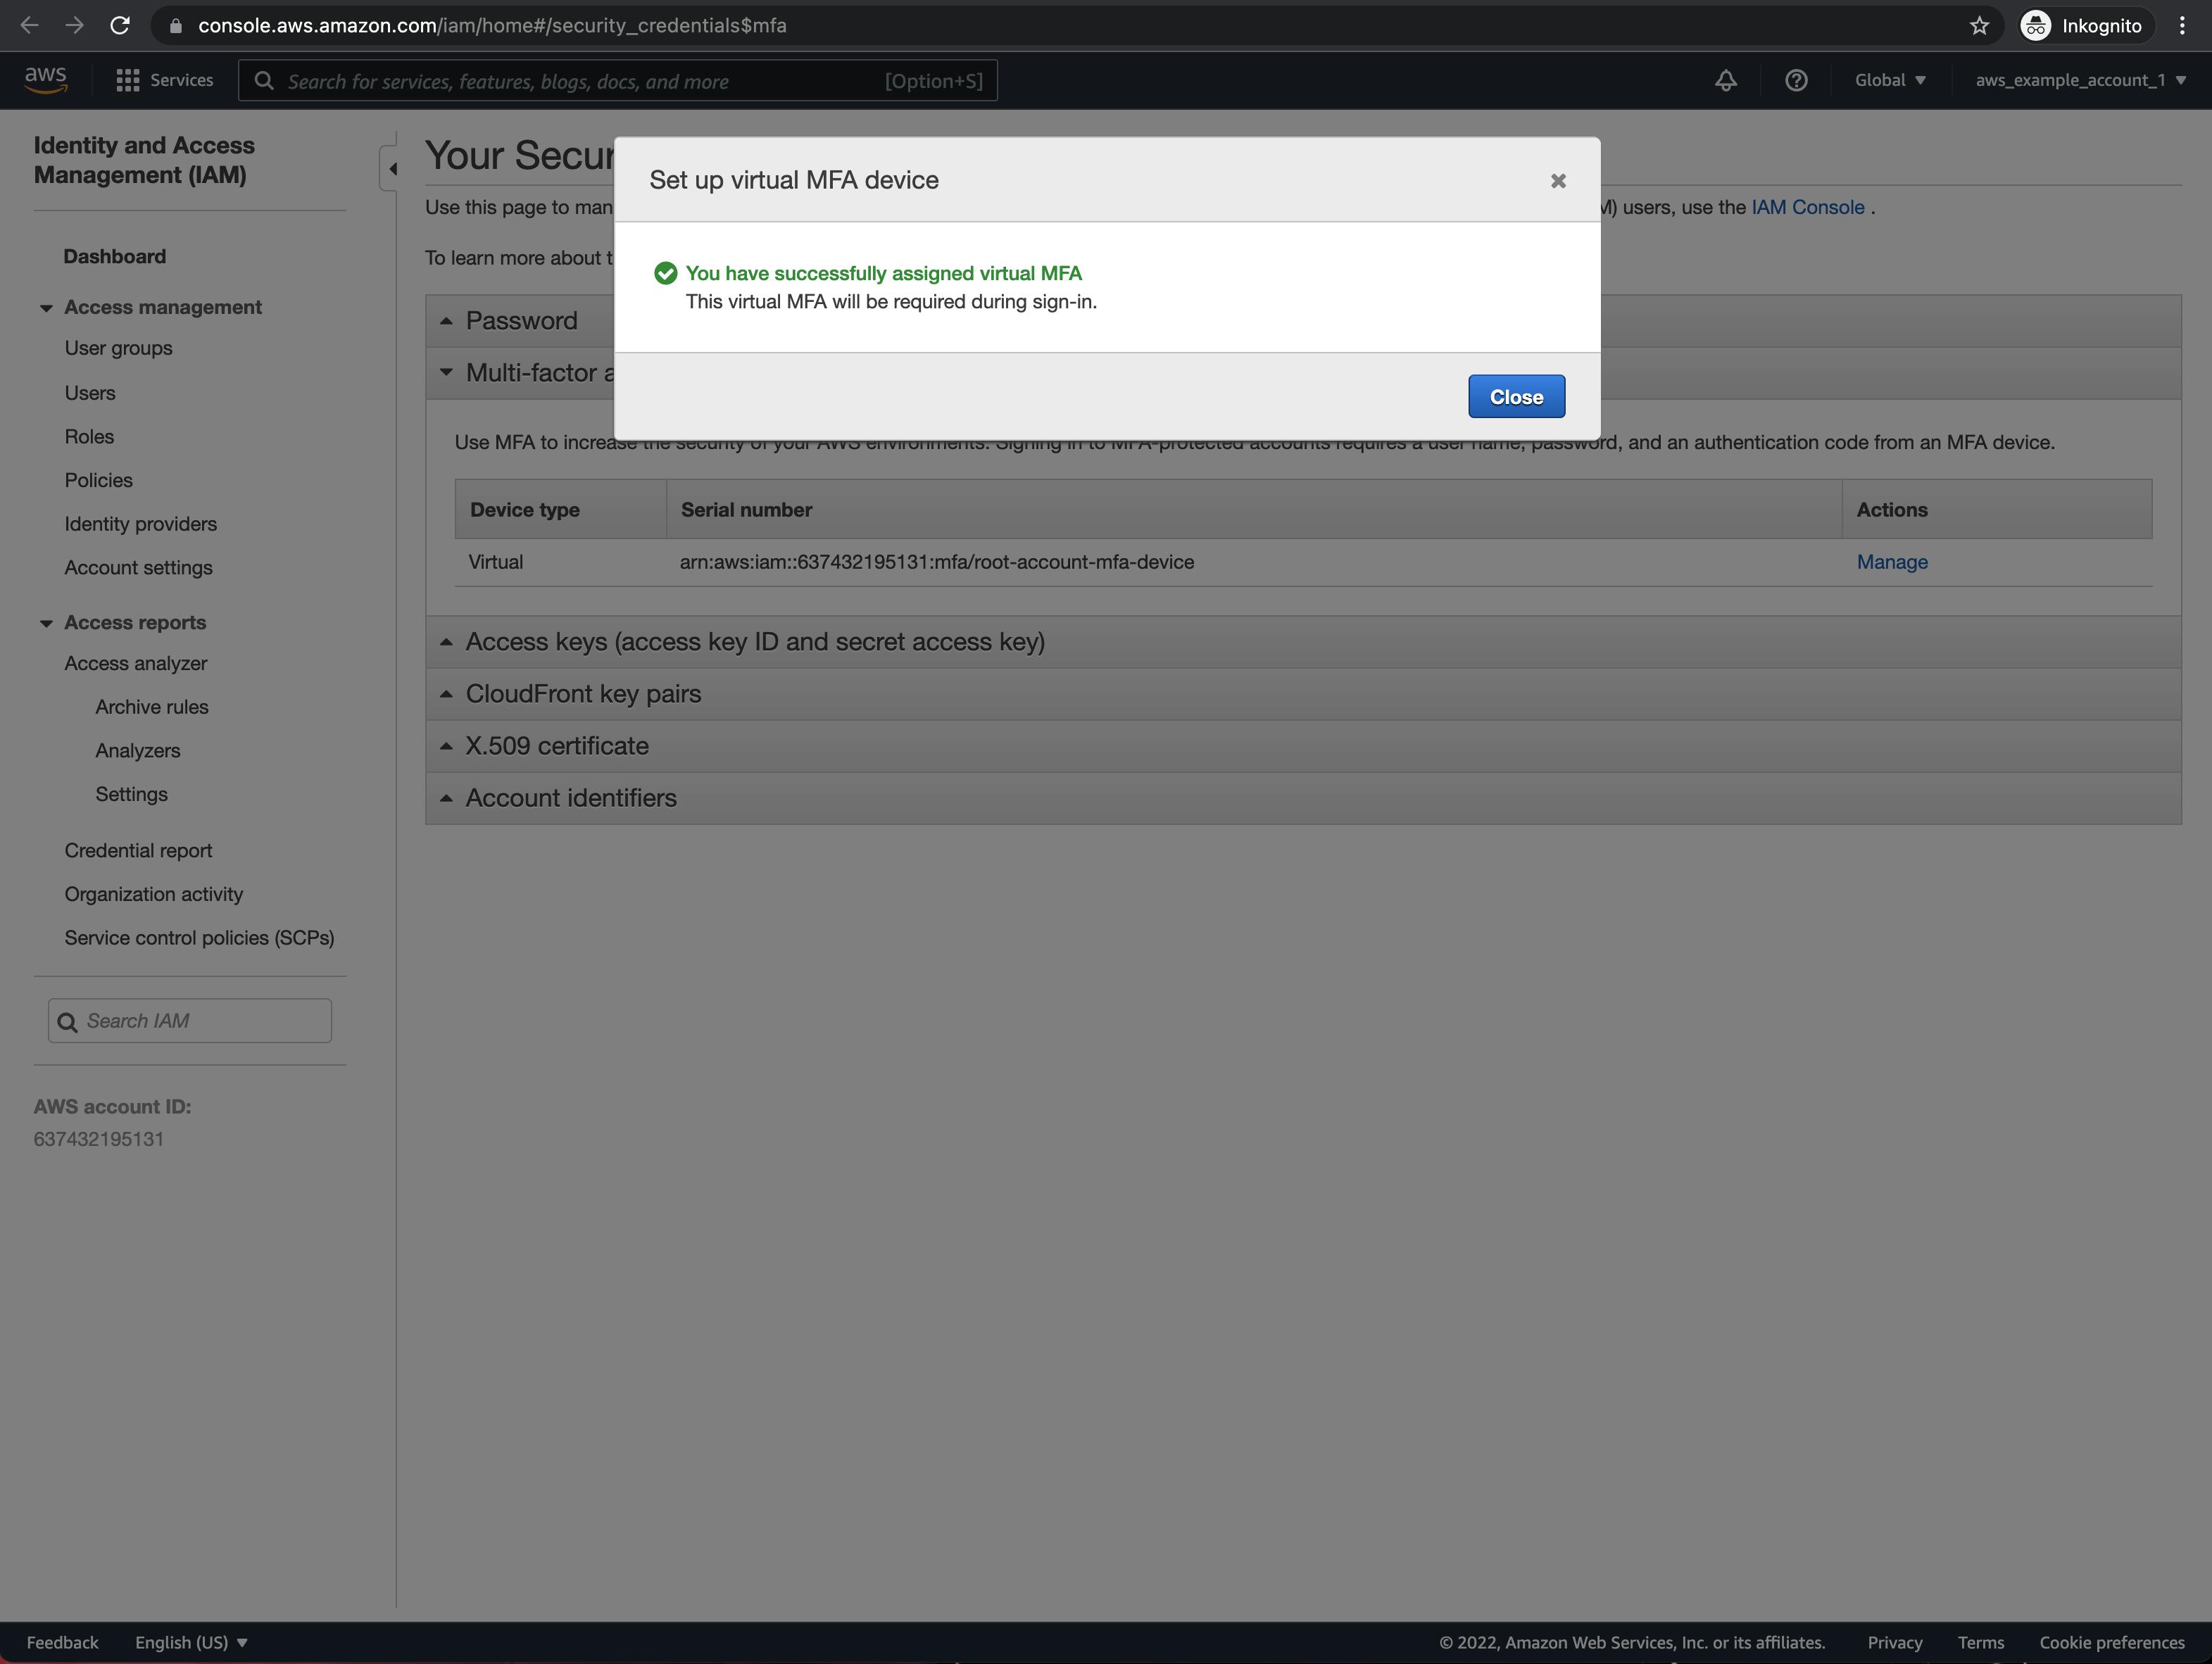
Congratulations, you have just secured your account (more precisely your root user) with MFA. If you want to login into your account as the root user from now on, entering just your password will no longer be sufficient. So, keep your authentication app around you (and make backups!).
Setting up a monthly budget
Another recommended step (maybe not by AWS but by many experienced people around the world) is to set up a monthly budget with an email alert. This alert will be triggered once your actual monthly costs surpass a defined threshold, e.g. $1, intended or not.
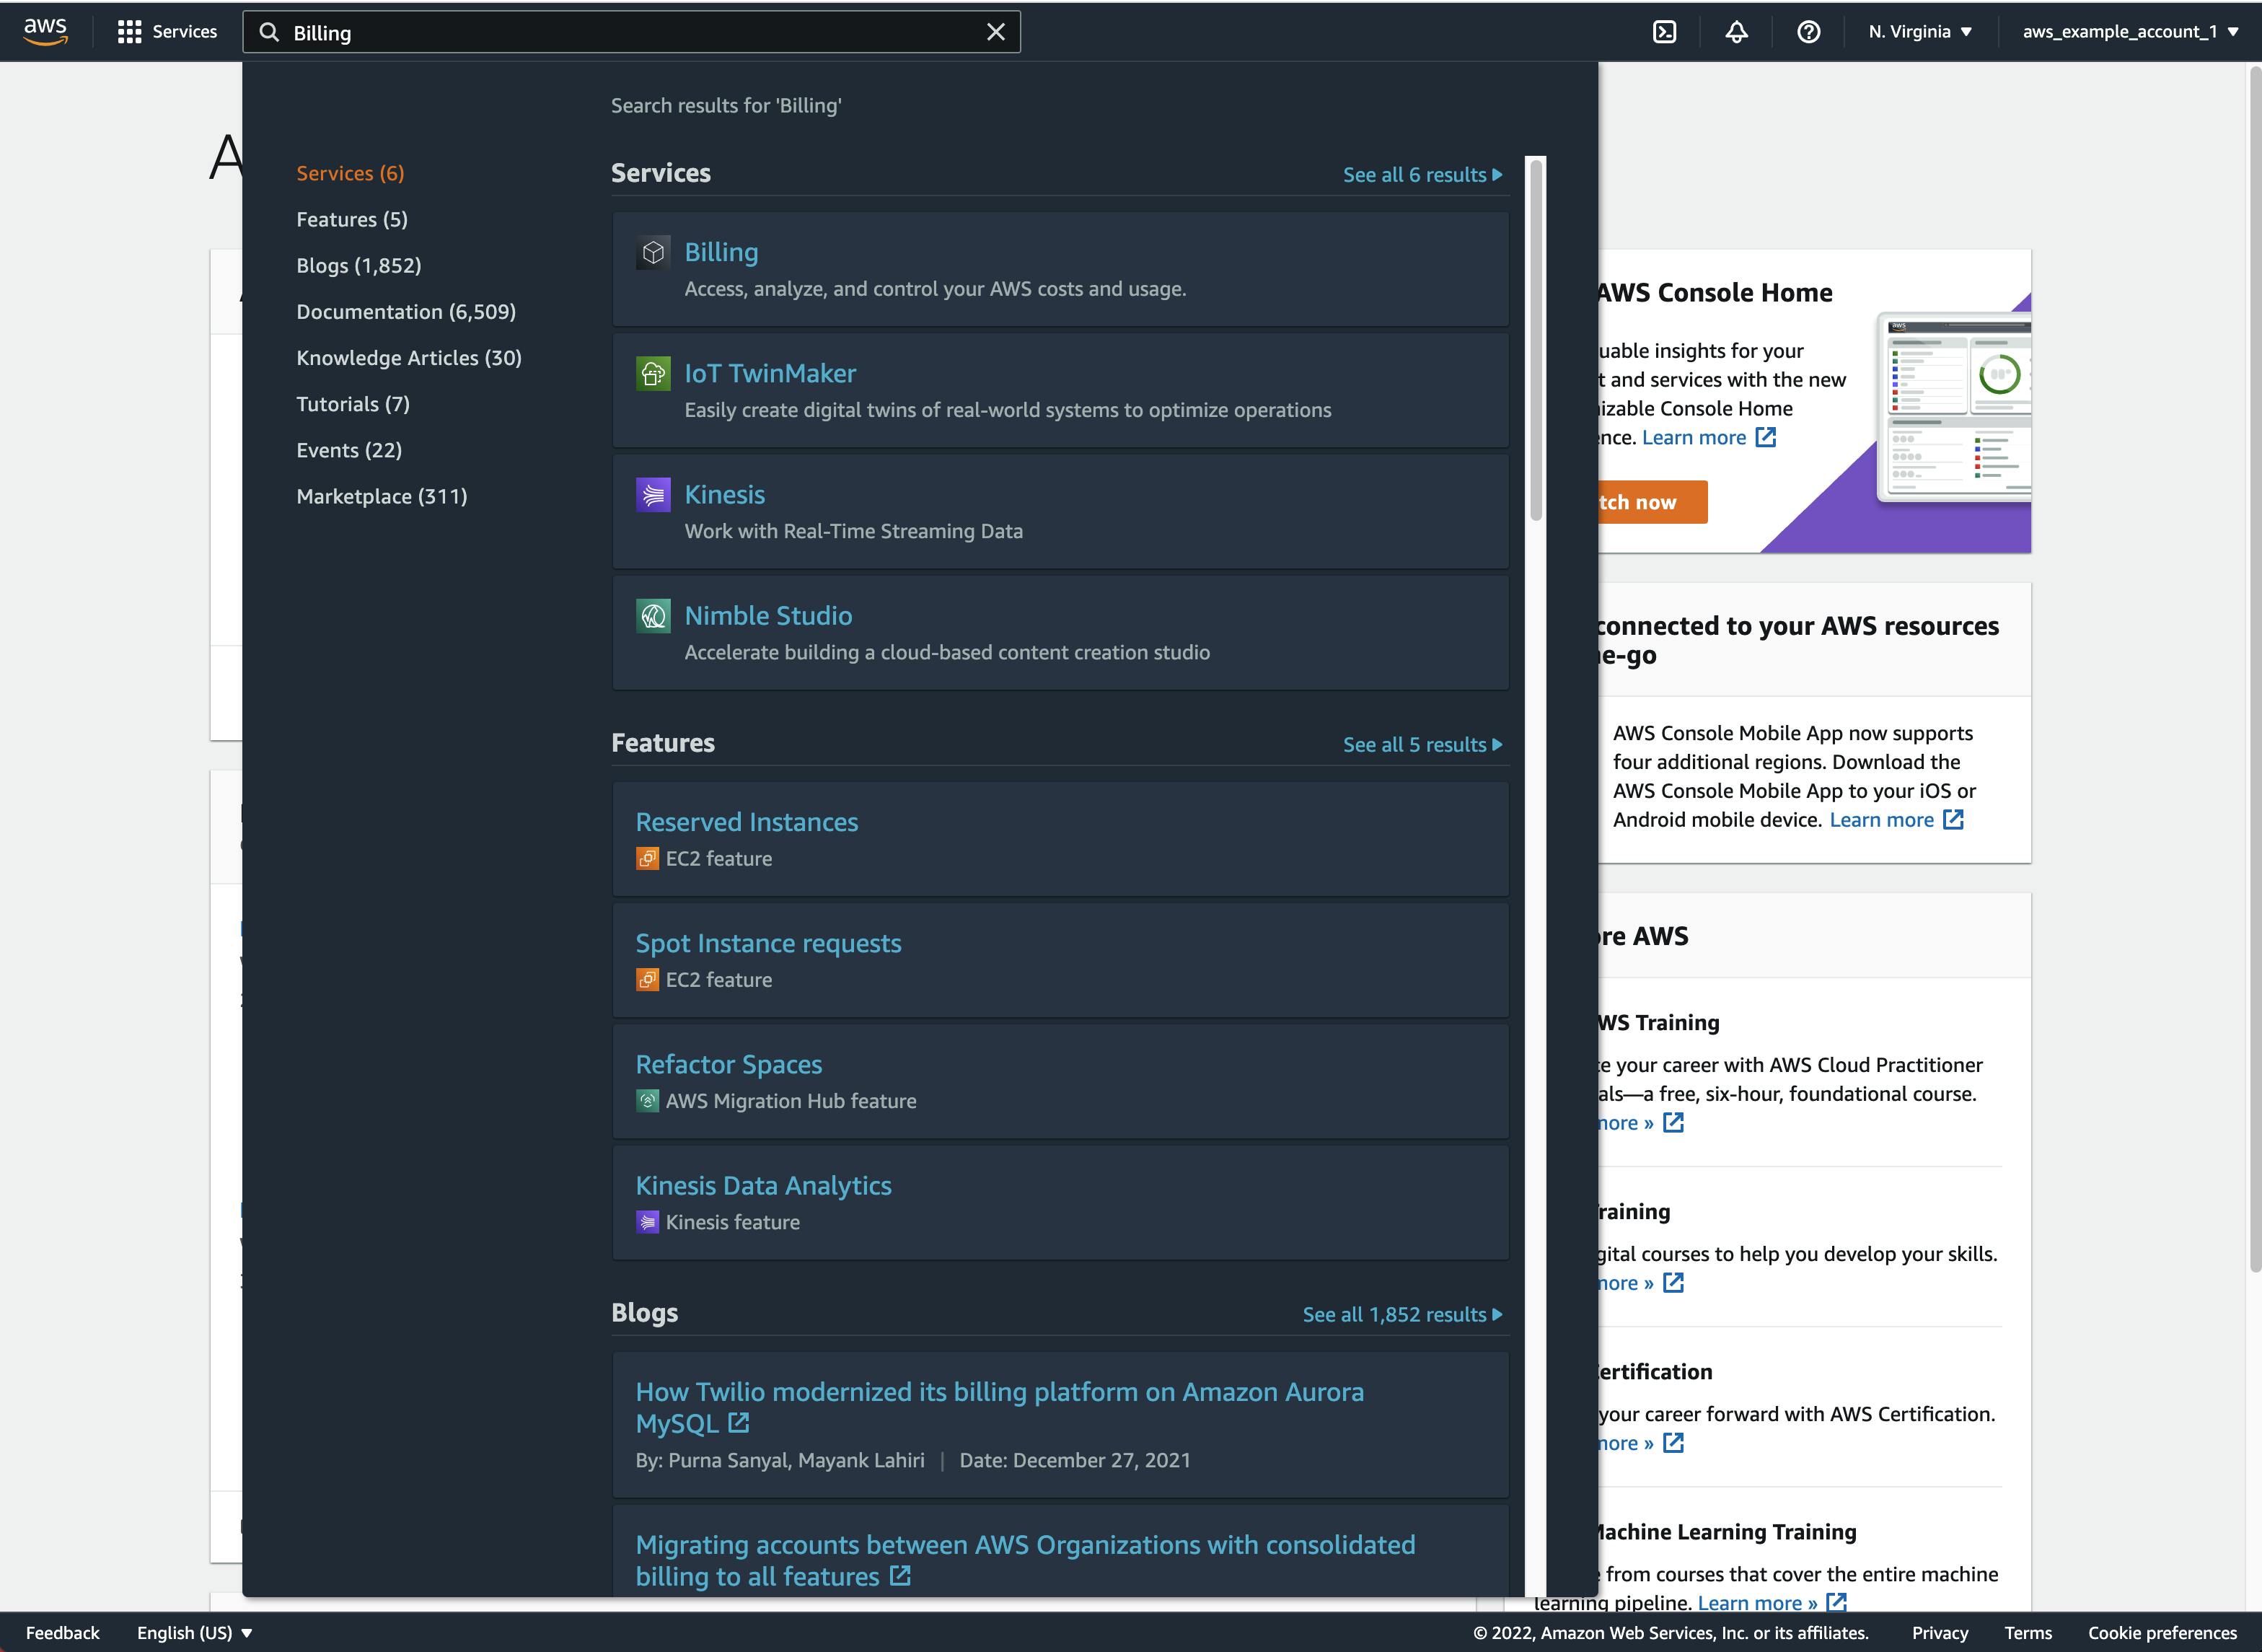
To do so, search for Billing in the search bar at the top and select the Billing service from the result list:
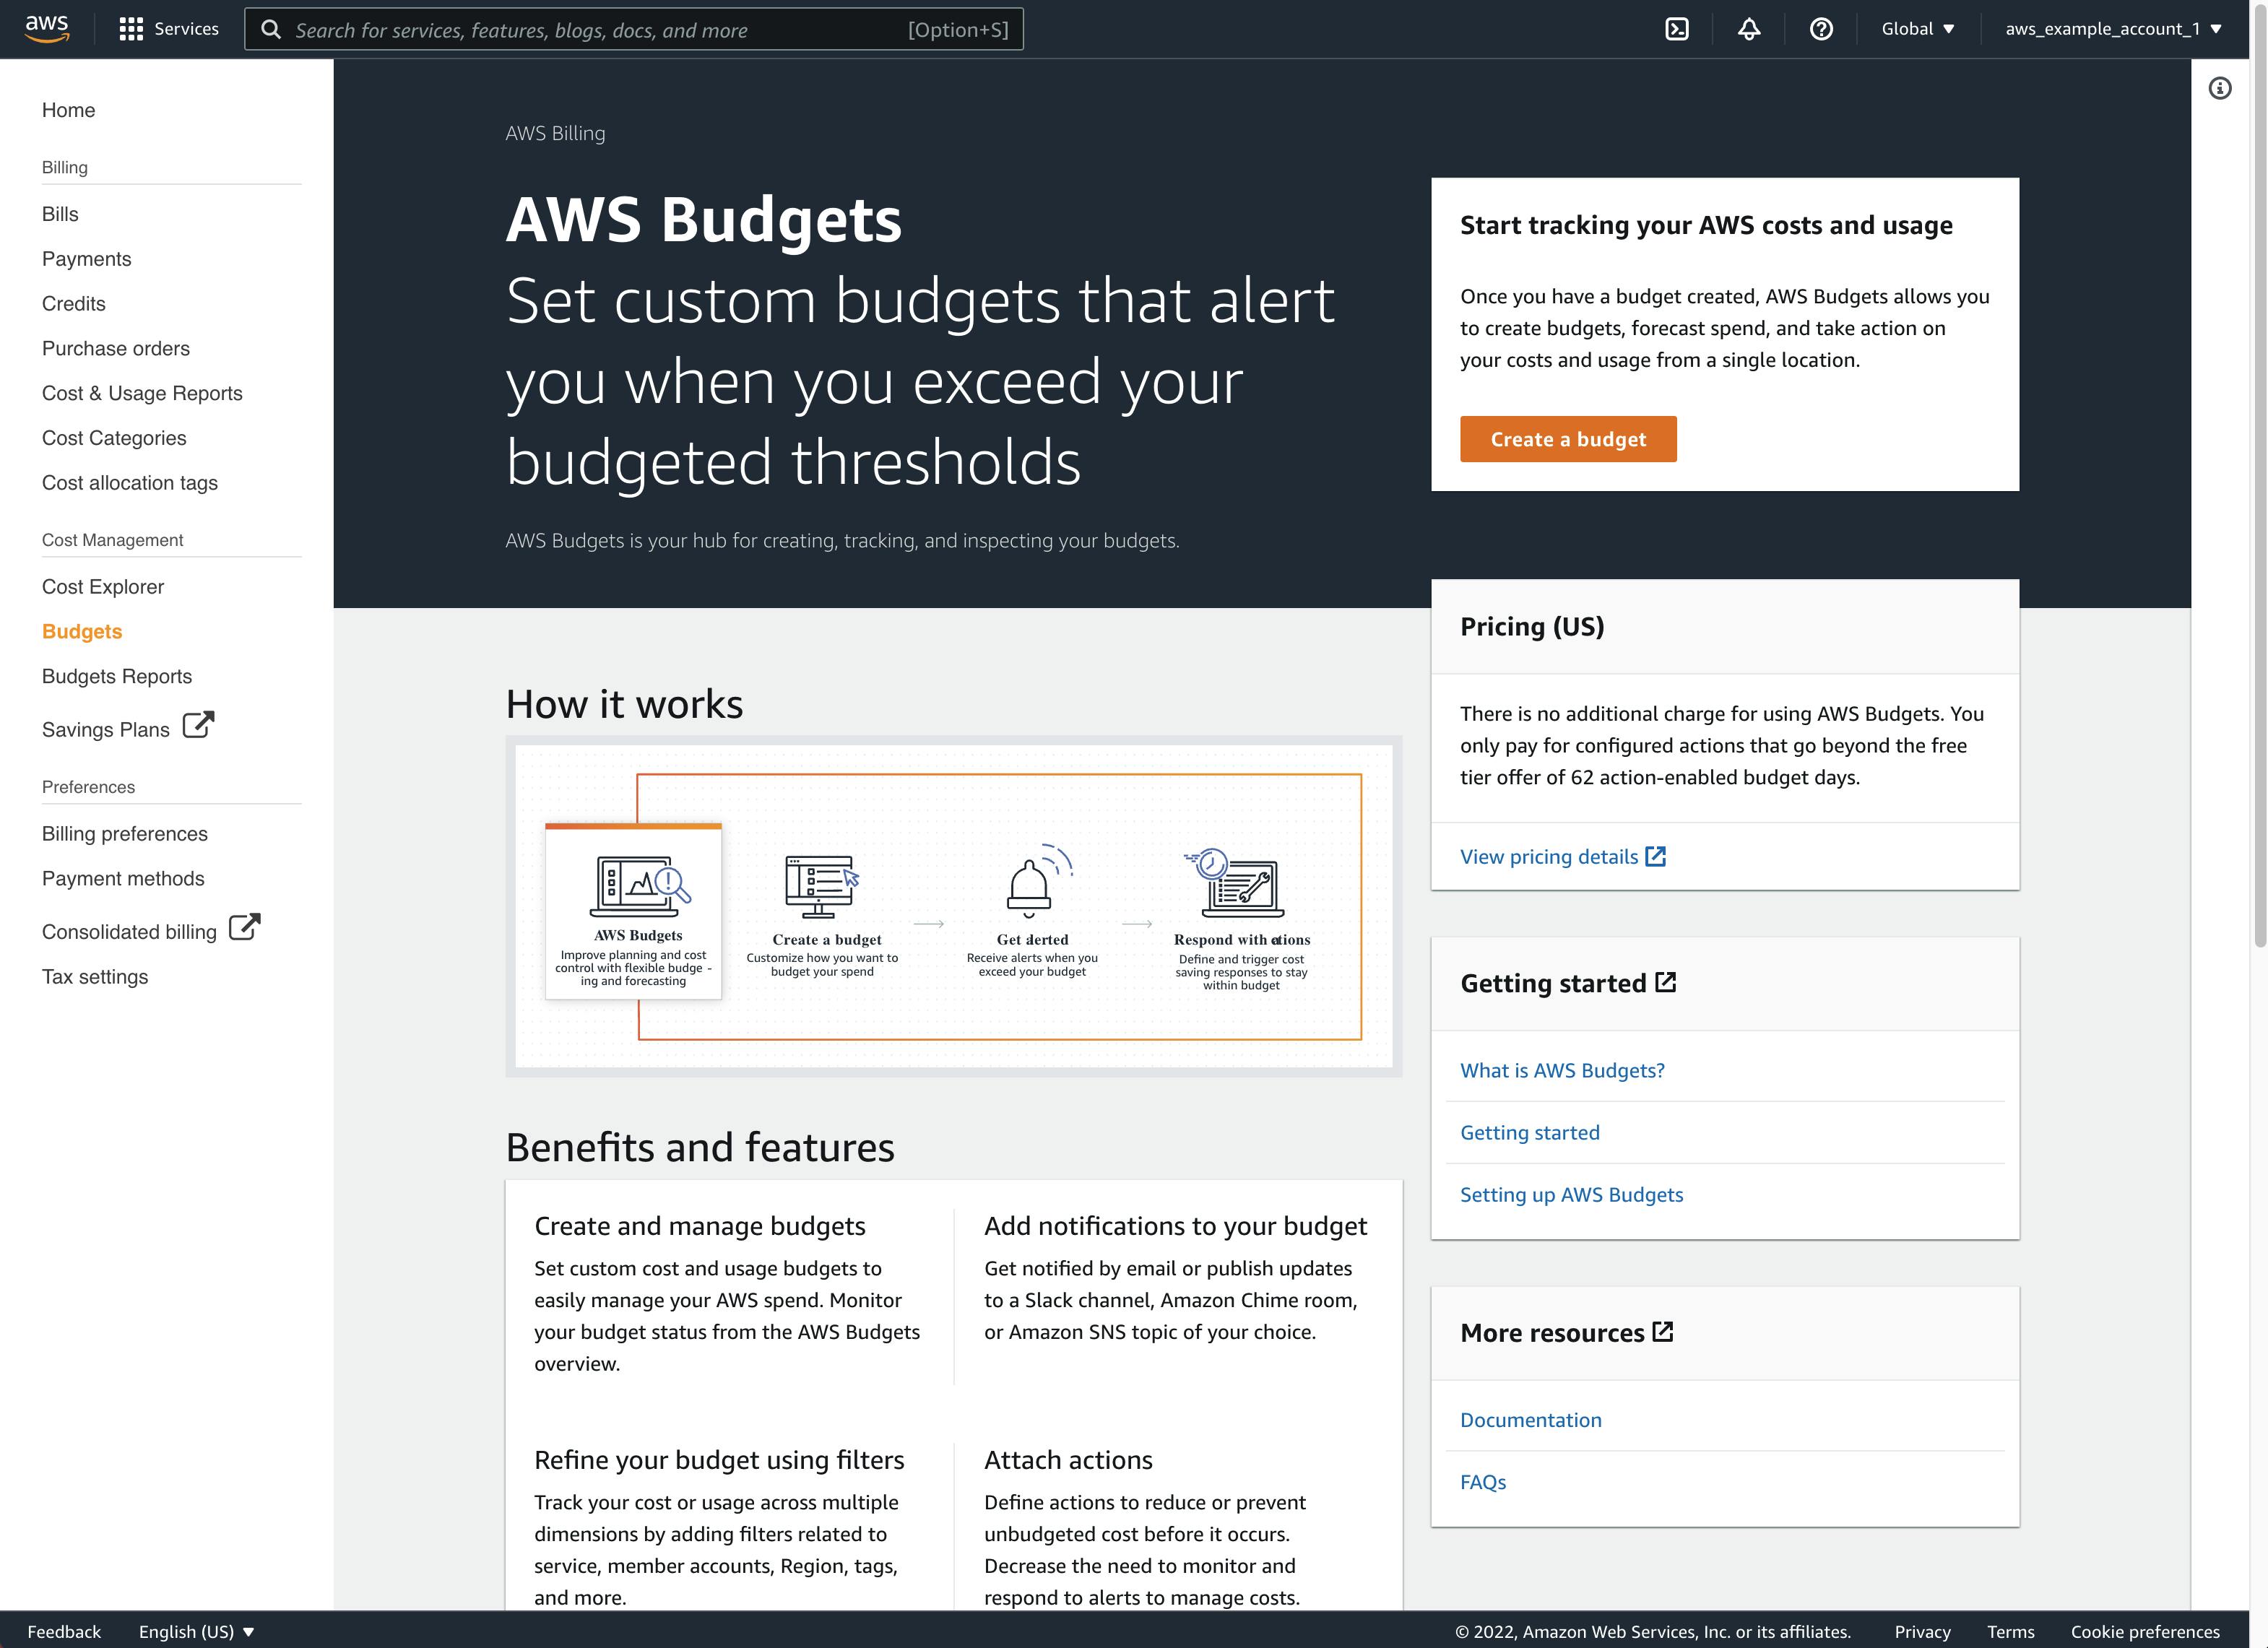
Afterward, on the AWS Billing Dashboard, select Budgets under "Cost Management" on the left side and then select Create a budget, a yellow button on the right side:
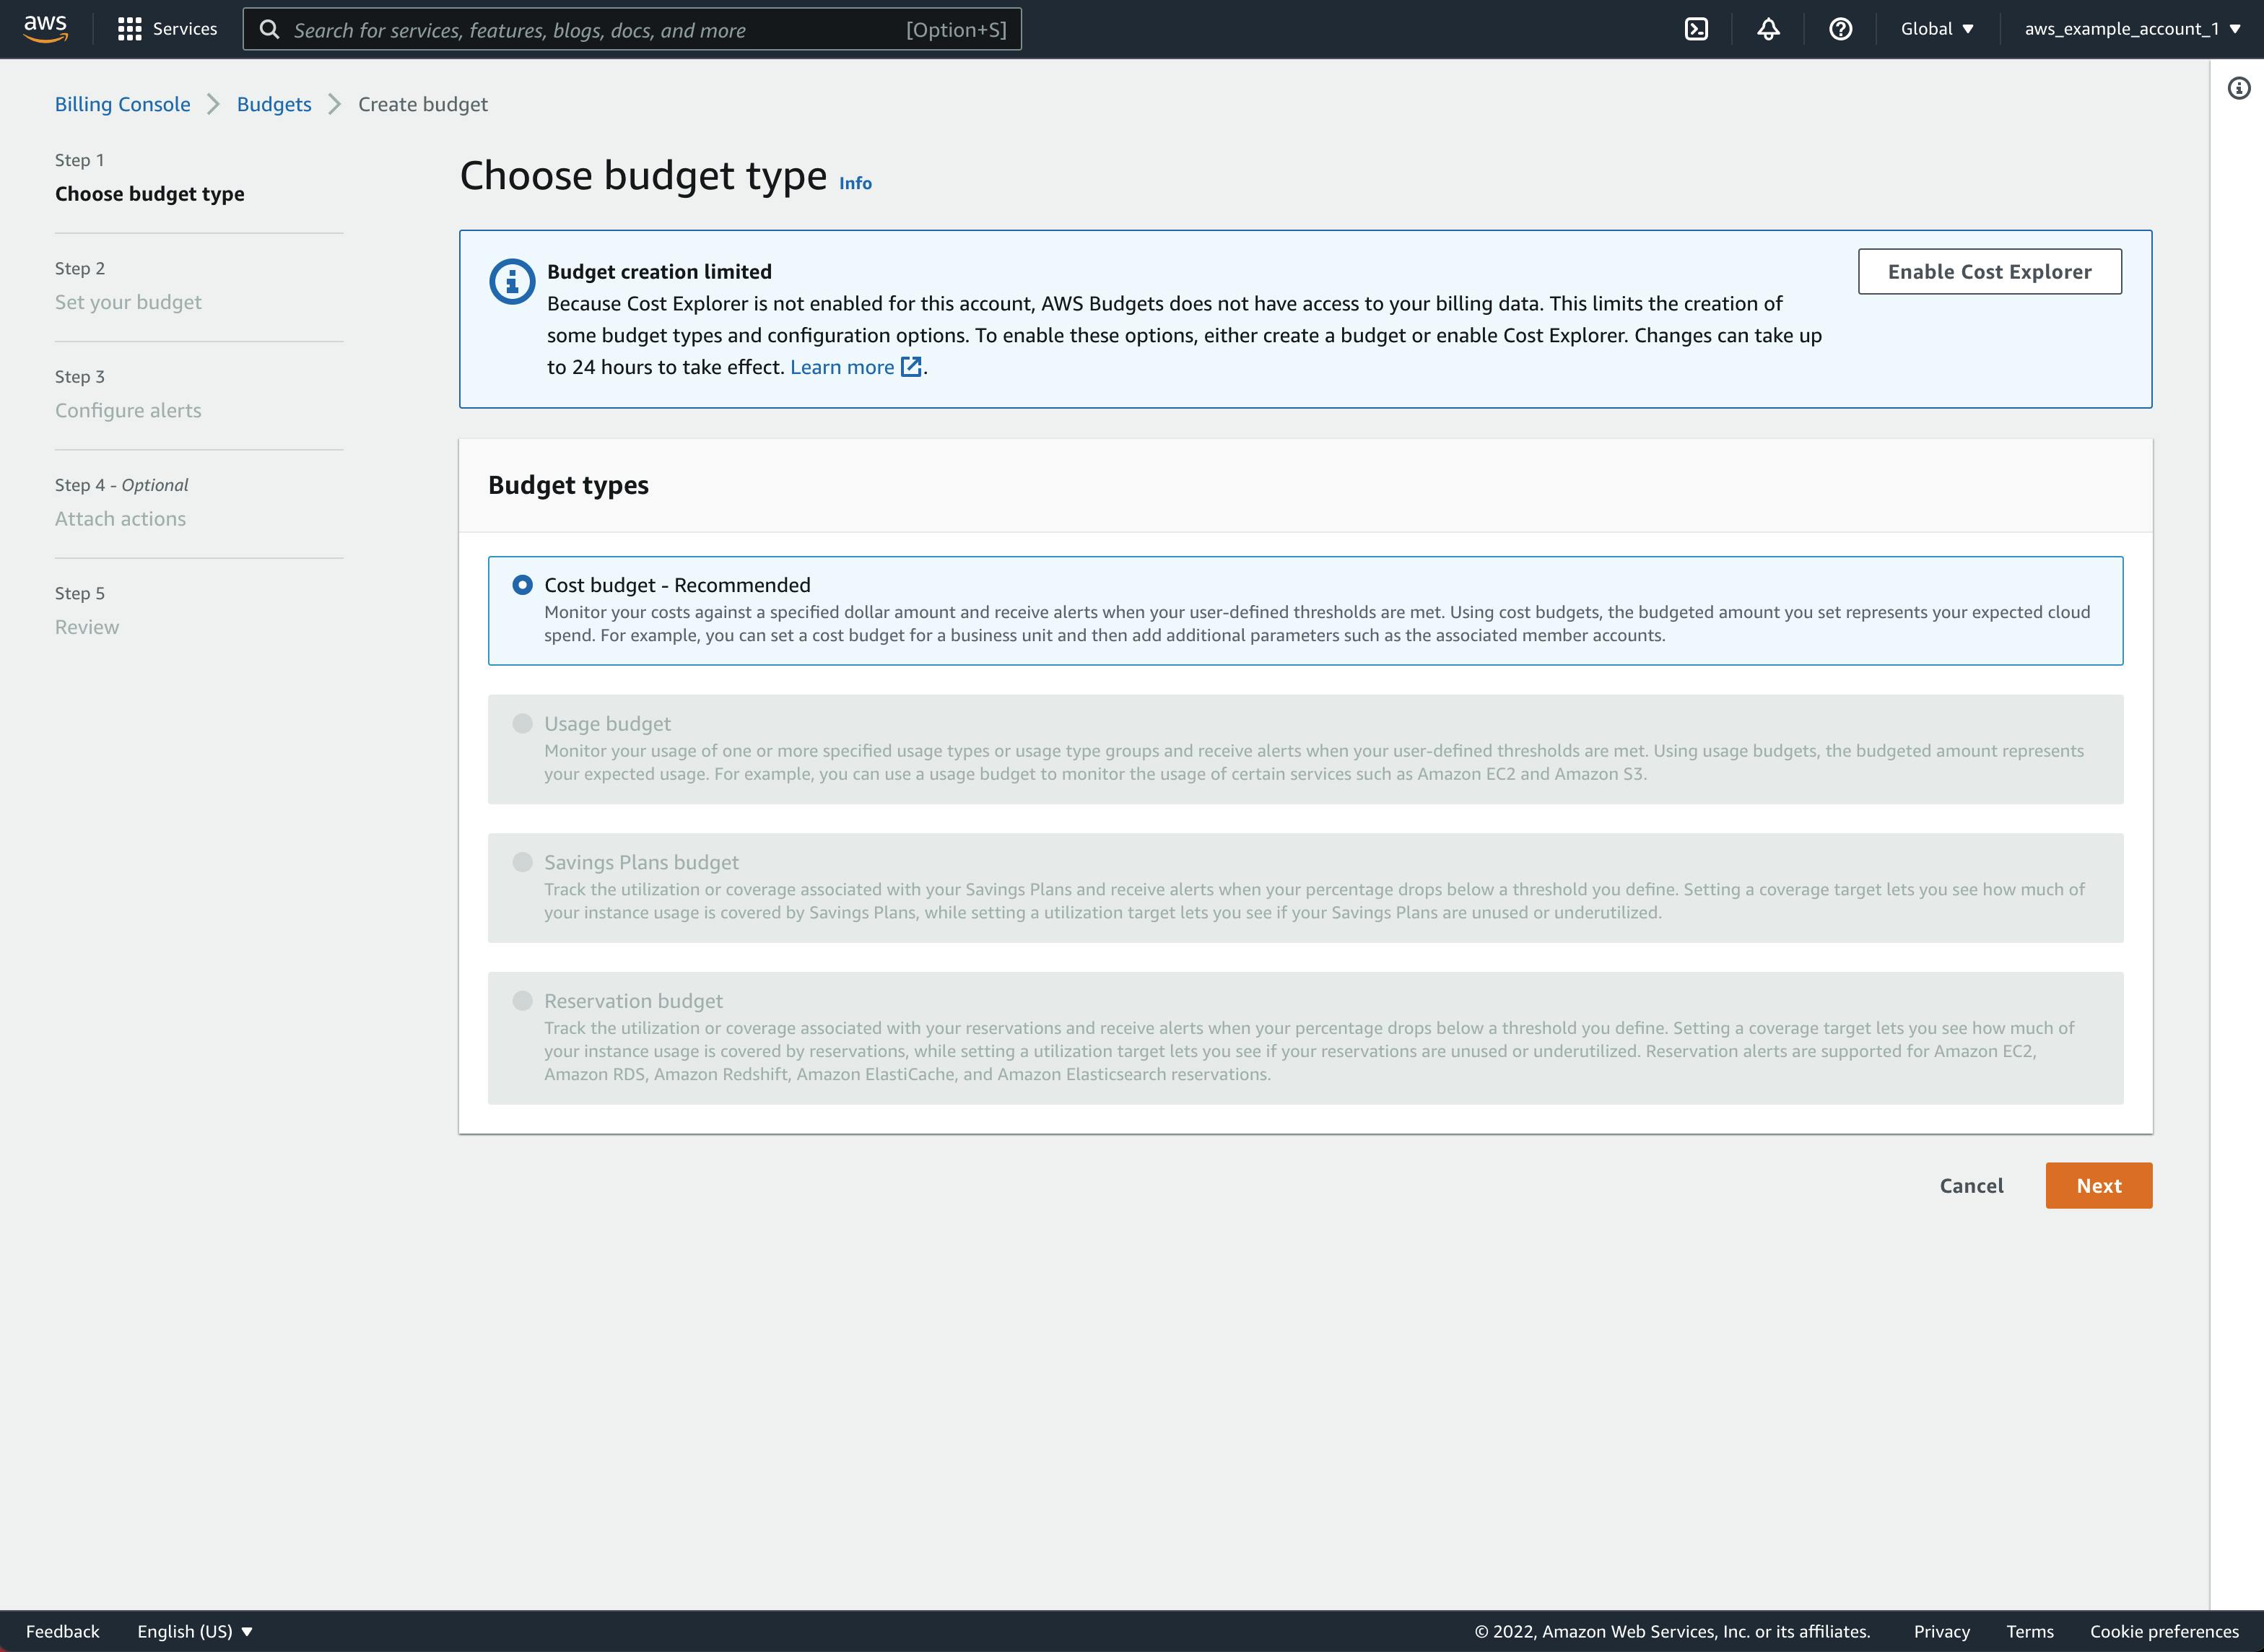
If you see the following screen, everything went well and you can continue by hitting Next.
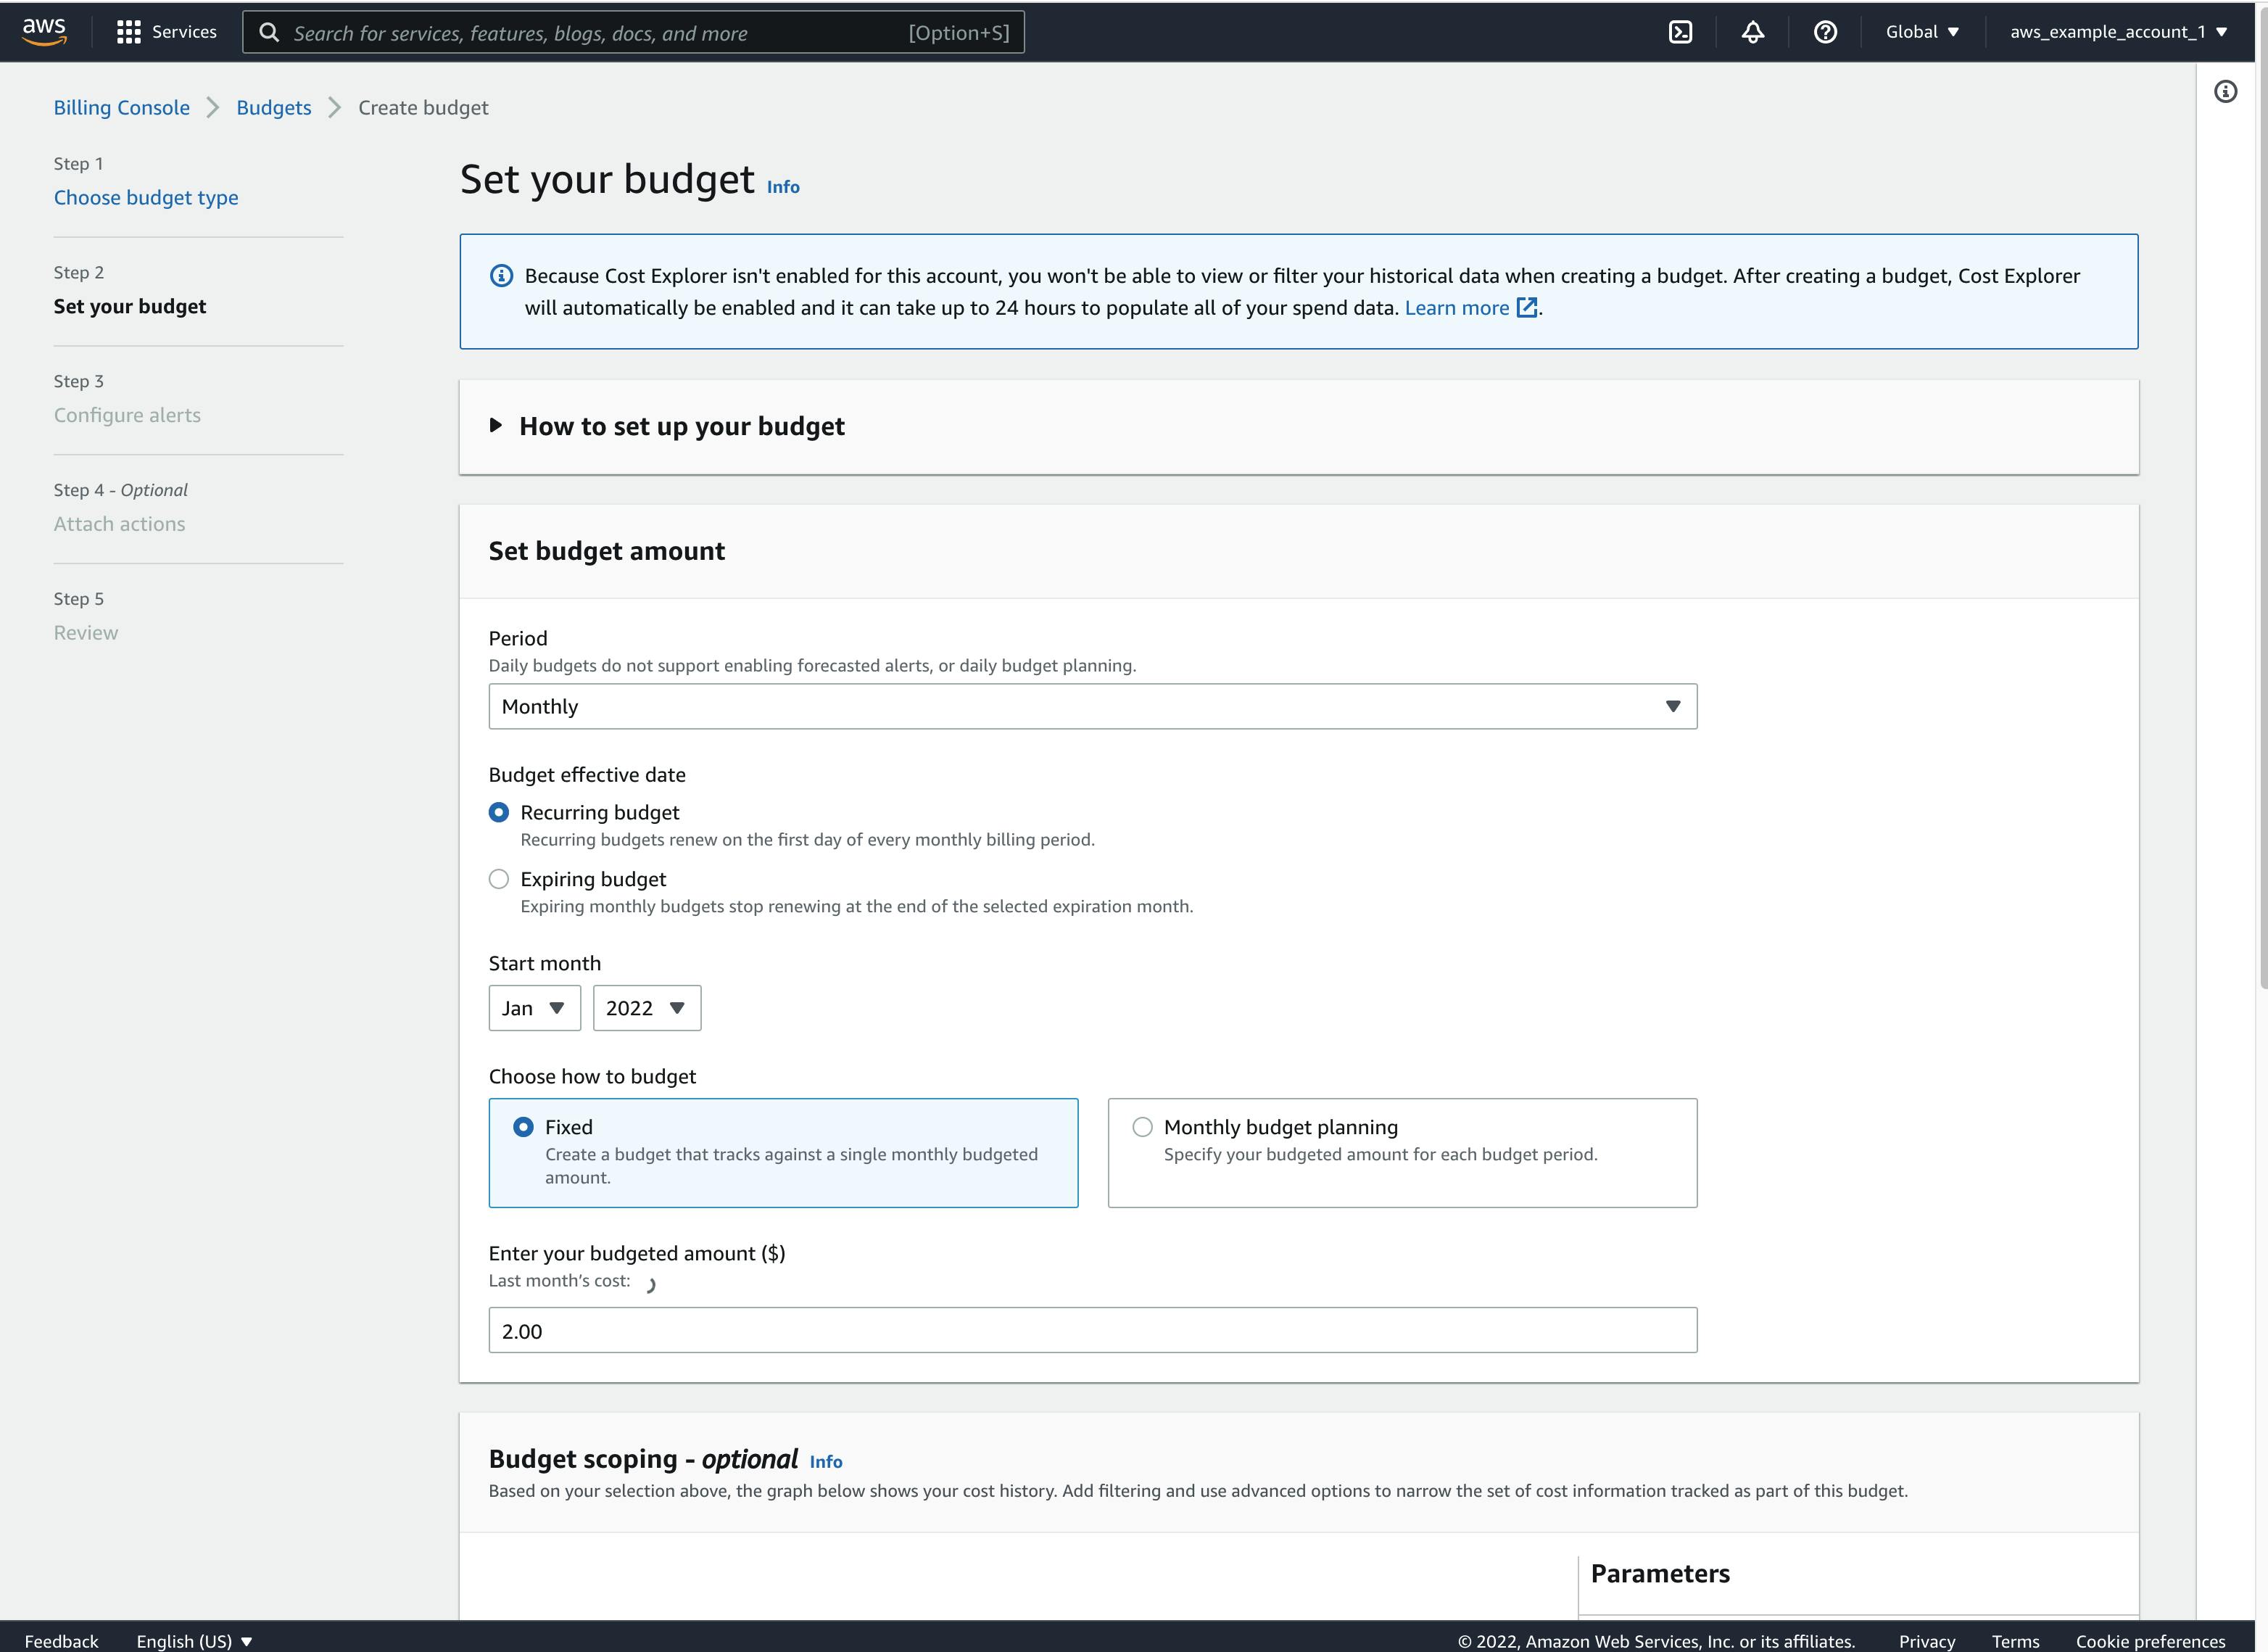
Let's start by setting up the budget amount. In the "Set budget amount" section, choose Monthly as the Period. We want to create a Recurring budget to have it watch our spending every month and not just for one month!
Select a Start month of your choice, ideally the current month. I recommend selecting Fixed under "Choose how to budget" to keep it simple.
Finally, enter a budget amount. I've chosen $2 as my monthly budget but feel free to enter what you are comfortable with.
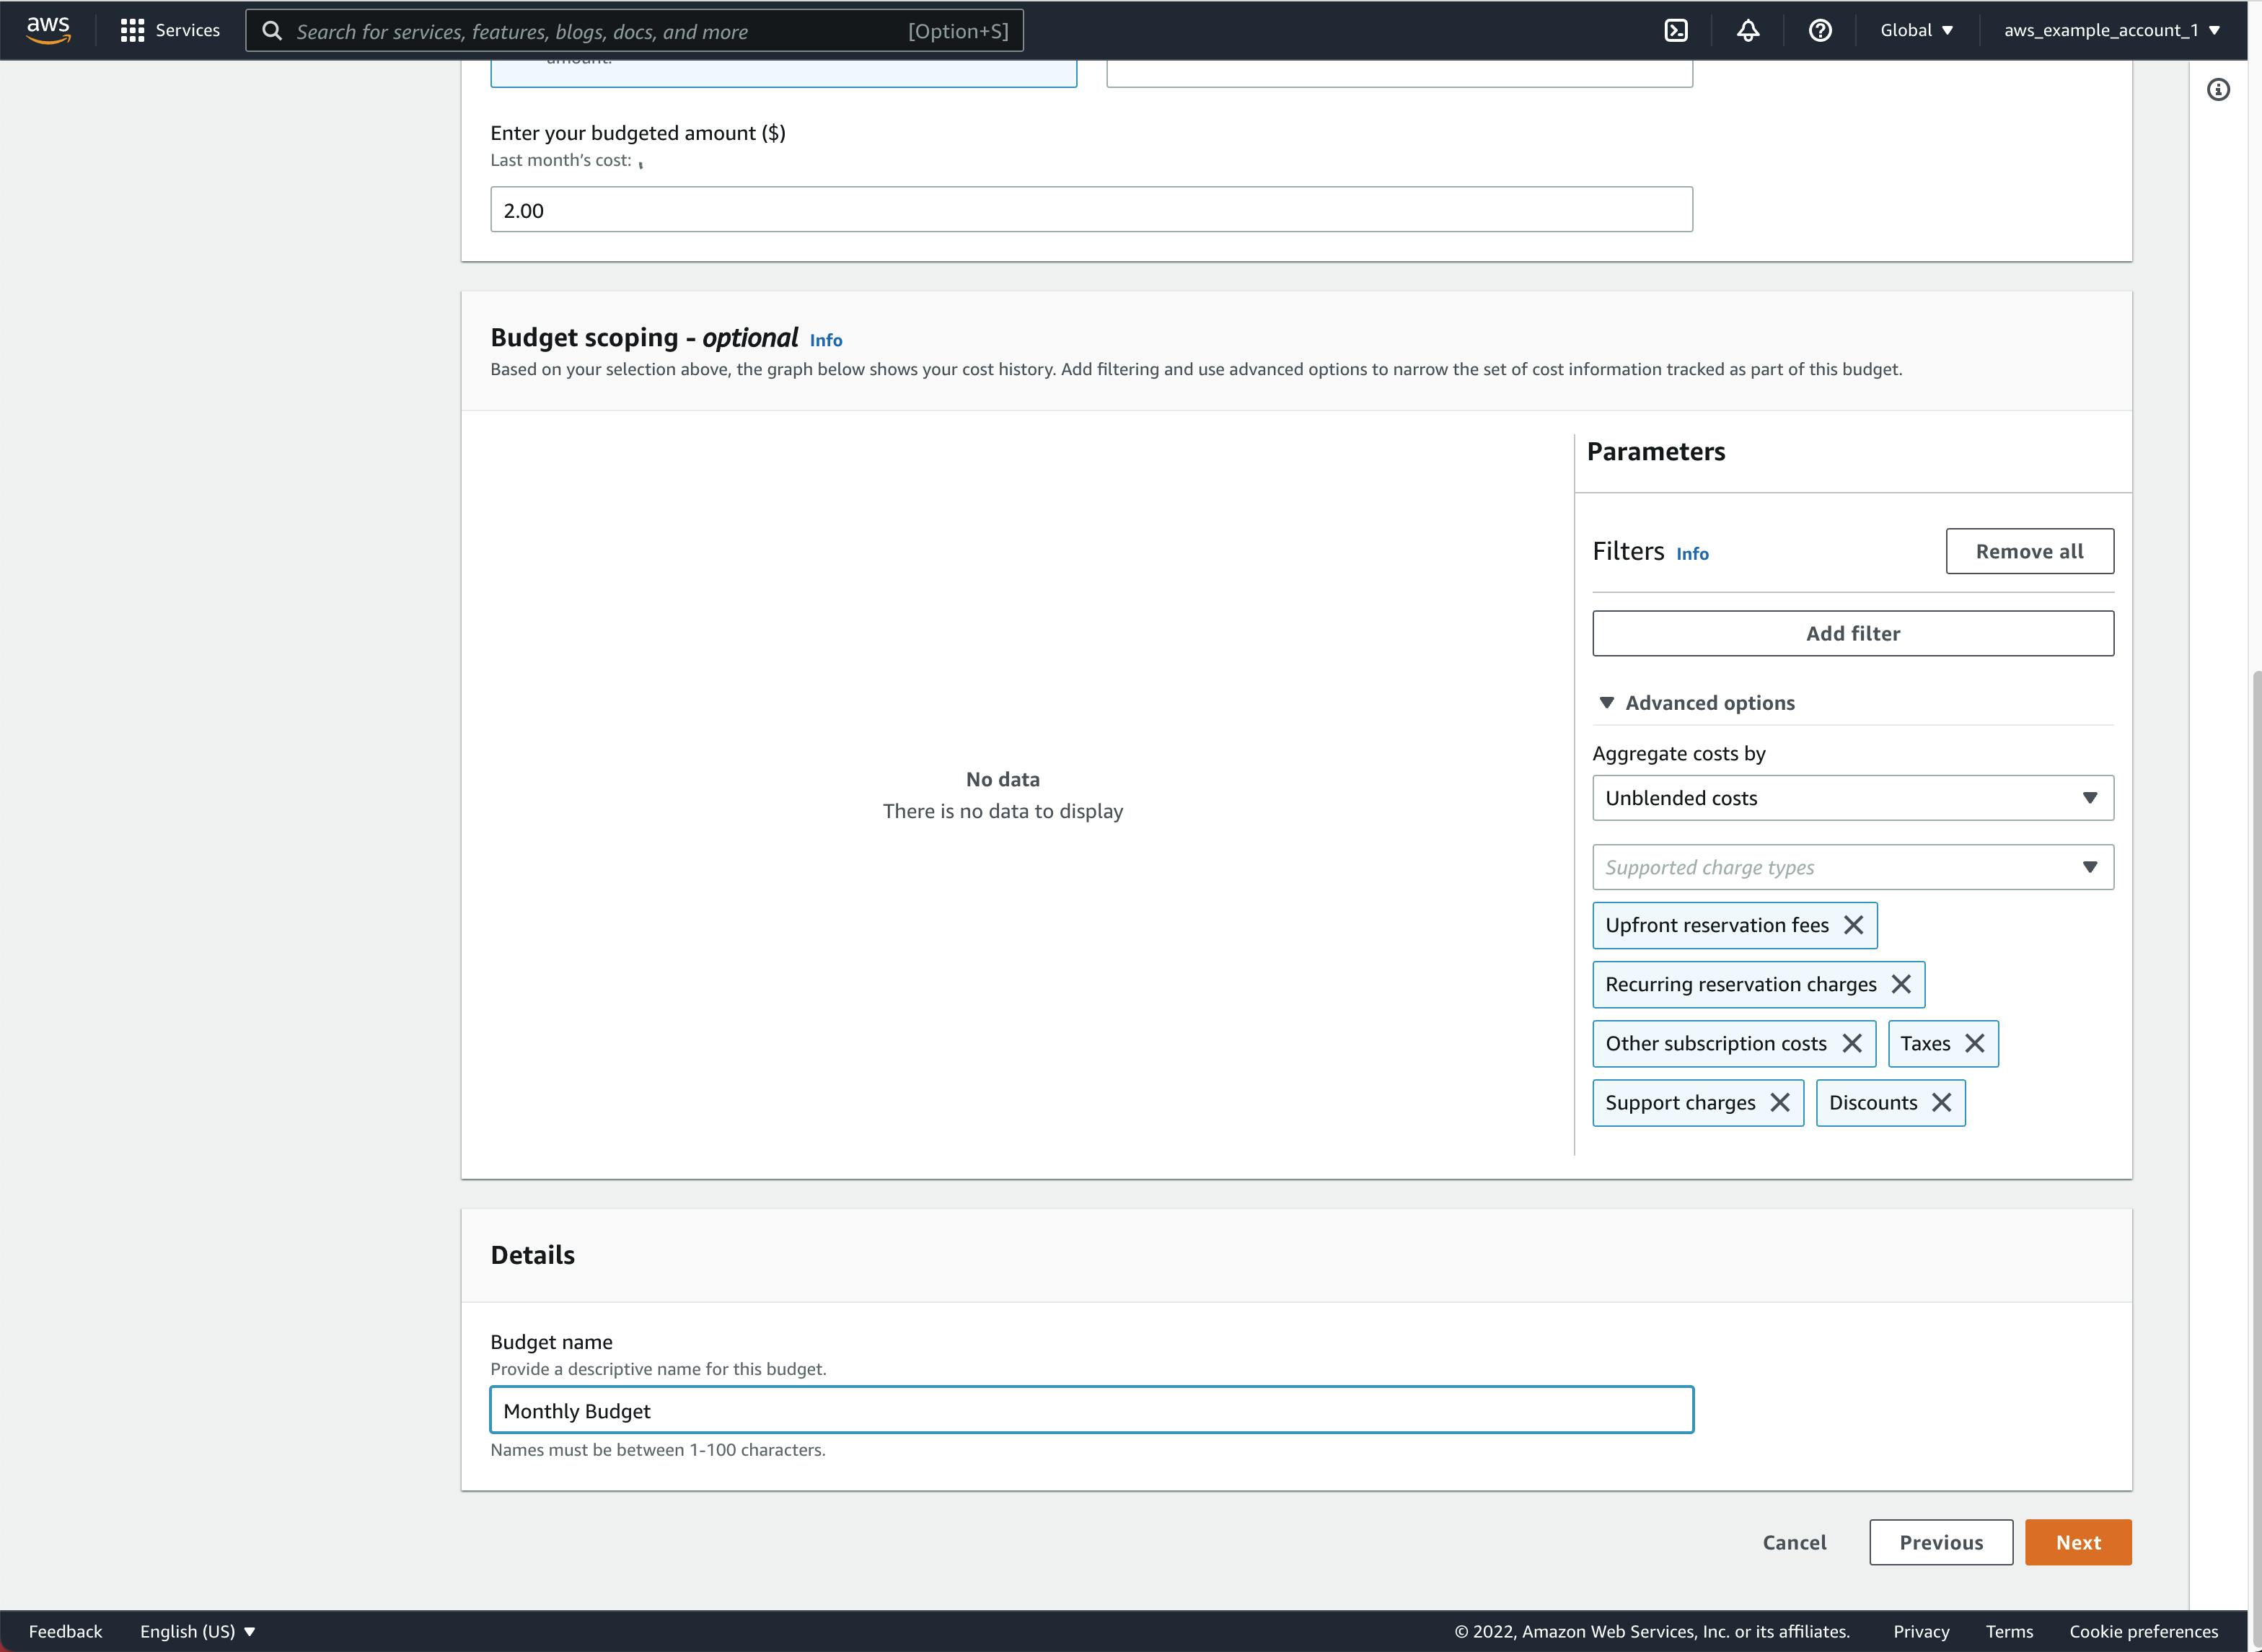
Scroll down a bit, give your budget a name and hit Next.
You should see "Step 3 - Configure alerts" now:
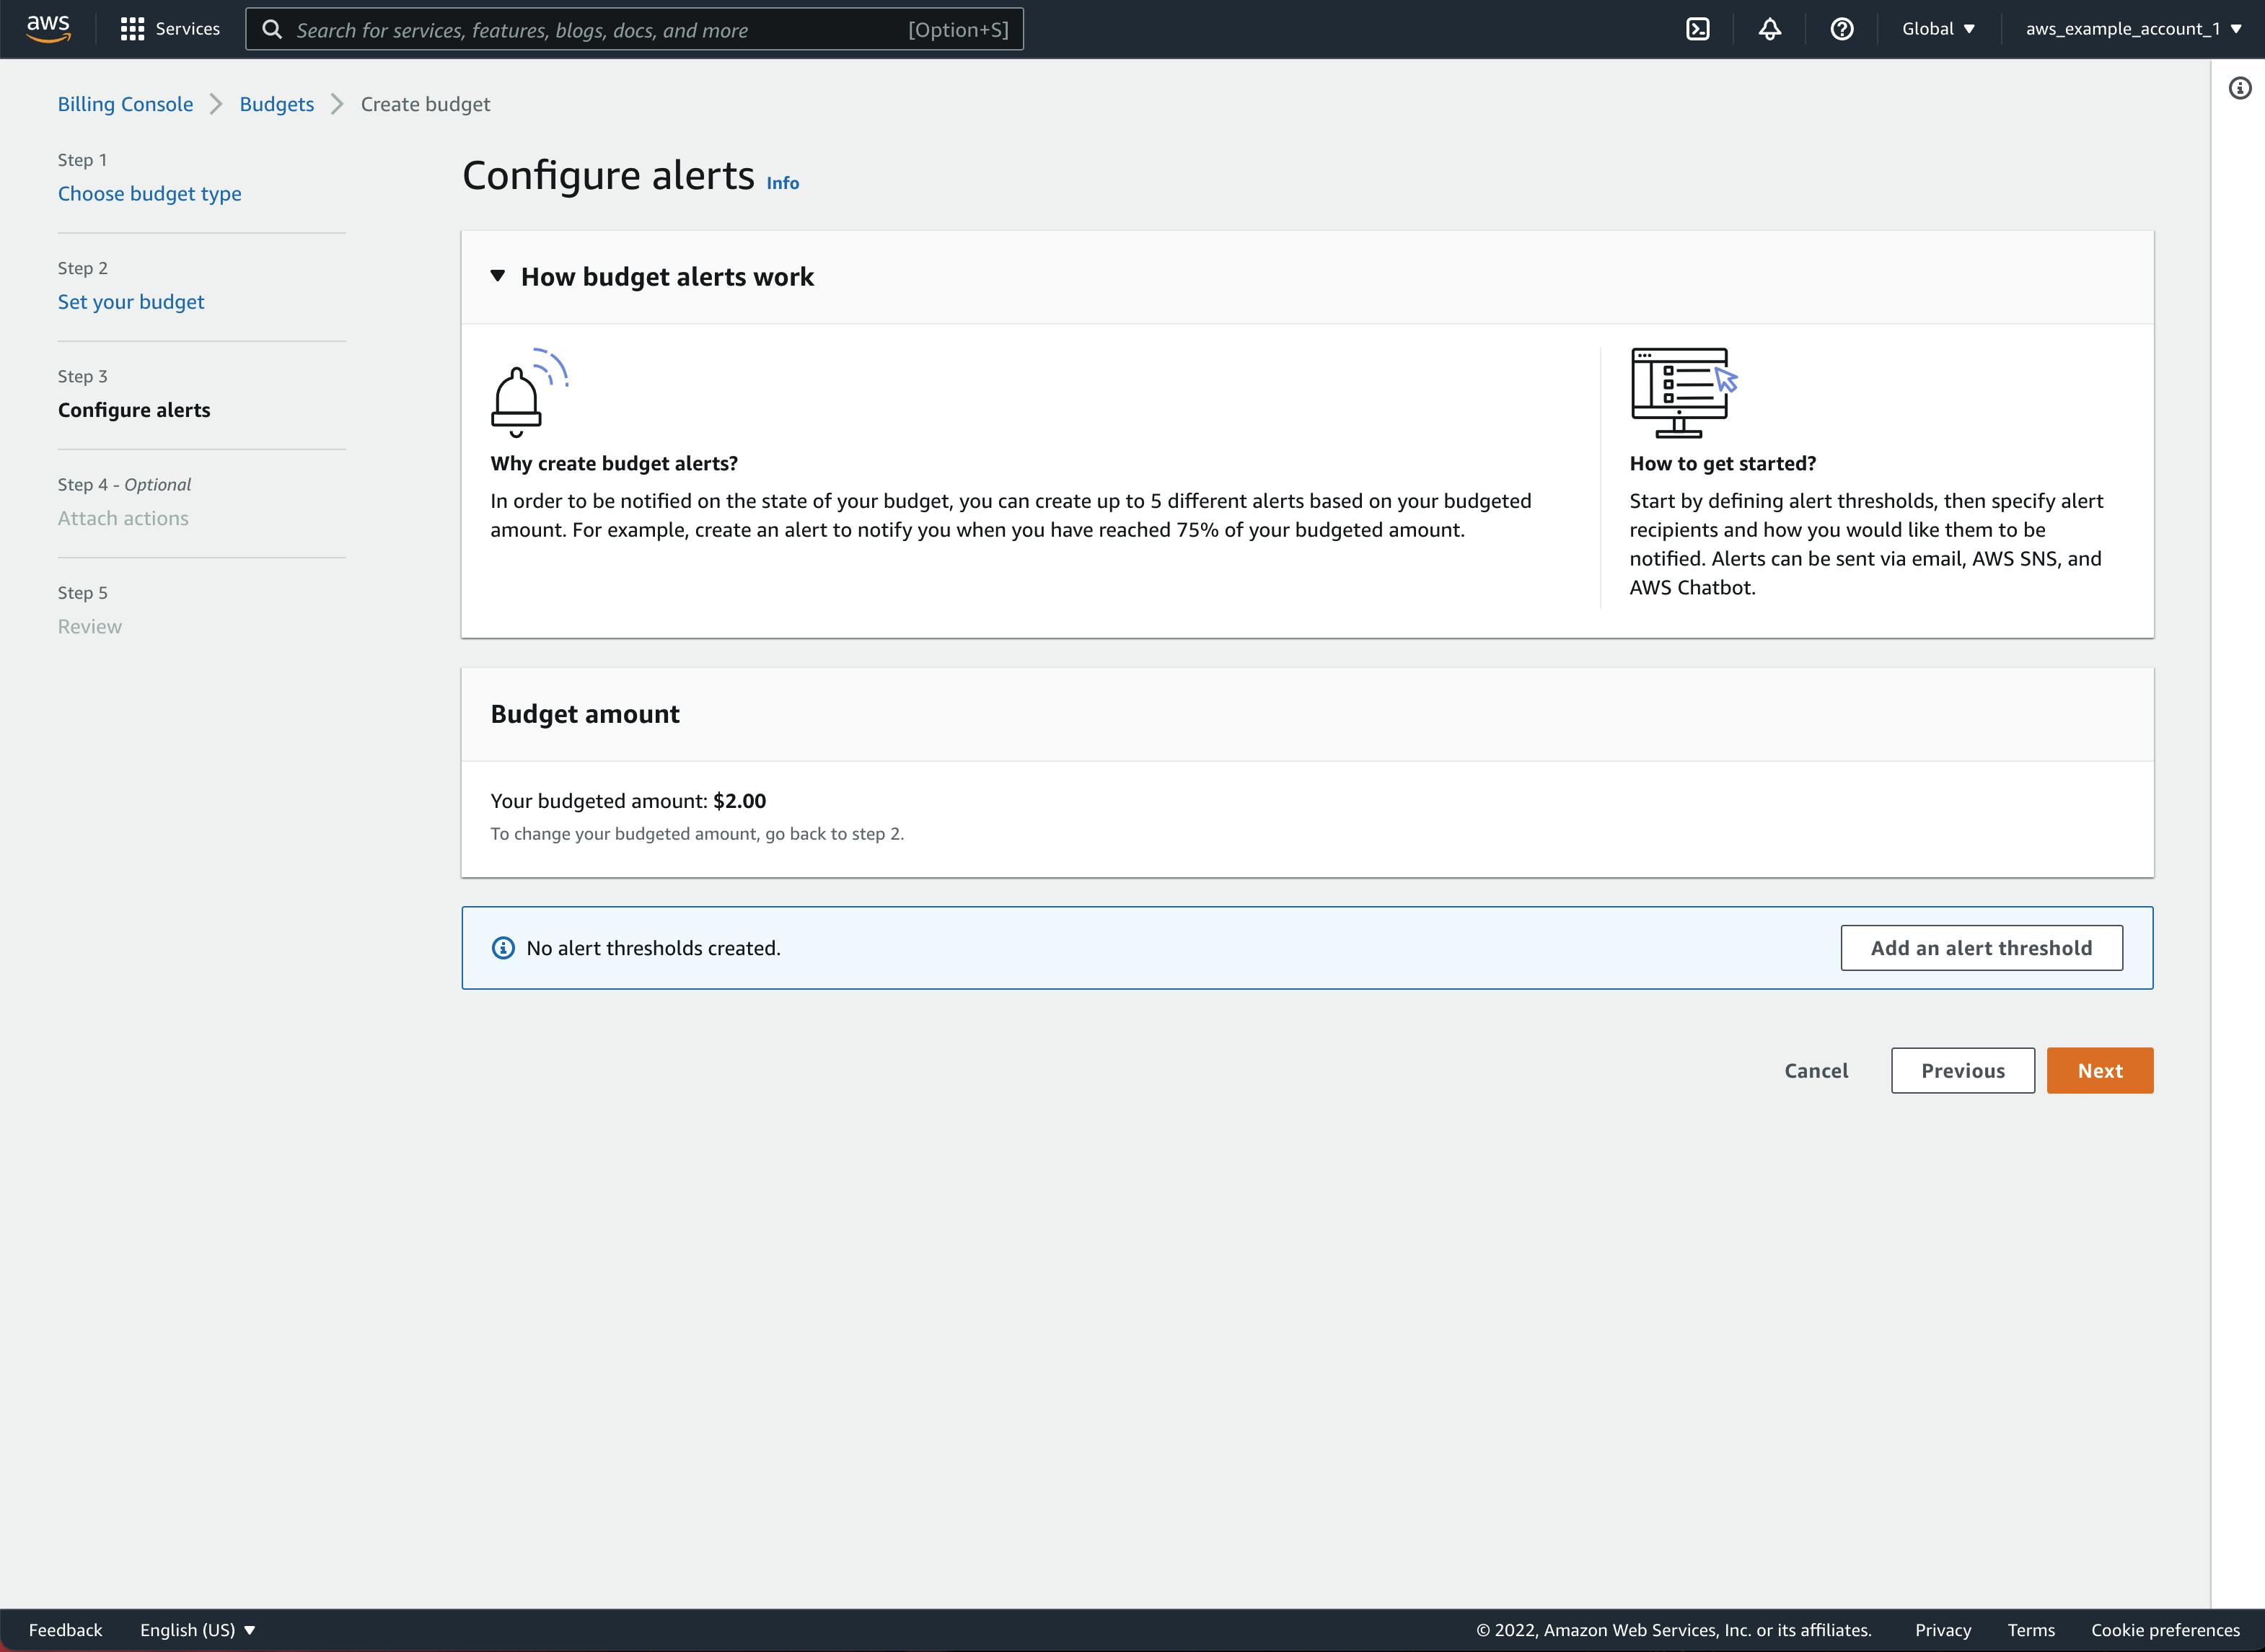
Select Add an alert threshold and fill out the Alert screen. I configured it in a way, that whenever my monthly spending surpasses $1 (50% of my actual budget), the alert will be triggered and an email will be sent to me.
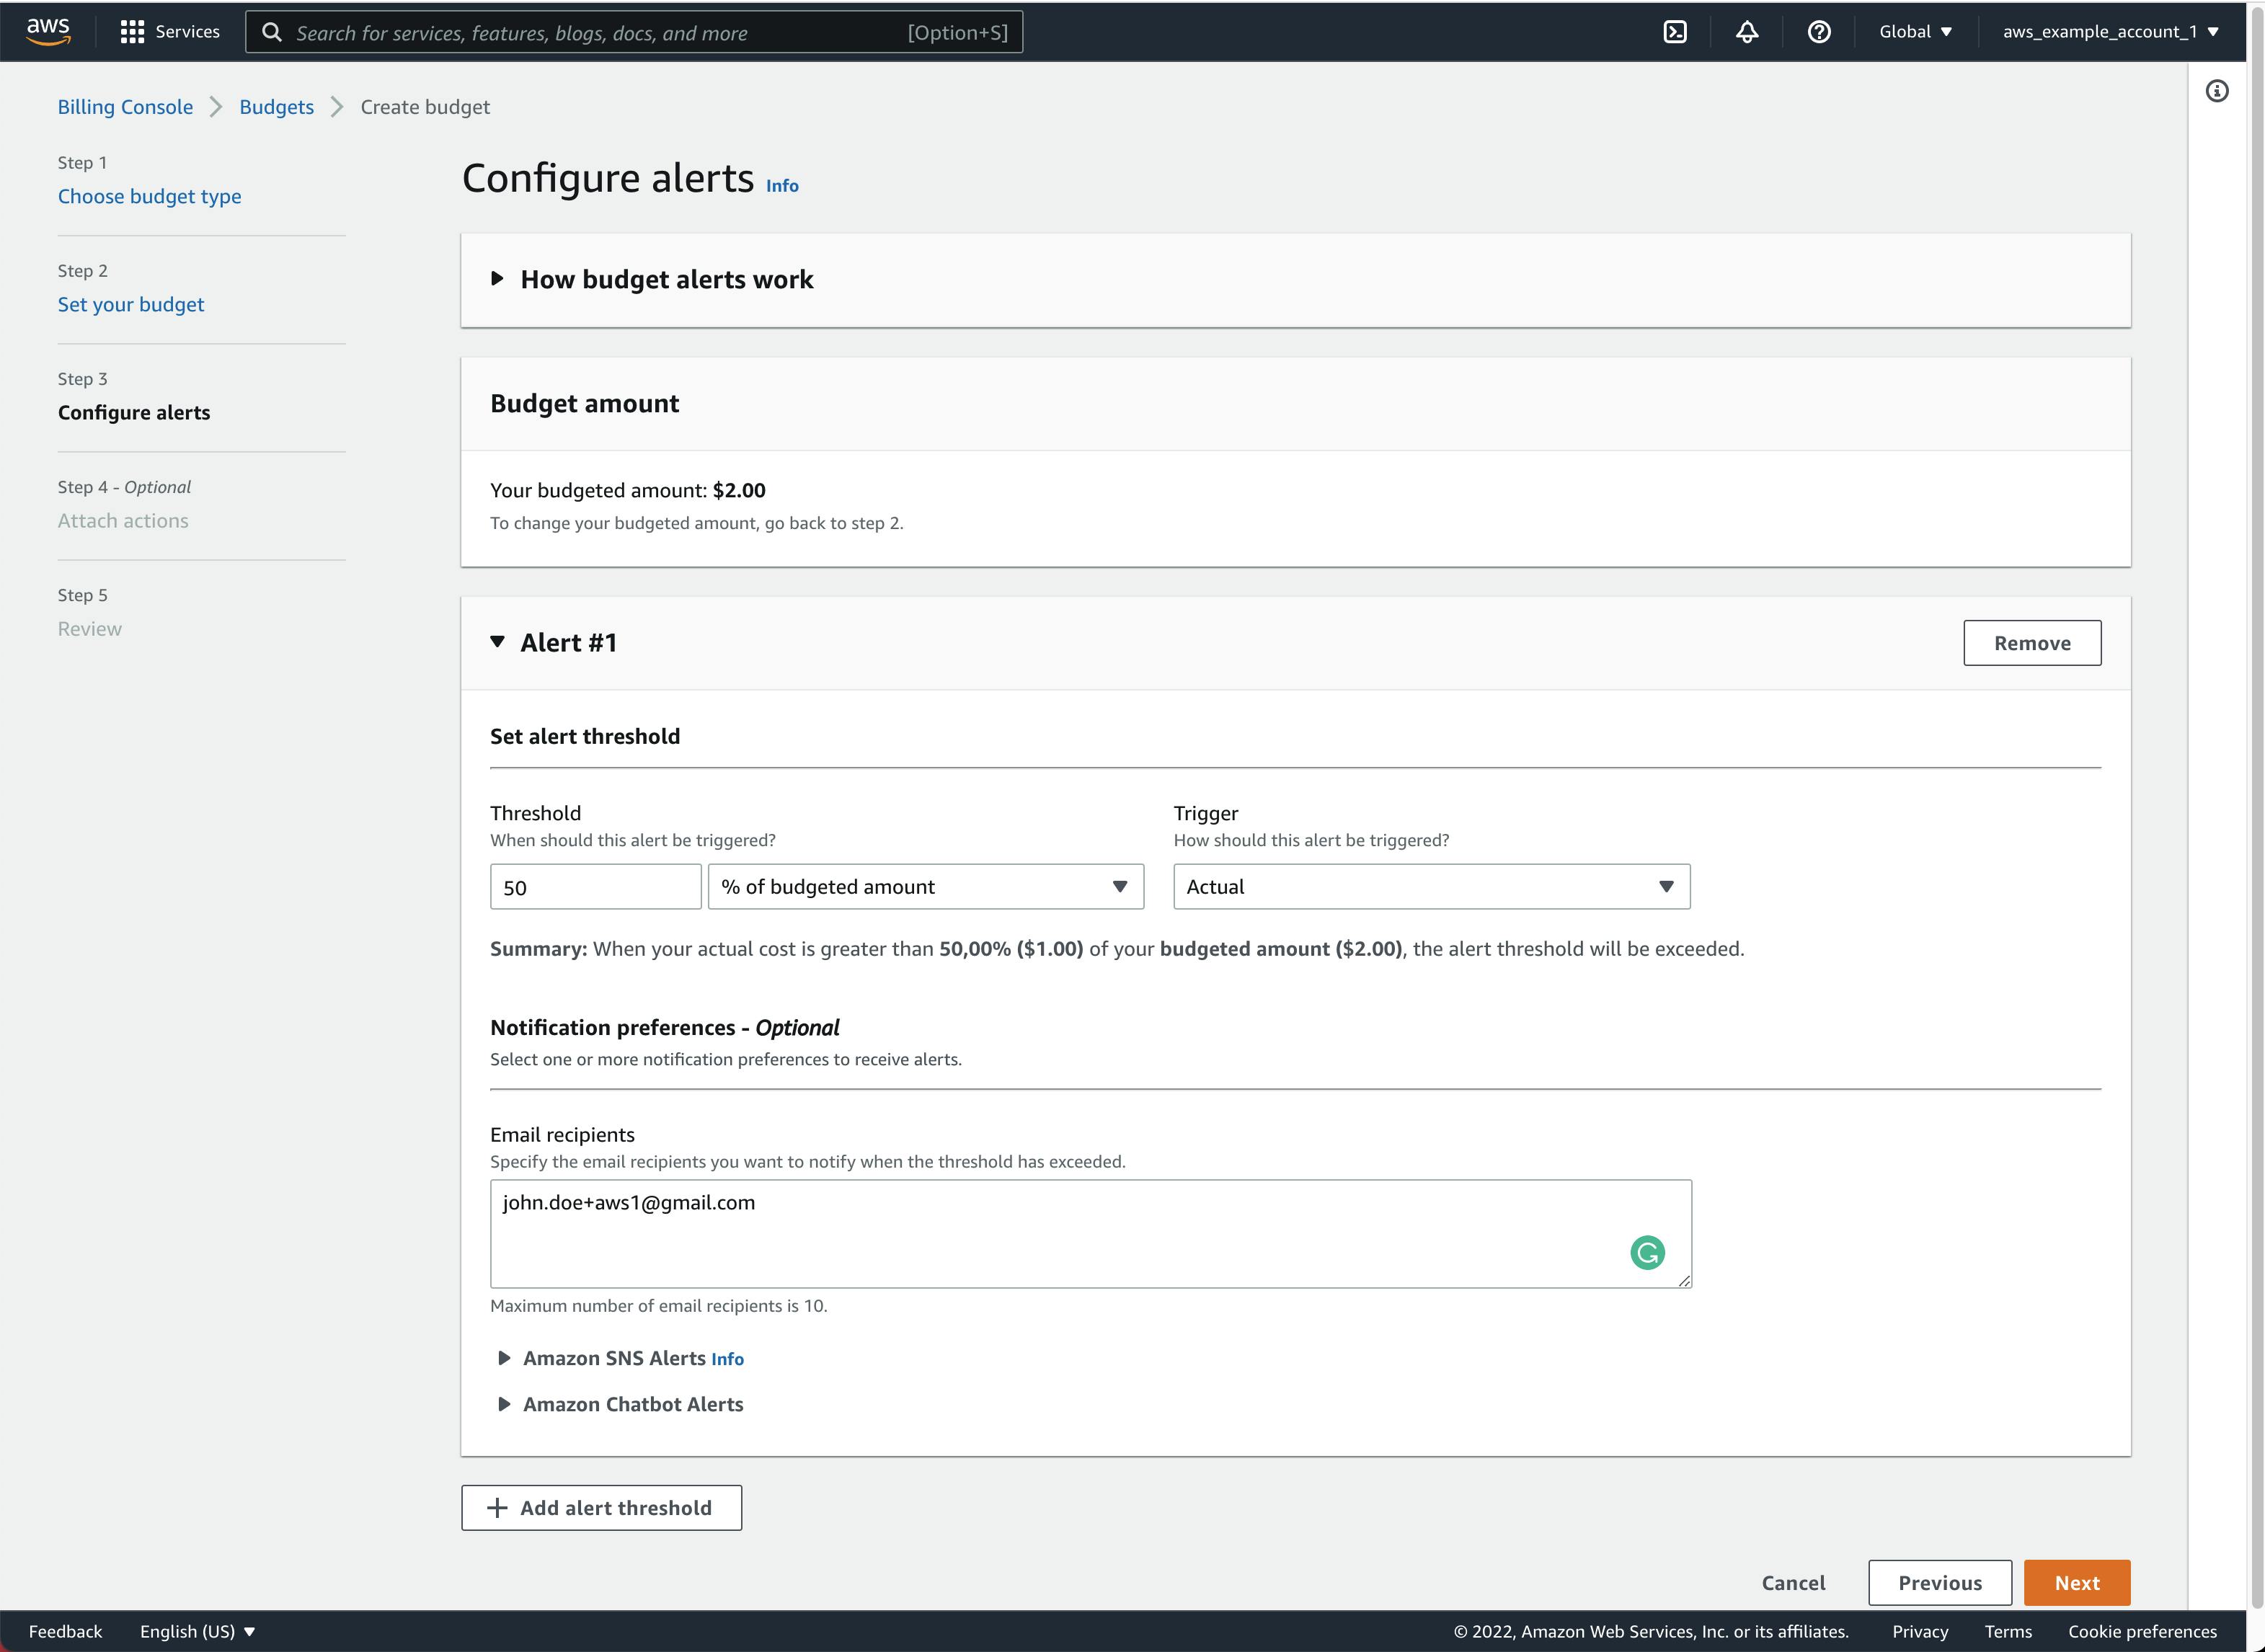
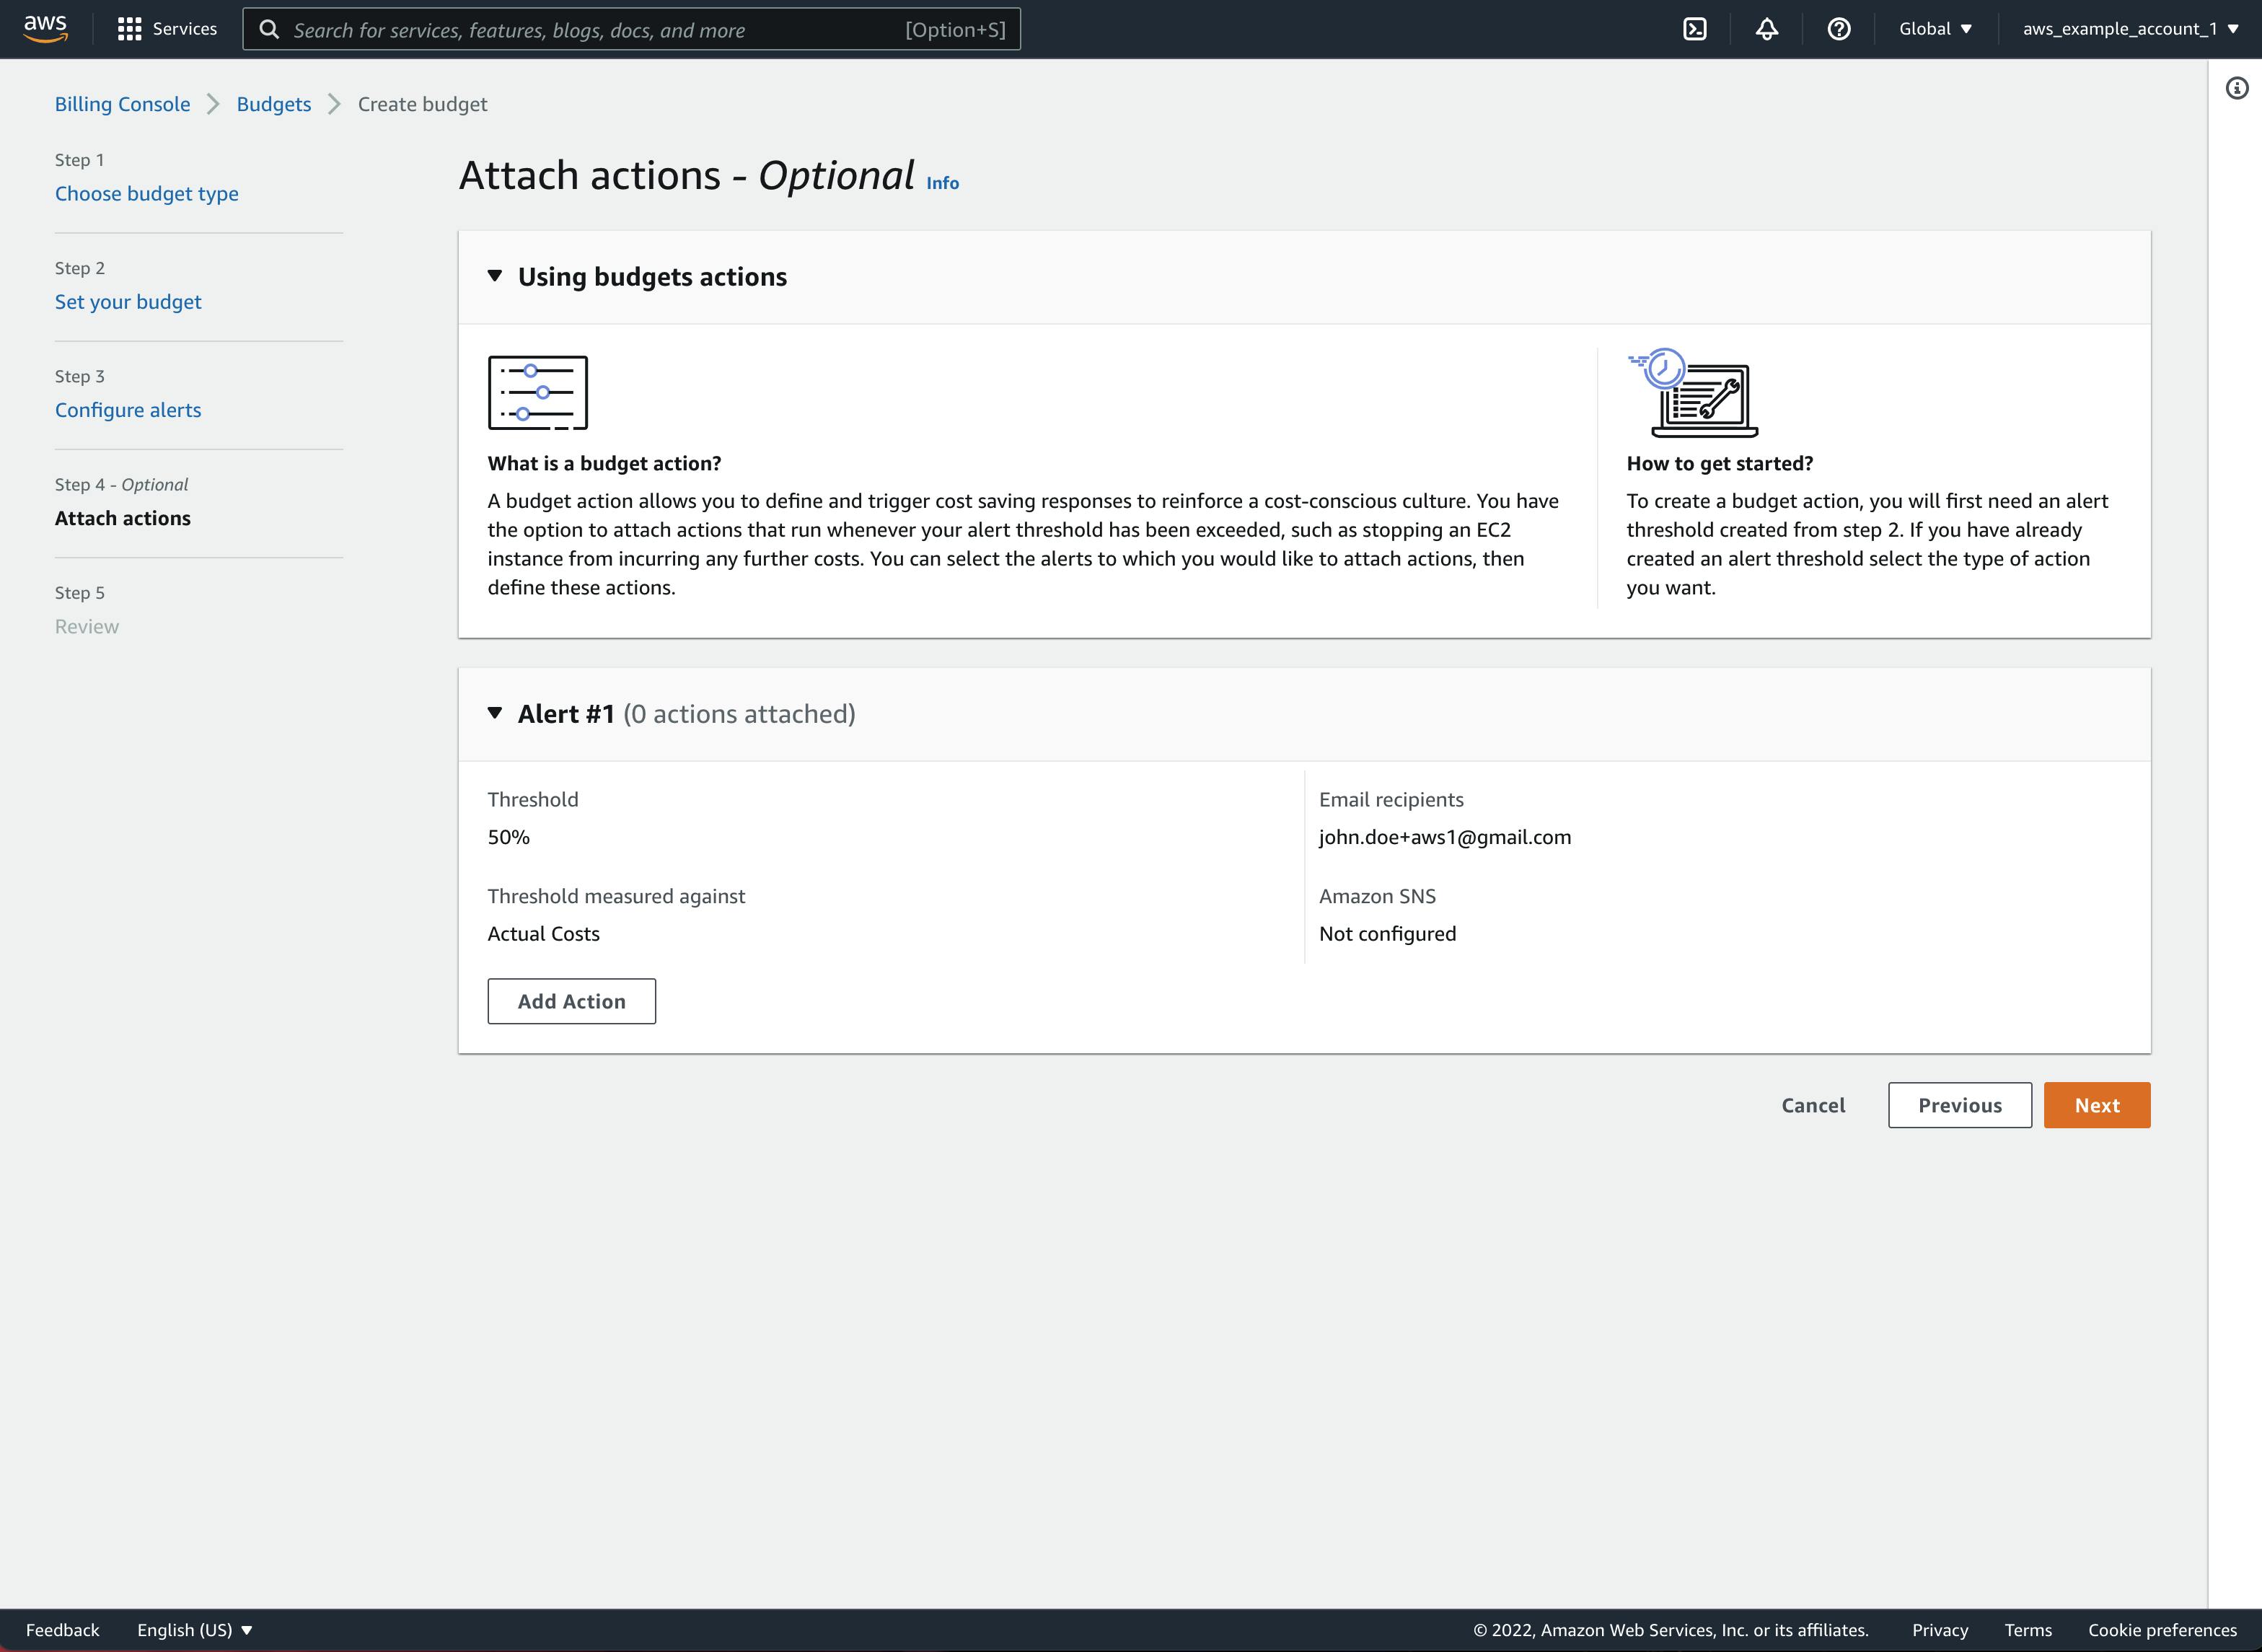
Once you're happy with your alert, click on Next to continue with the budget setup. Because we will not attach optional actions, hit Next on the next screen as well.
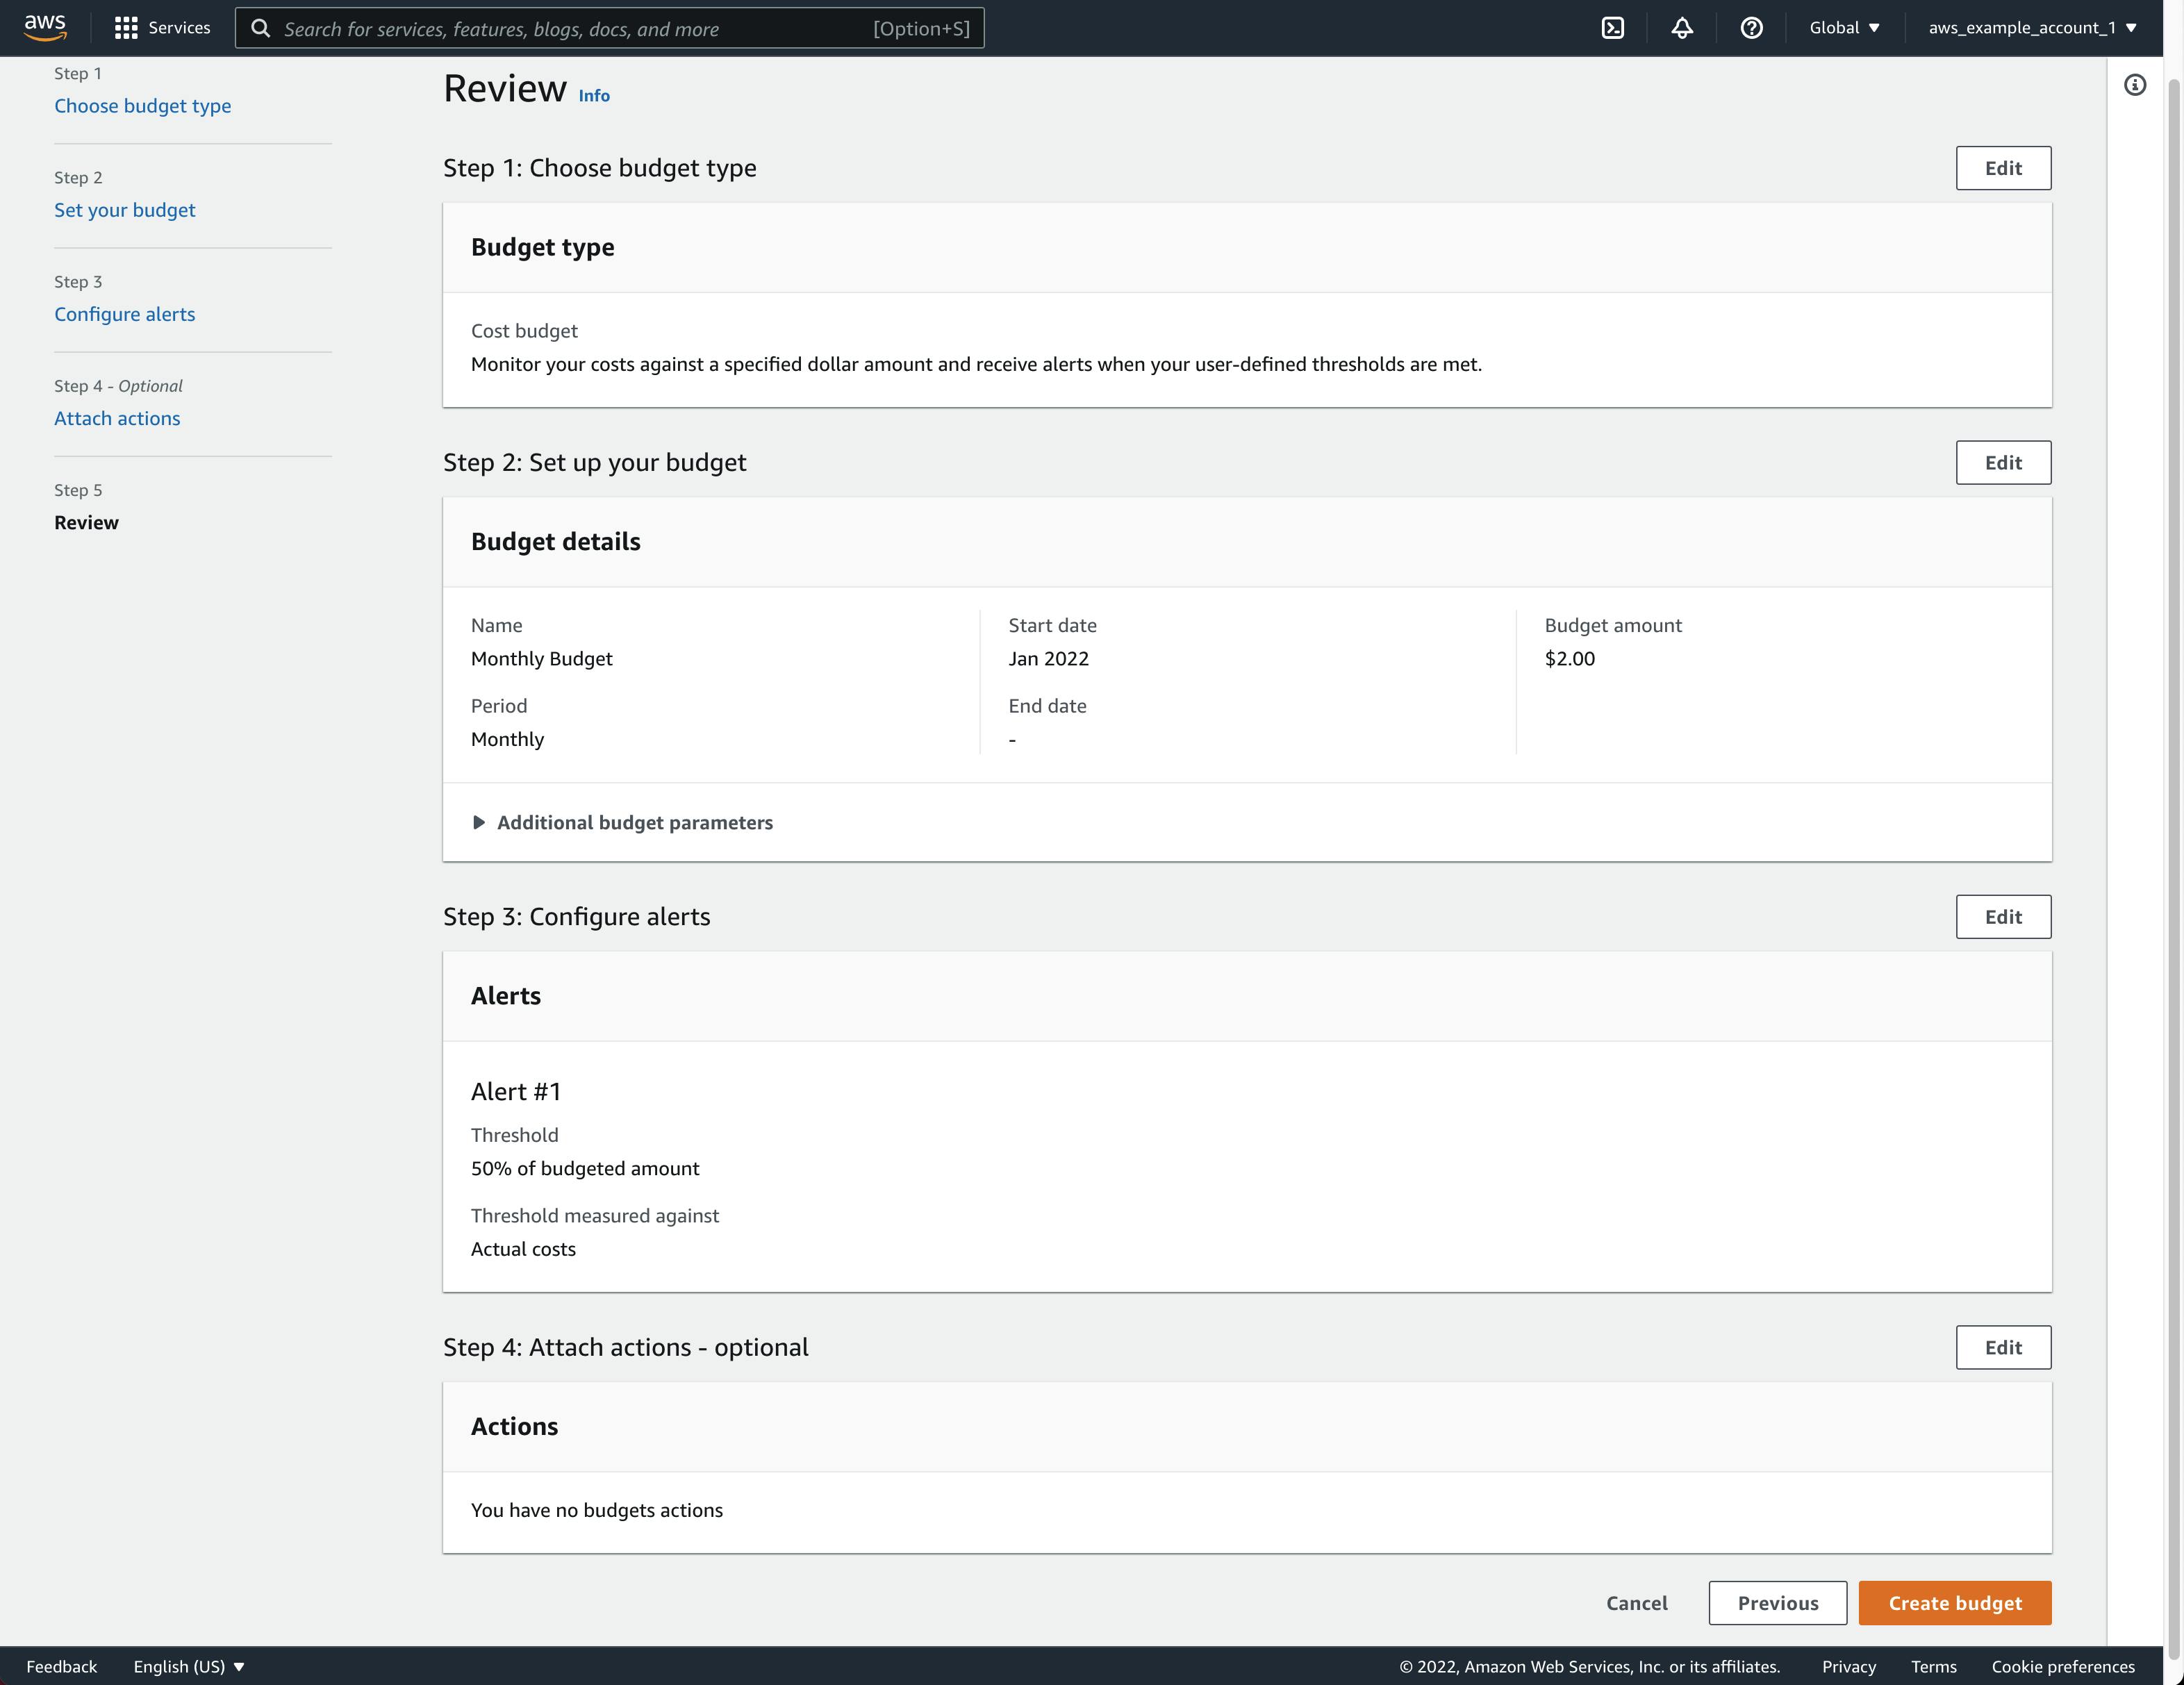
That brings us to the last step. Take the time to review your budget configuration. If everything looks alright, click Create budget.
Congratulations, you created your monthly budget:
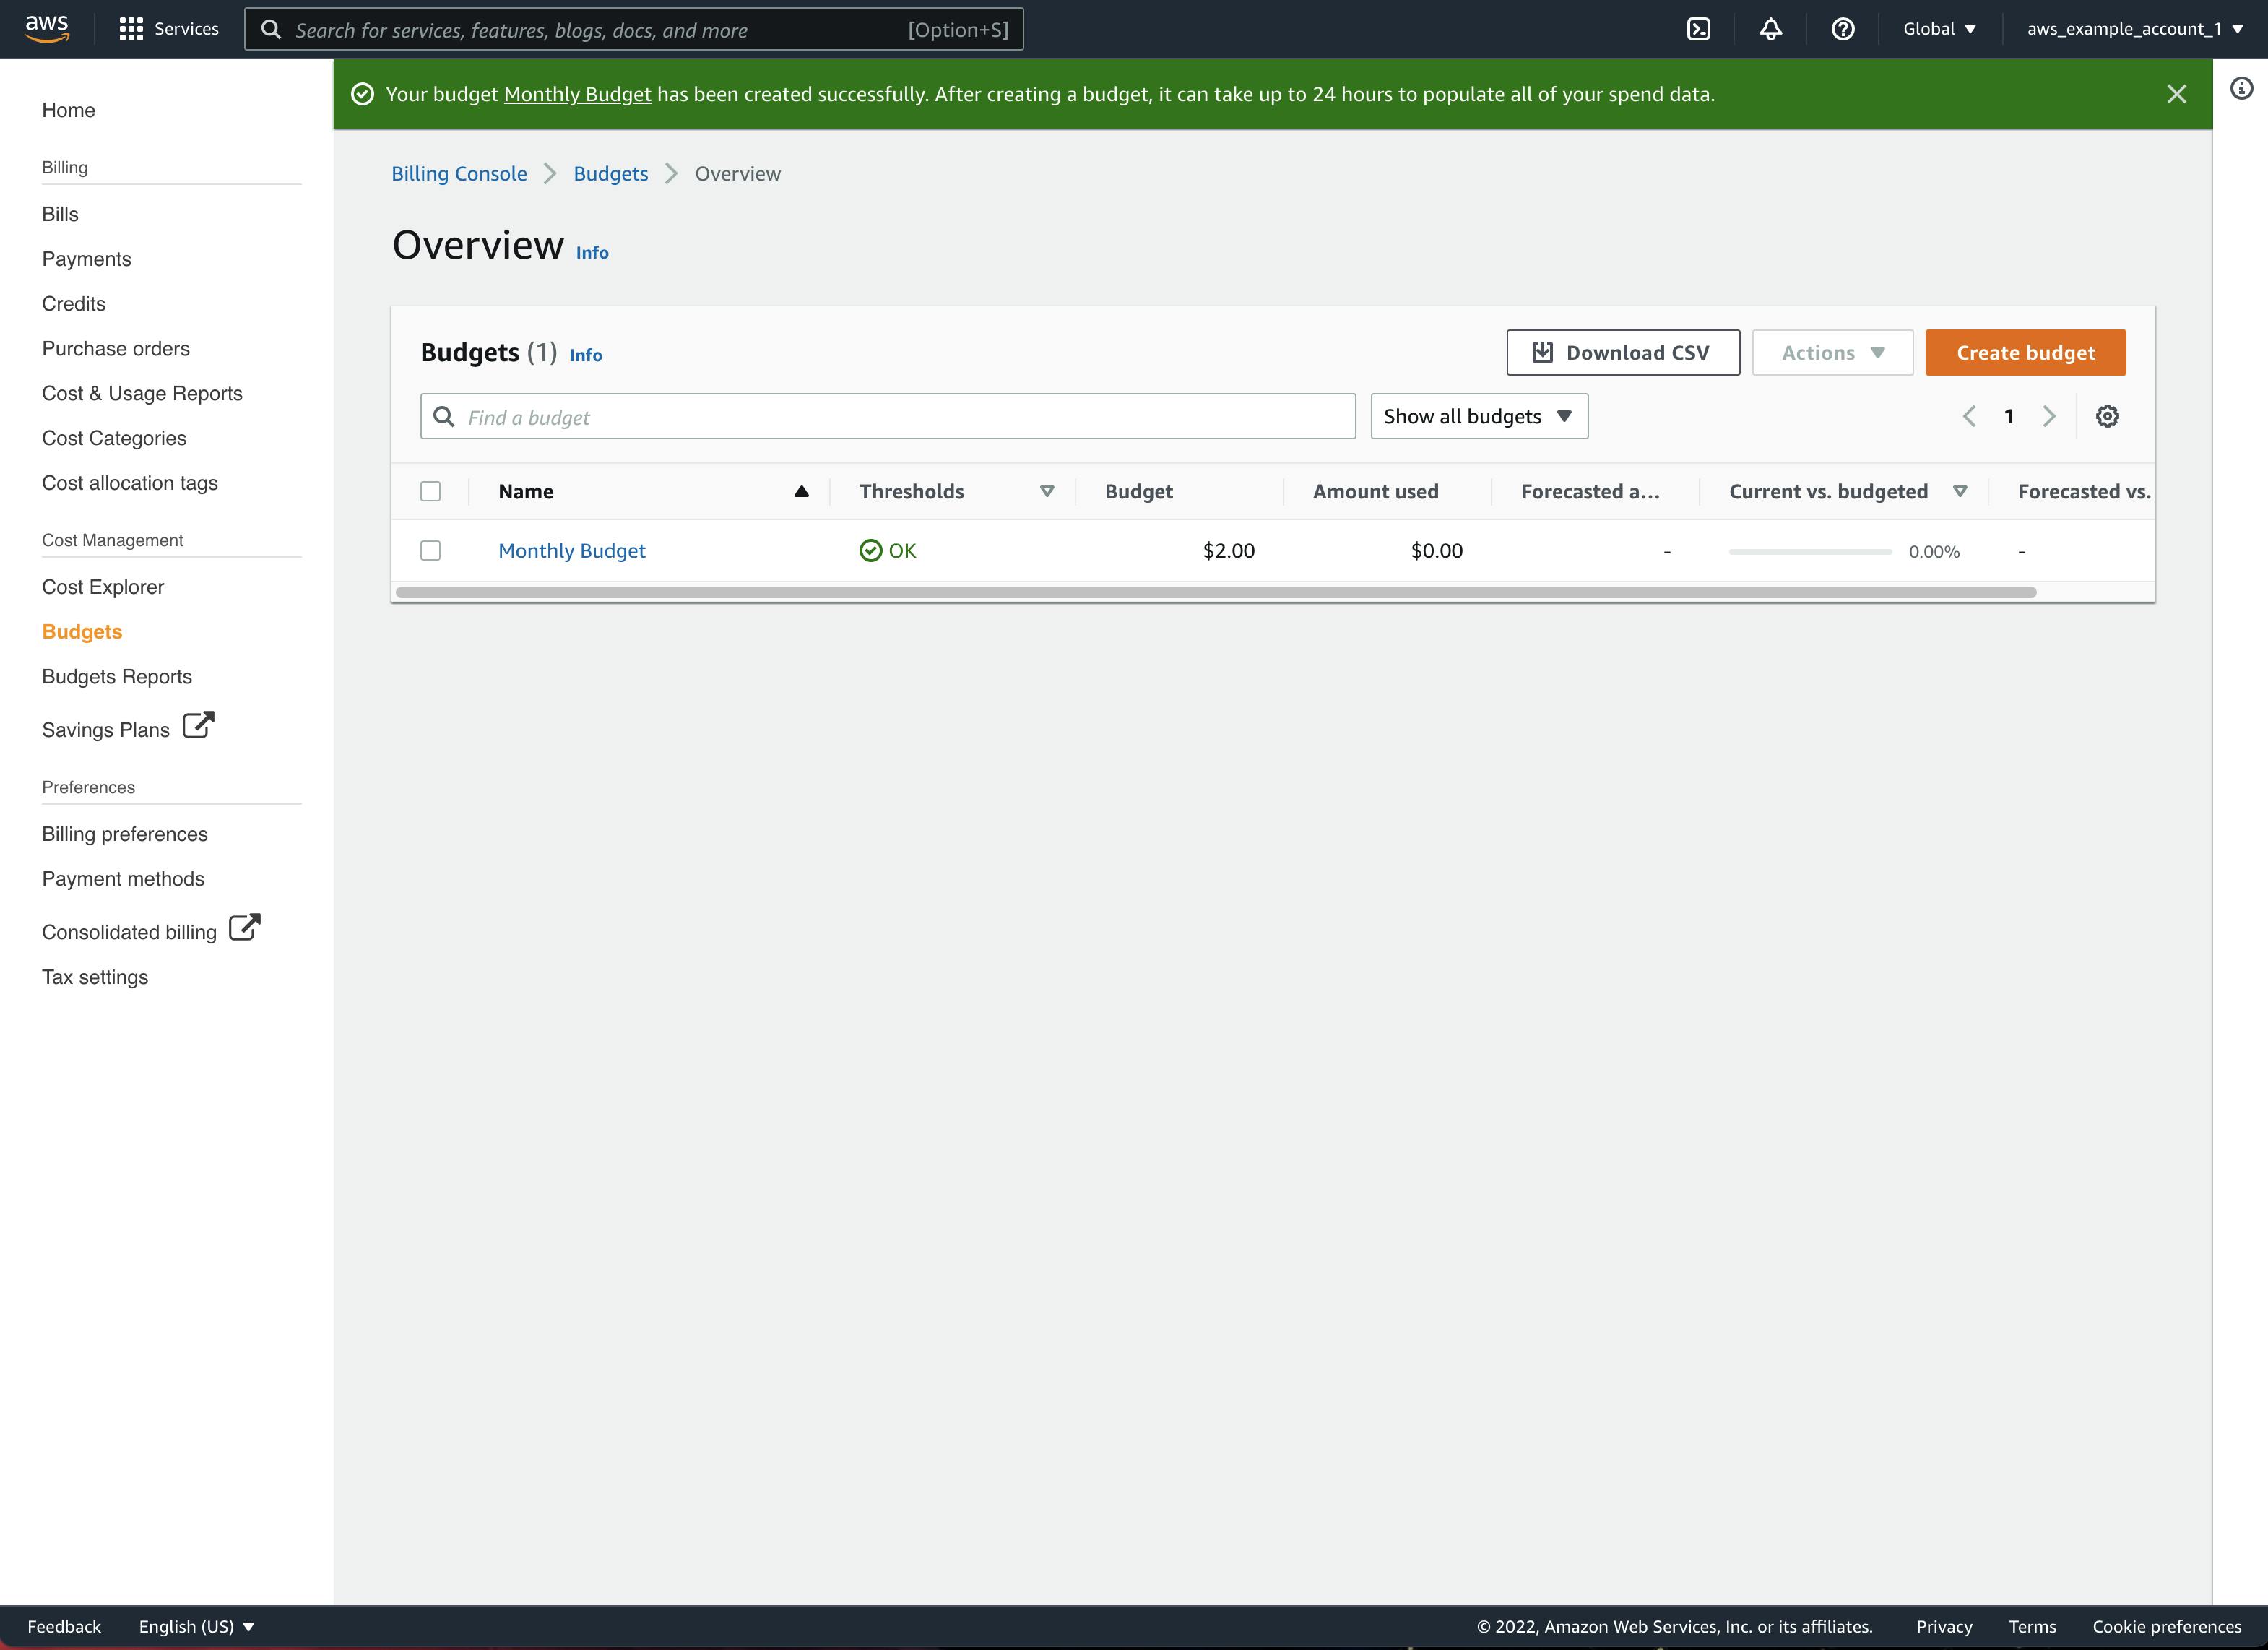
This budget will give us more confidence to play around with the various AWS services without worrying about going bankrupt!
Creating an additional admin user
Let's now continue with the last duty as the root user. Because this root user practically almost has unlimited powers over your account, it is highly recommended to only use it for the basic account setup. For everything else, such as creating services, configuring them, deploying applications, etc., it is best practice to create one or more so-called IAM users with limited access (a recommended approach is to follow the "principle of least privilege").
In order to create a new IAM user, head back to the IAM Dashboard and select Users from the "Access Management" section on the left side.
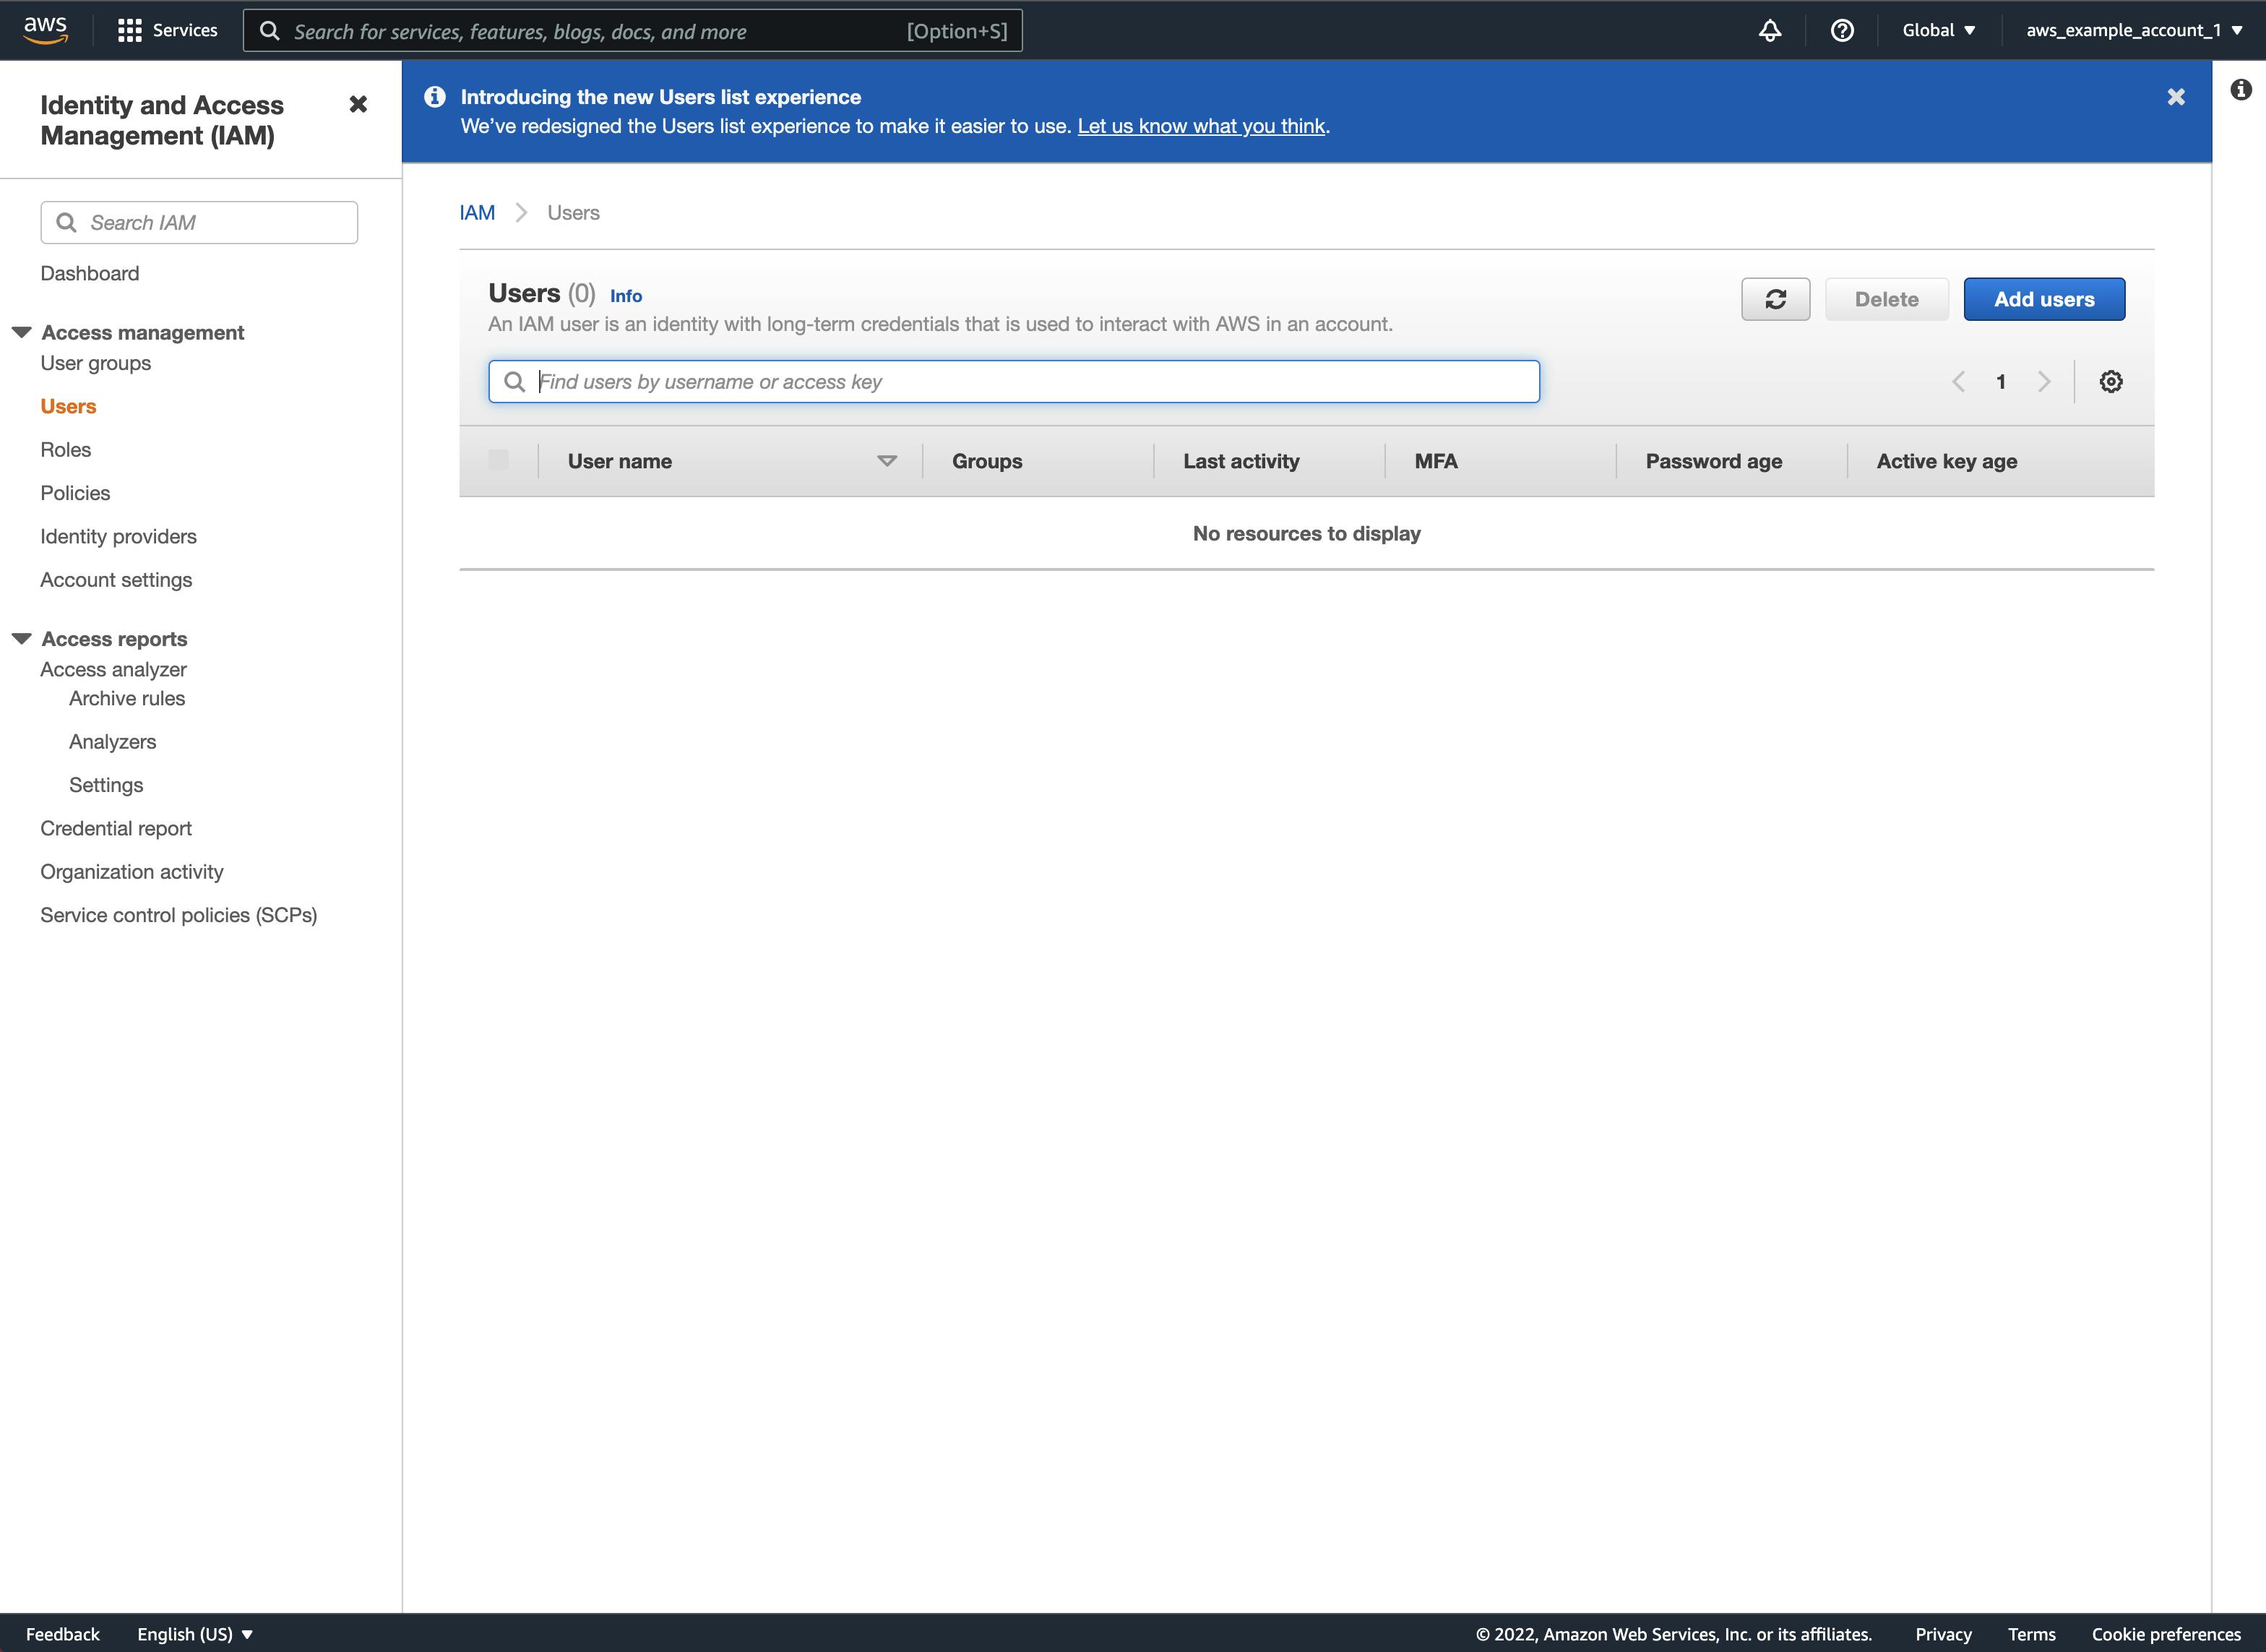
Click on Add users to open the "Add user" screen.
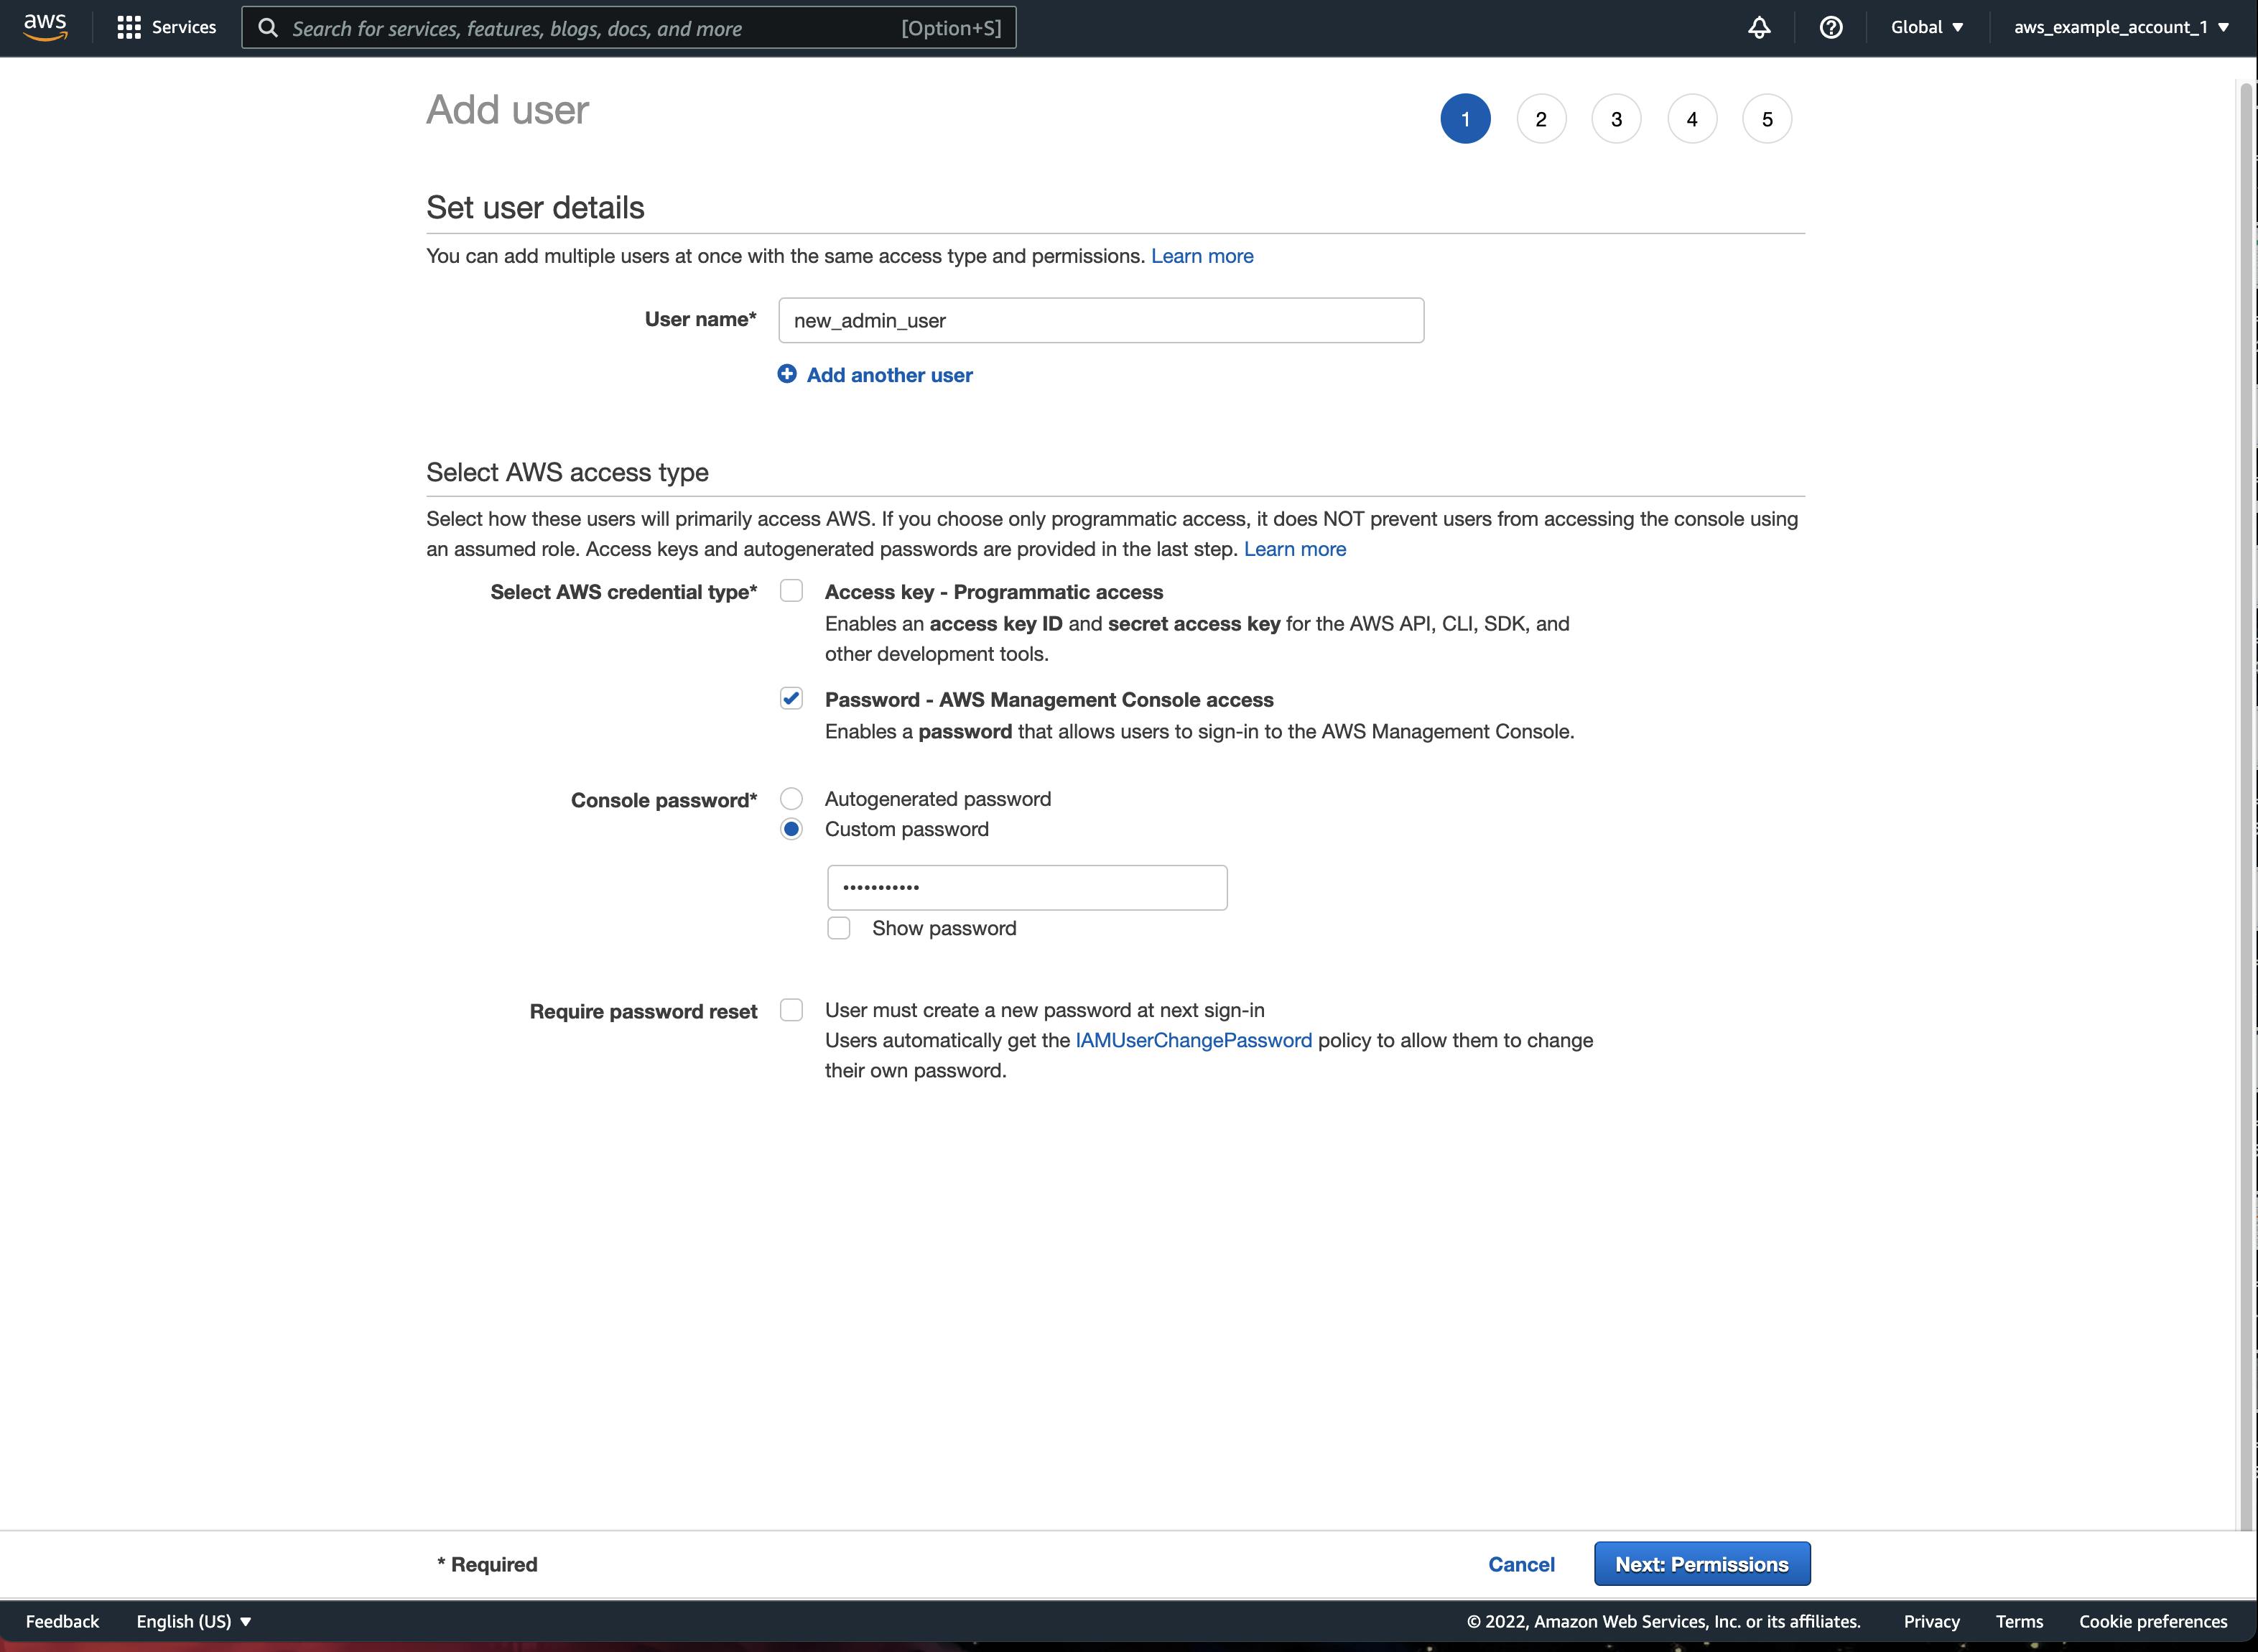
Provide a User name of your choice (we are going to create an admin user with admin rights that are similar but not identical to the root user's rights).
Select Password - AWS Management Console access because we want to create a user that can log in to the AWS console just like our root user. The other option would also/instead provide us with access credentials to reach out to AWS services programmatically (CLI, SDK, API, etc.). This is an advanced topic we will cover later in this series.
AWS offers you the possibility to auto-generate a password for your user and force them to change it at the first login. This is useful if you are creating users for other people rather than for yourself. But in our case, we will choose custom password and just provide a password of our choice.
Once everything looks good, click on Next: permissions to continue with the next step.
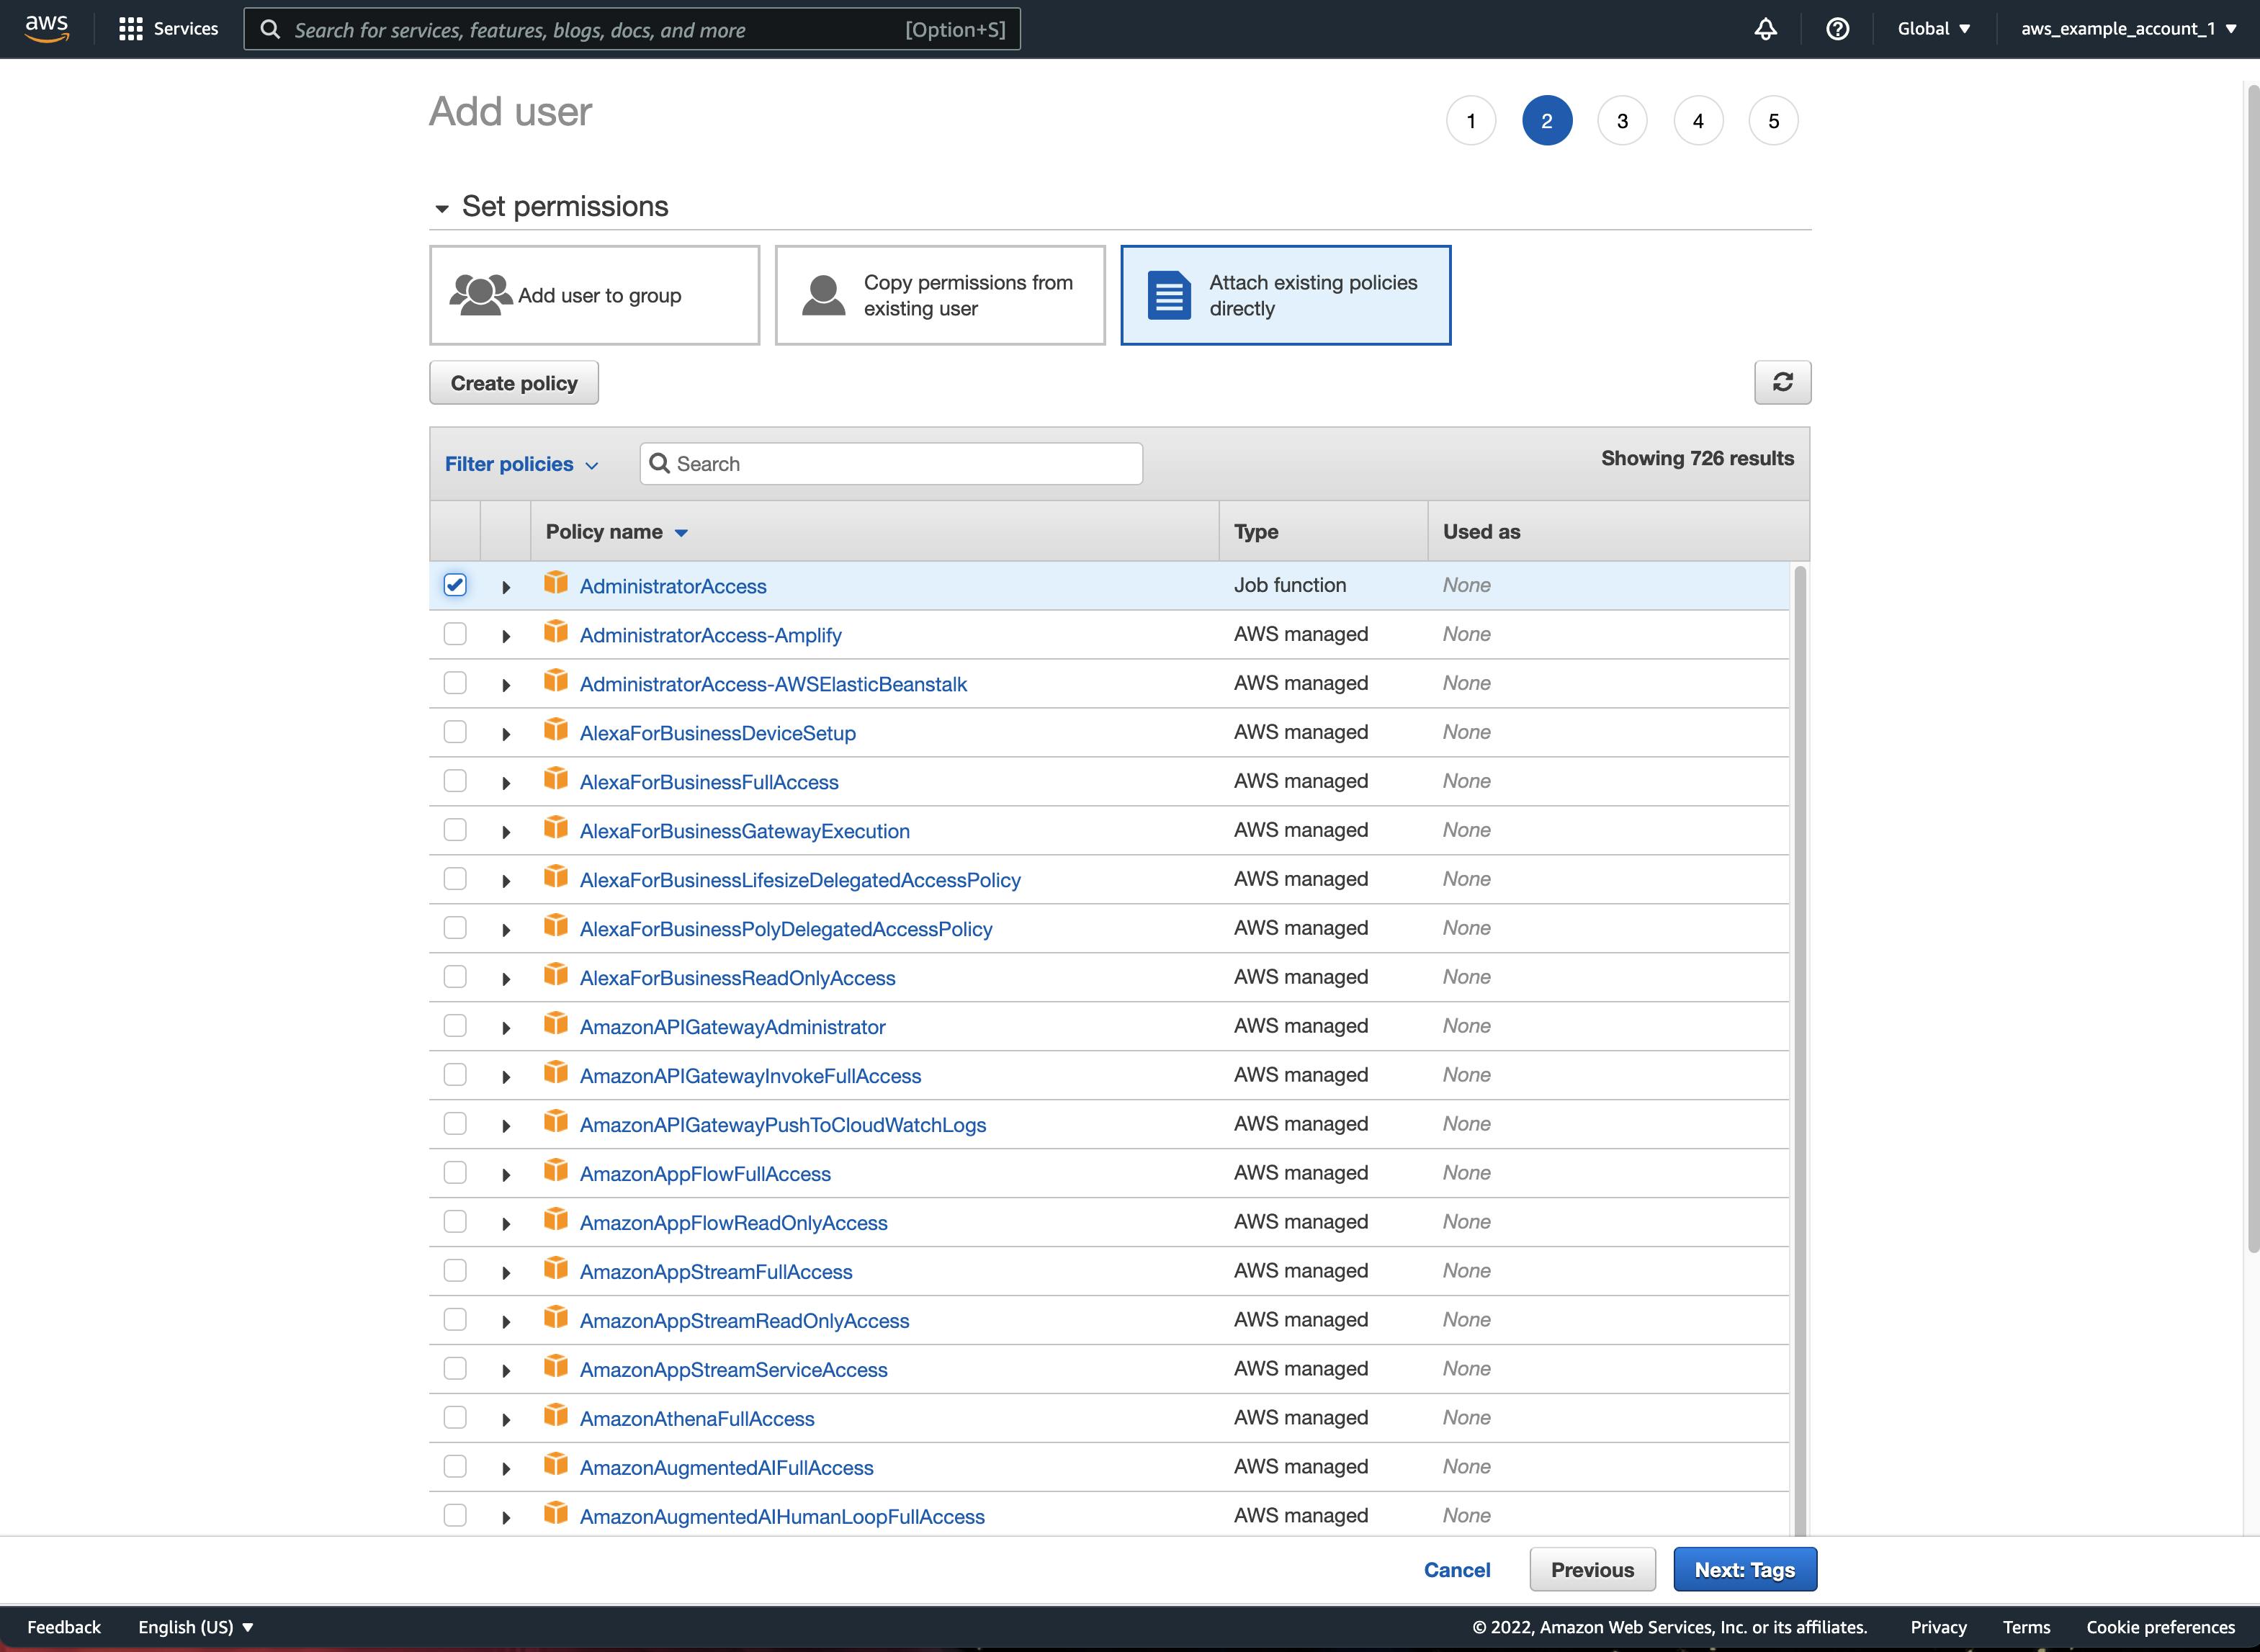
On the "permissions" screen, you have different options to assign access rights to your user. Because this is an introductory-level tutorial, we will keep things simple and just select Attach existing policies directly and then choose AdministratorAccess from the pre-defined AWS IAM policies.
While this is okay for this example account, it is not recommended to assign admin rights to every user. Once again, remember the "principle of least privilege" and only give your users exactly the permissions they need for their work. Nothing more, nothing less!
Click Next: Tags to continue with the user creation process.
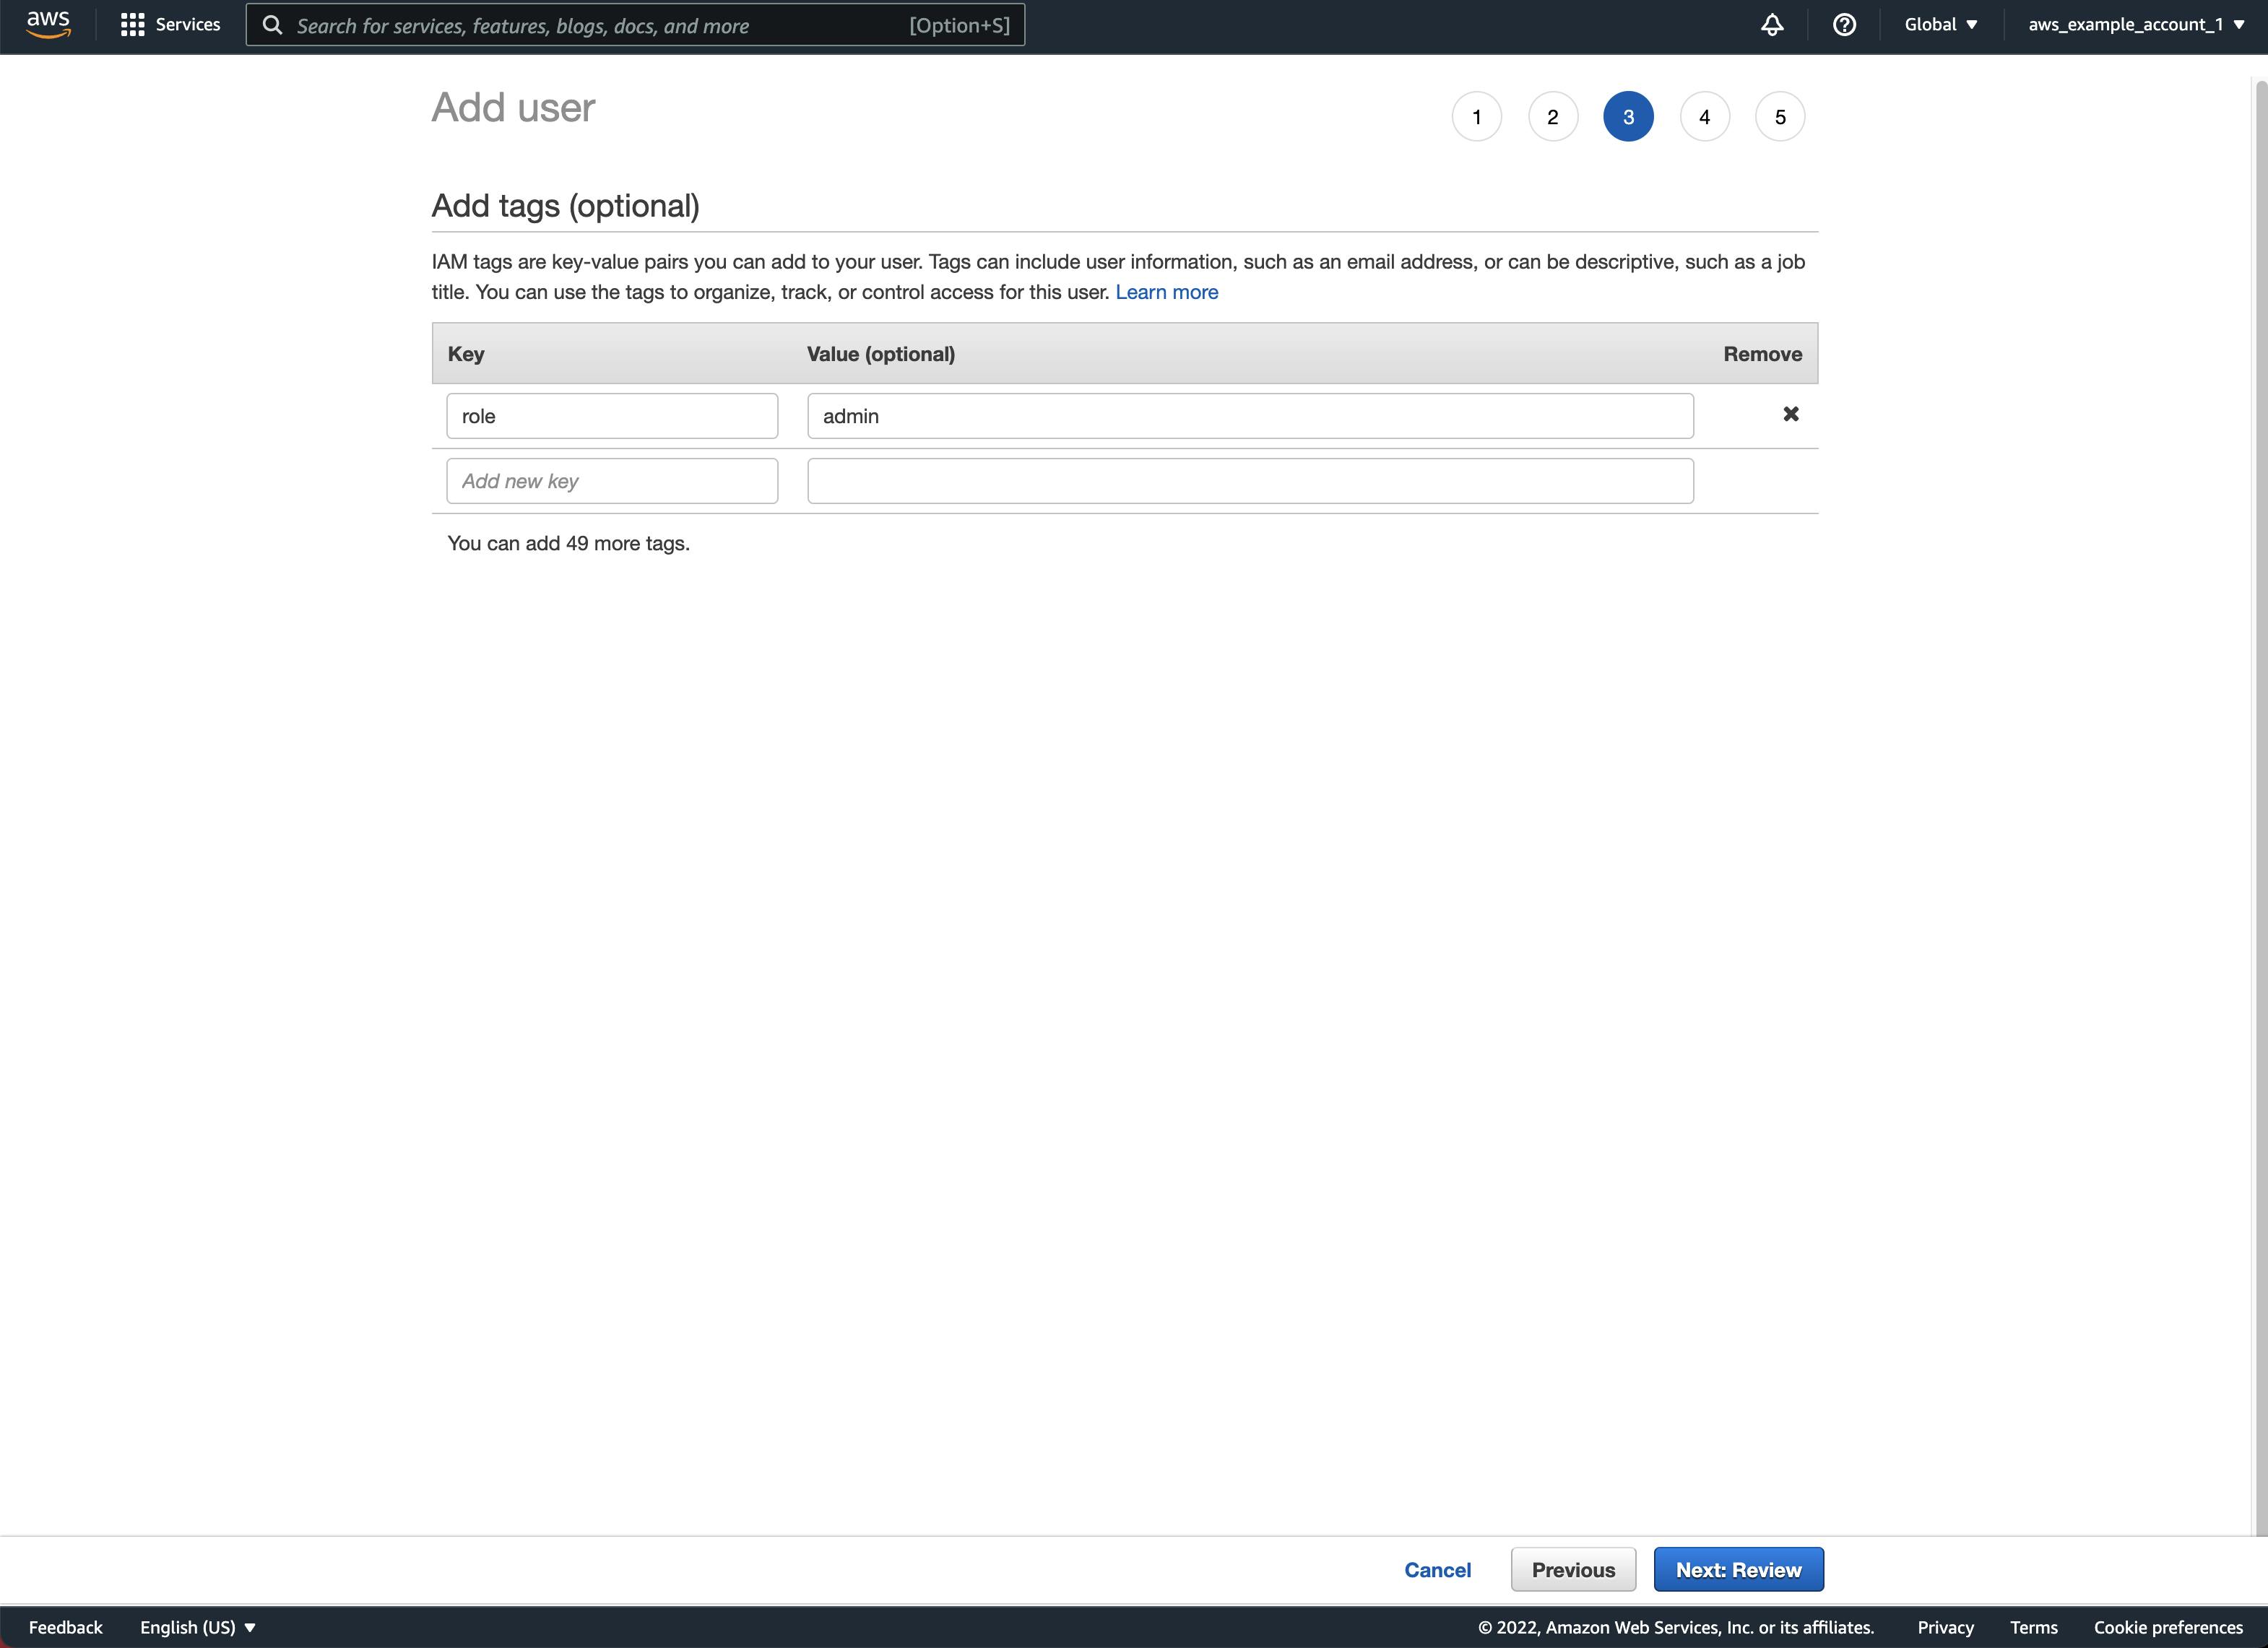
IAM Tags are optional and helpful to organize and track users. If you only have one user, you probably won't need to tag it. But if you manage whole organizations, tags can really make your life easier (tags can be applied to almost every AWS resource!).
Continue with the last step by clicking Next: Review
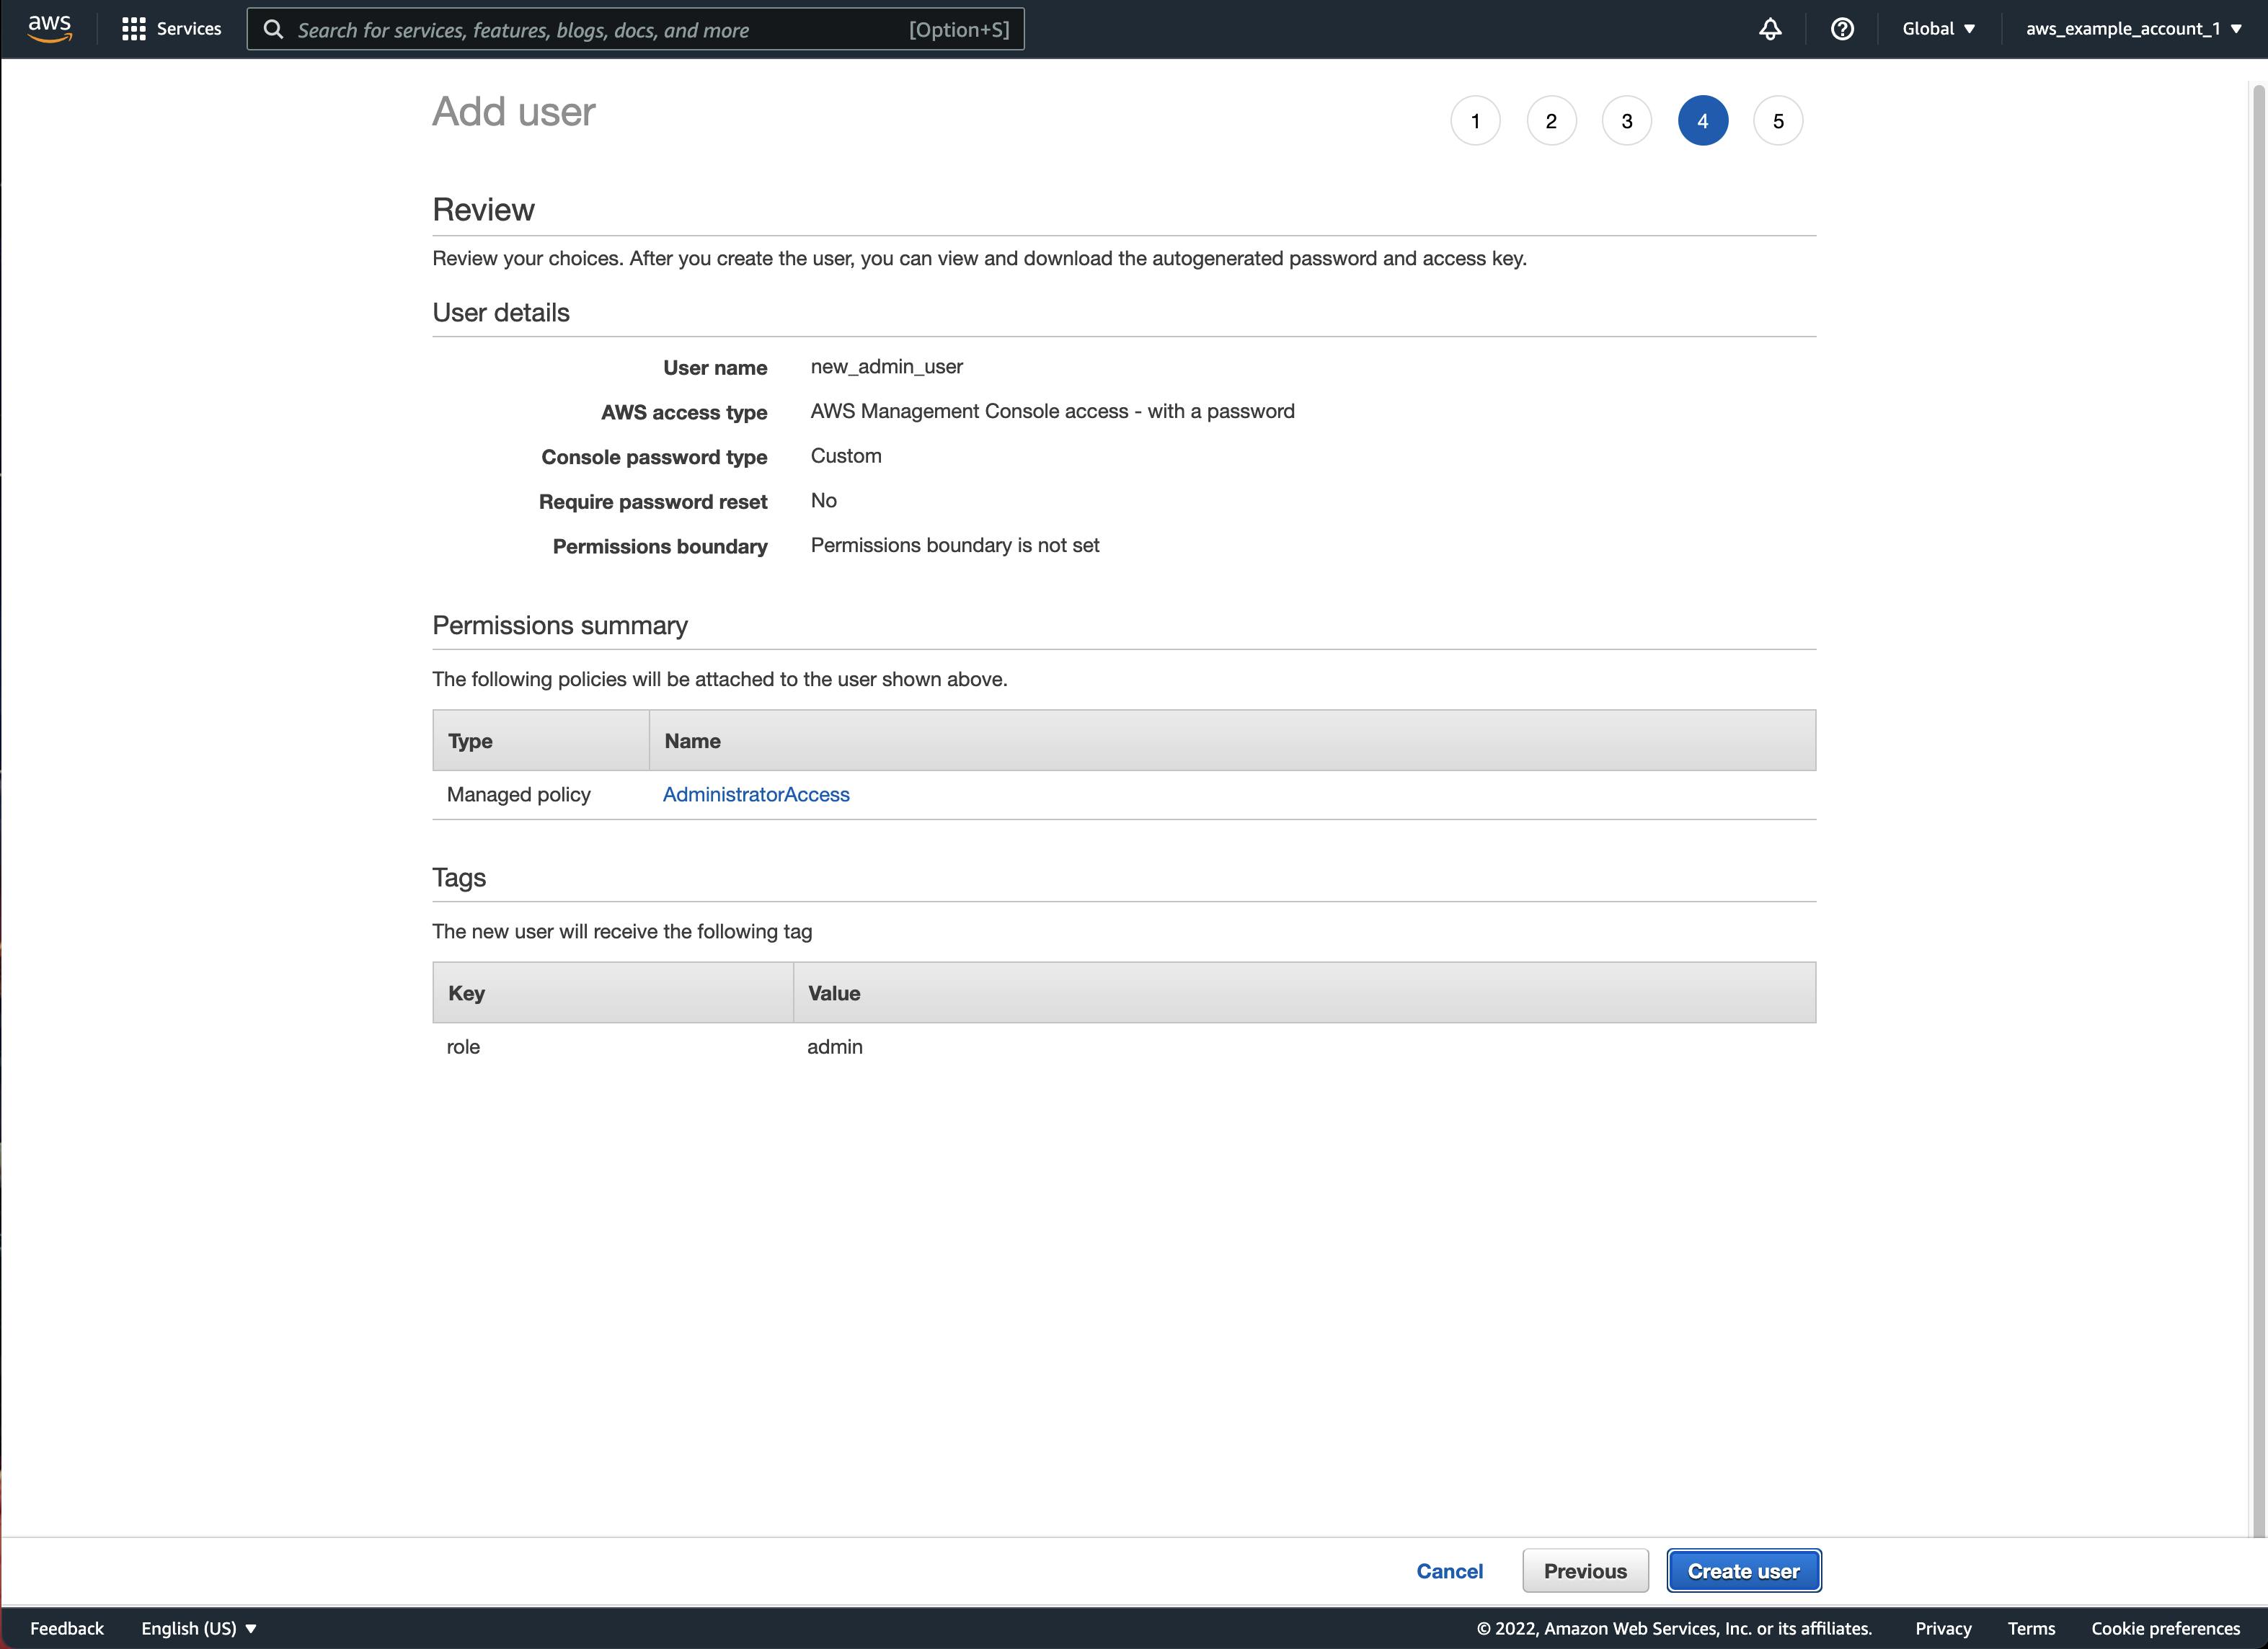
Check all settings for the last time and click Create user if everything looks alright. If everything went well, you should see the following screen. Congratulations, you have created your first IAM user!
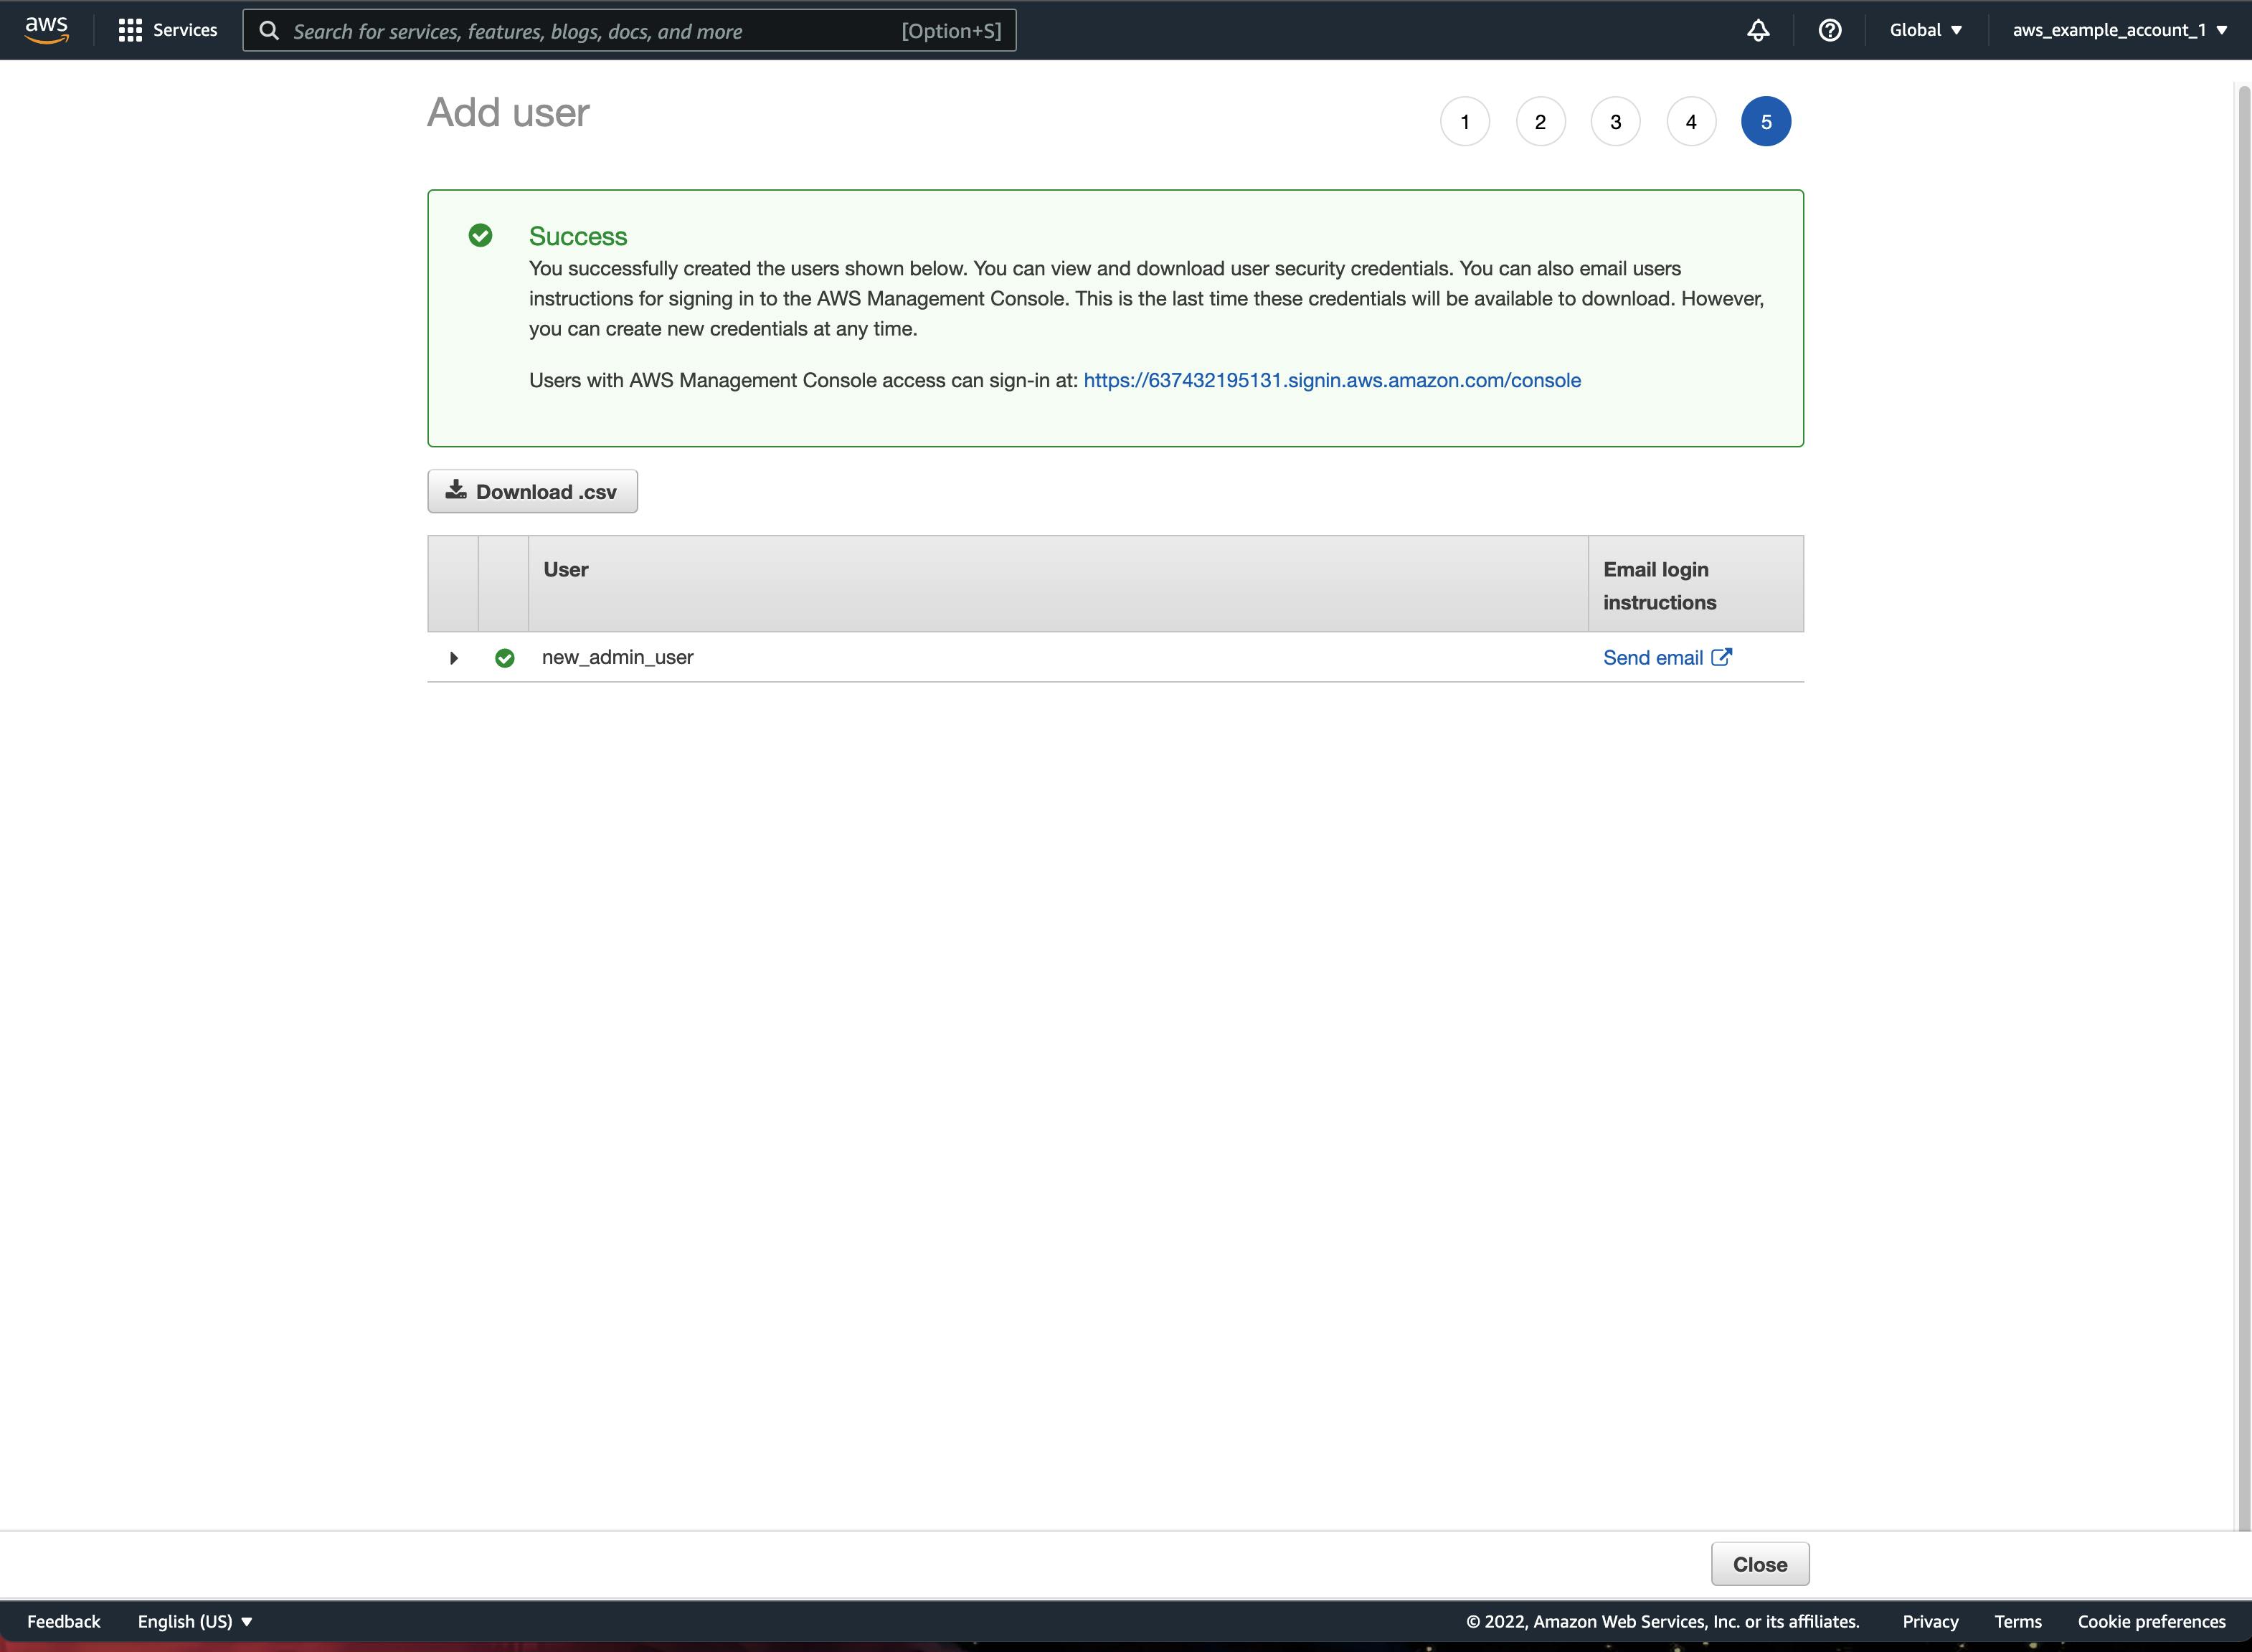
From now on, you should always use this IAM user to access your AWS account and no longer your root user. To do so, just click on the link provided on the "Success" banner. Tip: Bookmark this link and write down the numbers before .signing.aws.amazon.com/console. These represent your account and are needed to log in as an IAM user.
You can also find the link and your Account ID on the IAM Dashboard. If you forgot to write it down, log in with your root user one last time, head to the IAM dashboard and find it on the right side.
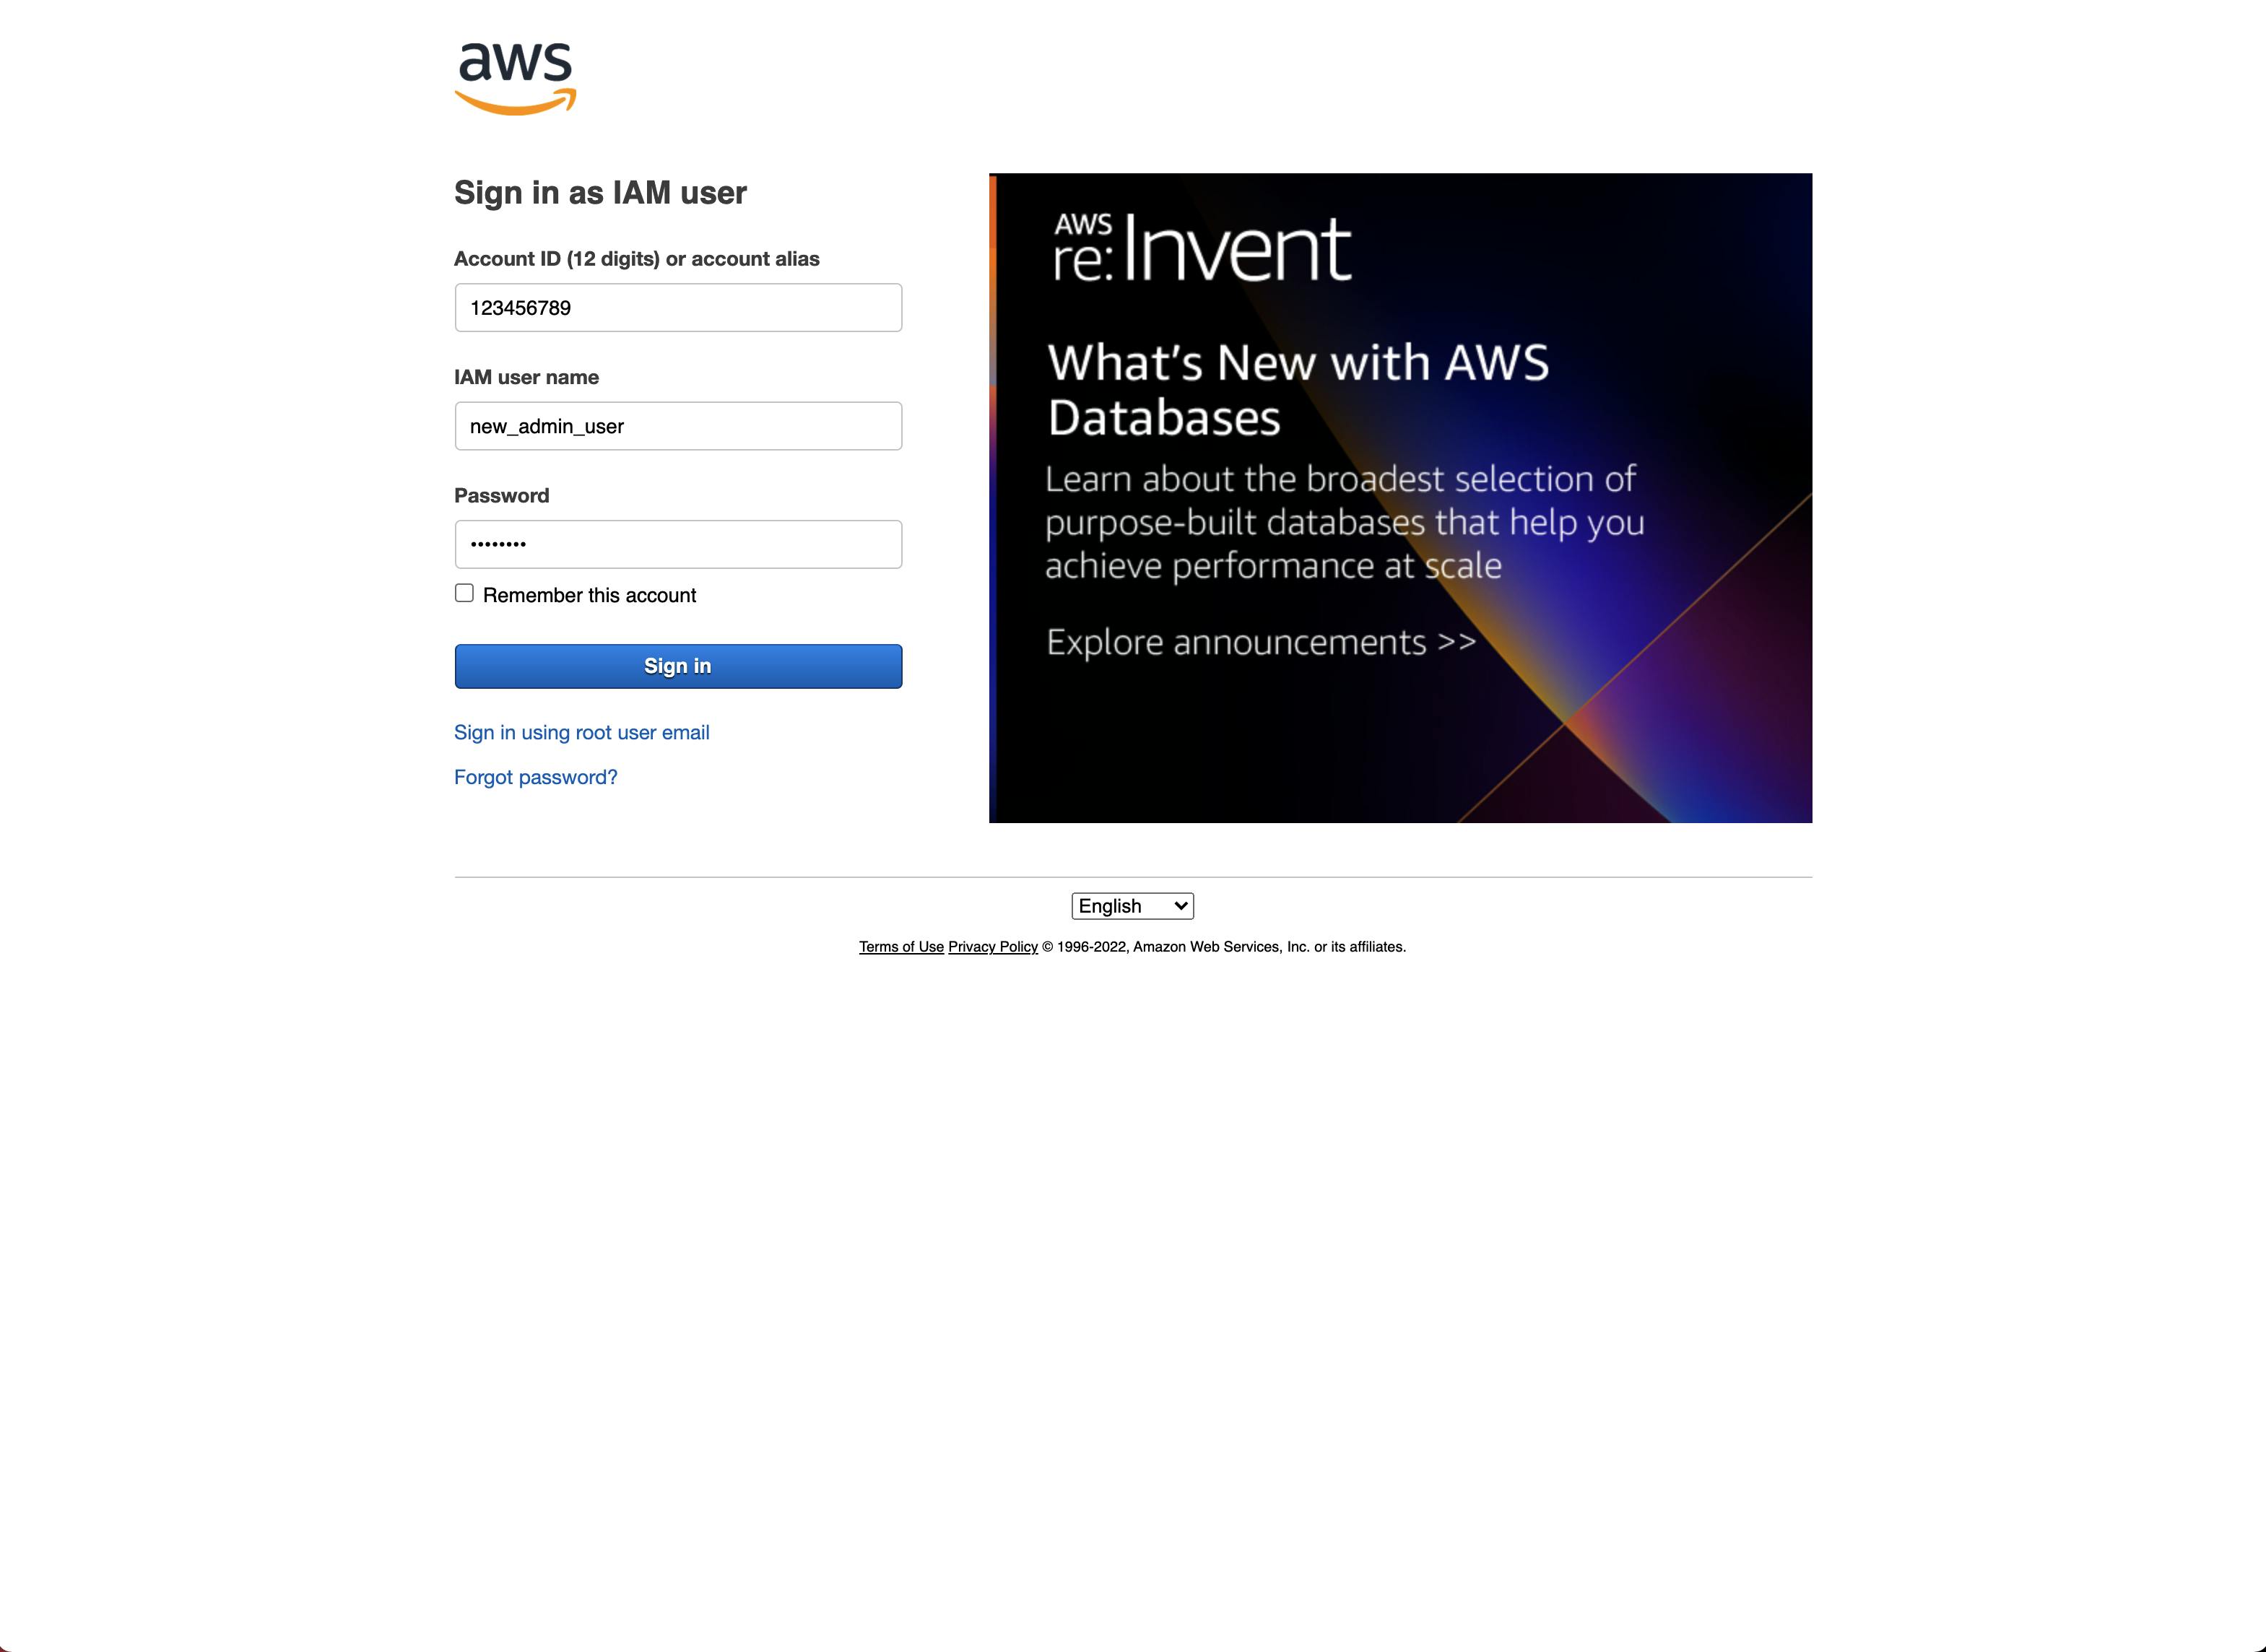
Continue with the login procedure by entering your Account ID, IAM user name & Password.
Congratulations, you are logged in as the IAM user, not the root user. The next step is to also enable MFA for your IAM user. I leave this as a challenge for you because the process is identical to the one we have used for the root user!
Conclusion
A long blog post has come to an end, but I really wanted to show you exactly what you need to do to create your very first free AWS account in a straightforward, but also secure way.
If you like this post and want to learn more about Cloud & AWS, make sure to follow this publication on Hashnode and my Twitter Account.